Step 1: Connect the computer to any RJ45 port of the switch with the network cable.
Step 2: Set the IP address of the computer to 192.168.1.x. (“x” is any number from 2 to 254.)
Step 3: Open a browser, type http://192.168.1.1, and enter the default username and password,
admin/admin.
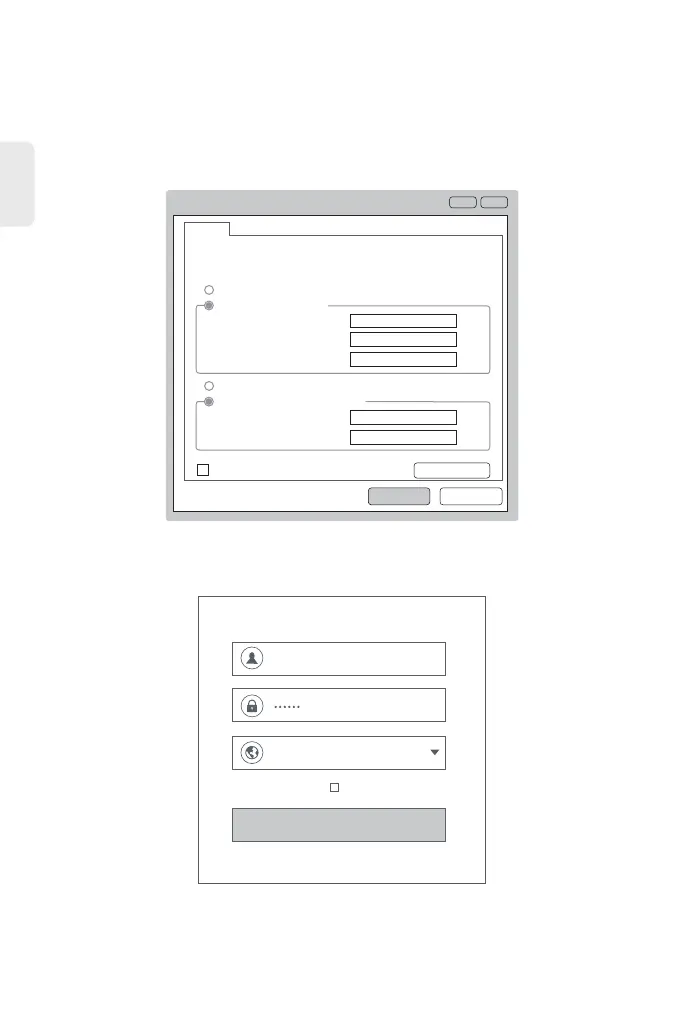
Configuring the Switch via the Web-based Interface
Internet Protocol Version 4 (TCP/IPv4) Properties
Cancel
Advanced...
OK
x
General
You can get IP settings assigned automatically if your network
supports this capability. Otherwise, you need to ask your network
a dministrator for the appropriate IP settings
Obtain an IP address automatically
Use the following IP address:
IP address:
Subnet mask:
Default gateway
Obtain DNS server address automatically
Use the following DNS server address:
Validate settings upon exit
192 . 168 . 1 . 2
225 . 225 . 225 . 0
. . .
Preferred DNS server
. . .
Alternate DNS server
. . .
?
admin
English
Remember Password
Login
EN
Configuring the Switch
Step 4: Click Login to display the web-based configuration page.
10
 Loading...