6
2. Main Menu Screen 6-9
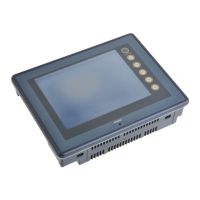
Simple POD Operations
Touch Switch Adjustment
If a position different from the pressed position turns white on the touch switch test screen, follow the
steps described below to adjust the touch switch position.
1. Hold down the [SYSTEM] switch and press the [F2] switch on the touch switch test screen.
2. Press on “1” that is flashing at the corner on the
touch switch adjustment screen. When the finger
is released, a beep sounds and the position is set.
“2” flashes.
3. Press on “2” that is flashing at the corner. When
the finger is released, a beep sounds and the
position is set. “3” flashes.
4. Press on “3” that is flashing at the corner. When
the finger is released, a beep sounds and the
position is set. “4” flashes.
5. Press on “4” that is flashing at the corner. When
the finger is released, a beep sounds and the
position is set.
6. To re-set the positions, press the [F2] switch
and follow step 2 and later.
7. Press the [F1] switch. A long beep sounds
and the positions are determined. The
touch switch test screen is displayed again.
8. To cancel the setting, press the [F3] switch.
The touch switch test screen is displayed
again.
SYSTEM
F2
F3
F4
F5
F1
POWER
Touch Switch Adjustment
3
4
1
2
Fix
Reset
Return
X: Y:
Touch the flickering corner.
The last position you touched
is the setting value.
SYSTEM
F2
F3
F4
F5
F1
POWER
X: Y:
Erase
Return
SYSTEM
F2
F5
POWER
1
2
F5
POWER
1
2
SYSTEM
F1
Touch Switch Adjustment
3
4
Fix
SYSTEM
F1
Touch Switch Adjustment
3
4
Fix
SYSTEM
F2
F3
F4
F5
F1
POWER
Touch Switch Adjustment
3
4
1
2
Reset
Return
X: Y:
Touch the flickering corner.
The last position you touched
is the setting value.
Fix
F1
F2
F3
 Loading...