6 EN
Initial Settings
Selecting the Language
The following steps should only be performed if there is a
power failure or if the VCR is unplugged for more than 30
seconds.
• Use the remote control for this procedure.
1) Turn on the TV and select the video channel on the TV.
2) Press
FUNCTION.
3) Press
PLAY/K or STOP/L repeatedly to select your desired
language.
4) Press
MENU.
Changing the Language
If you want to change the language used on the TV screen
menus, follow the steps below.
• Use the remote control for this procedure.
1) Press MENU.
2) Press
PLAY/K or STOP/L to select “INITIAL”, then press
F.FWD/B.
3) Press
PLAY/K or STOP/L to select “LANGUAGE”, then
press
F.FW D /B.
4) Press
PLAY/K or STOP/L repeatedly to select your desired
language.
5) Press MENU.
Video Channel Setting
Video channel setting will be necessary, if your VCR is
connected to the TV via the coaxial cable.
• Use the remote control for this procedure.
1) Insert a pre-recorded tape into the VCR.
The VCR will turn on and start playback automatically.
If playback does not start, press
PLAY/K.
2) Select and adjust your TV to channel 36.
•If the playback picture appears on the TV screen,
continue with step
8).
•If channel 36 is set for broadcasting, or interference lines
appear on the picture, the RF converter must be set to a
different channel between CH22 and CH69. Continue
with step
3).
3) Press
MENU.
4) Press PLAY/K or STOP/L repeatedly to select to
“INITIAL”. Then, press
F.FWD/B.
5) Press
PLAY/K or STOP/L repeatedly to select to “RF
OUT”. Then, press
F.FWD/B. The RF OUT CH menu
will appear.
6) Press
PLAY/K or STOP/L to select a channel which is not
used for broadcasted between channel 22 and channel 69
in your area, then press F.FWD/B.
7) Press
MENU to exit.
Set the TV channel to the RF OUT CHANNEL which
was selected on the VCR. A picture from the VCR will
appear on the TV screen. If a picture does not appear,
repeat steps 3) to 7) using a different channel which is not
used for broadcasted.
8) Press
STOP/L to stop the tape.
Note: • You may also access the RF OUT CH menu by
pressing and holding MENU on the remote control for
3 seconds during power off until the RF OUT CH
menu appears.
• If this unit and your TV are connected using a scart
cable, the RF converter may be switched off to avoid
any possibility of interference. To switch off the RF
converter, follow steps 3) to 5) above and press
STOP/L repeatedly until “- -” appears next to “RF
OUT CH.” Press F.F WD /B, then MENU to exit.
Setting the Clock
This VCR incorporates a 24-hour clock. The clock must be set
for the Timer Recording function to operate correctly.
• Use the remote control for this procedure.
1) Press
MENU.
2) Press
PLAY/K or STOP/L to select “INITIAL”, then press
F.FW D /B.
3) Press
PLAY/K or STOP/L to select “CLOCK”, then press
F.FW D /B.
4) (29A-654 and 29A-754 only)
Press
PLAY/K or STOP/L to select “MANUAL” or
“AUTO”, then press
F.FW D /B.
•If you select “MANUAL”, continue with step
5).
•If you select “AUTO”, Auto Clock Setting becomes
“ON”. Press FUNCTION. The clock will appear on the
TV screen when you turn on the VCR again.
5) Press PLAY/K or STOP/L until the relevant year appears,
then press
F.FW D /B.
6) Press
PLAY/K or STOP/L until the relevant month
appears, then press
F.F WD /B.
7) Press
PLAY/K or STOP/L until the relevant day appears,
then press
F.FW D /B.
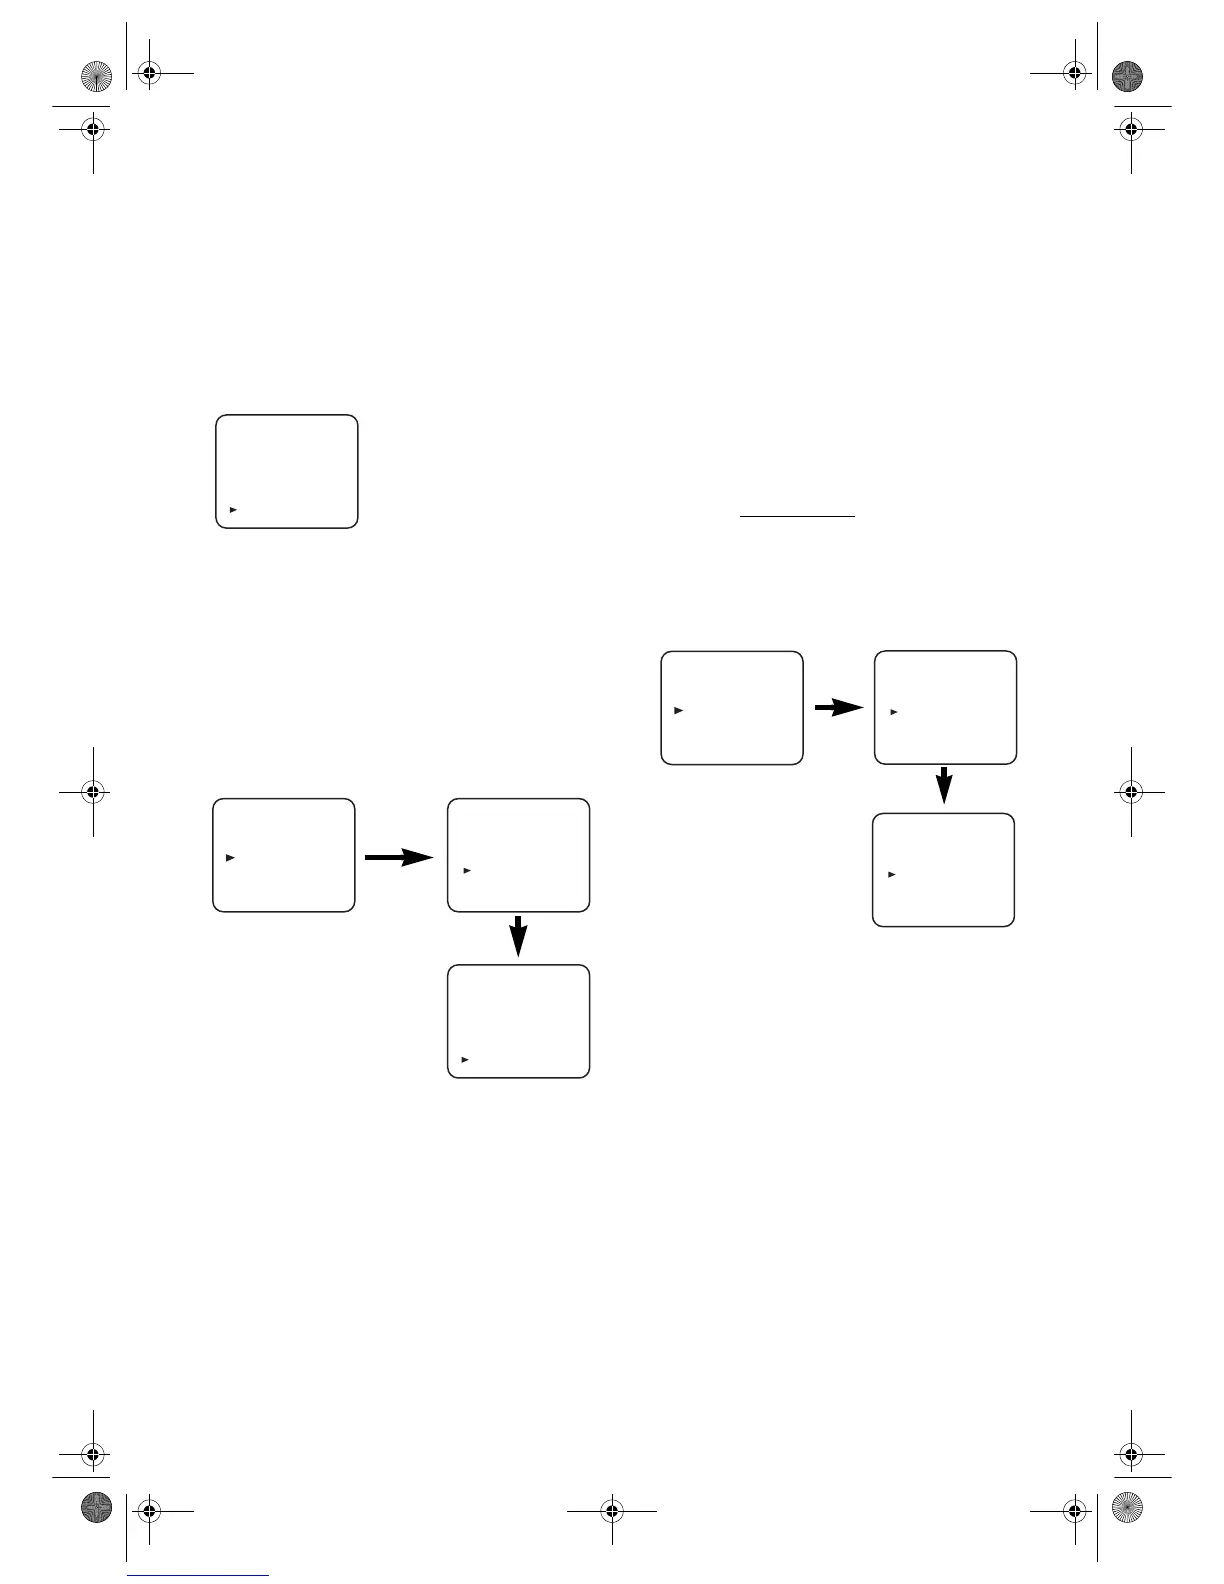
LANGUAGE
DEUTSCH
ITALIANO
ESPAÑOL
NEDERLANDS
FRANÇAIS
SVENSKA
ENGLISH
[ ]
MENU
TIMER
SET UP
INITIAL
INITIAL
CH TUNING
CLOCK
RF OUT
LANGUAGE
LANGUAGE
DEUTSCH
ITALIANO
ESPAÑOL
NEDERLANDS
FRANÇAIS
SVENSKA
ENGLISH
[ ]
MENU
TIMER
SET UP
INITIAL
RF OUT CH 36
INITIAL
CH TUNING
CLOCK
RF OUT
LANGUAGE
29A-650(EN).fm Page 6 Wednesday, October 27, 2004 10:40 AM