45
EN
Introduction Connections Playback Editing OthersFunction SetupRecording VCR Functions
Basic Setup /
TV View Operation
Note
• Dubbing will start where the tape is stopped.
• After starting dubbing, the picture may be distorted because
of the digital tracking function. This is not a malfunction. Be
advised to play back the videotape until the picture is
stabilised, then set the starting point at which you want to
start recording, and start dubbing.
• Dubbing will be cancelled 2 minutes before starting timer
recording.
• The device mode change is available only between HDD
and DVD during the videotape to the HDD / DVD dubbing.
Setting a Disc to Protect
To prevent accidental over-recording, editing or erasing of
recordings, you can protect them using “Setup” menu.
Insert a recordable disc.
1 In stop mode, press [SETUP].
2 Select “DVD Menu” using [K \ L], then press
[ENTER\OK].
3 Select “Disc Protect OFF A ON” using [K \ L],
then press [ENTER\OK].
4 Select “Yes” using [K \ L], then press
[ENTER\OK].
The disc is protected.
5 Press [SETUP] to exit.
Note
• The Disc Protect setting is available only when a disc
recorded in VR mode is inserted.
• You can select only “Disc Protect ON A OFF” when a
protected disc is inserted.
To cancel the disc protect:
• Select “Disc Protect ON A OFF” at step
3, then select “Yes”.
• If you insert a disc protected with this unit, “Disc Protect
ON A OFF” will appear instead of “OFF A ON”.
Finalising Discs
You will need to finalise discs to play them back in other units.
Finalising may take from several minutes up to an hour.
A shorter recording period on the disc will require a longer
time period for finalisation. Do not unplug the mains cable
during finalisation.
Insert a recordable disc before finalising.
1 In stop mode, press [SETUP].
2 Select “DVD Menu” using [K \ L], then press
[ENTER\OK].
3 Select “Finalise” using [K \ L], then press
[ENTER\OK].
4 Select “Yes” using [K \ L], then press
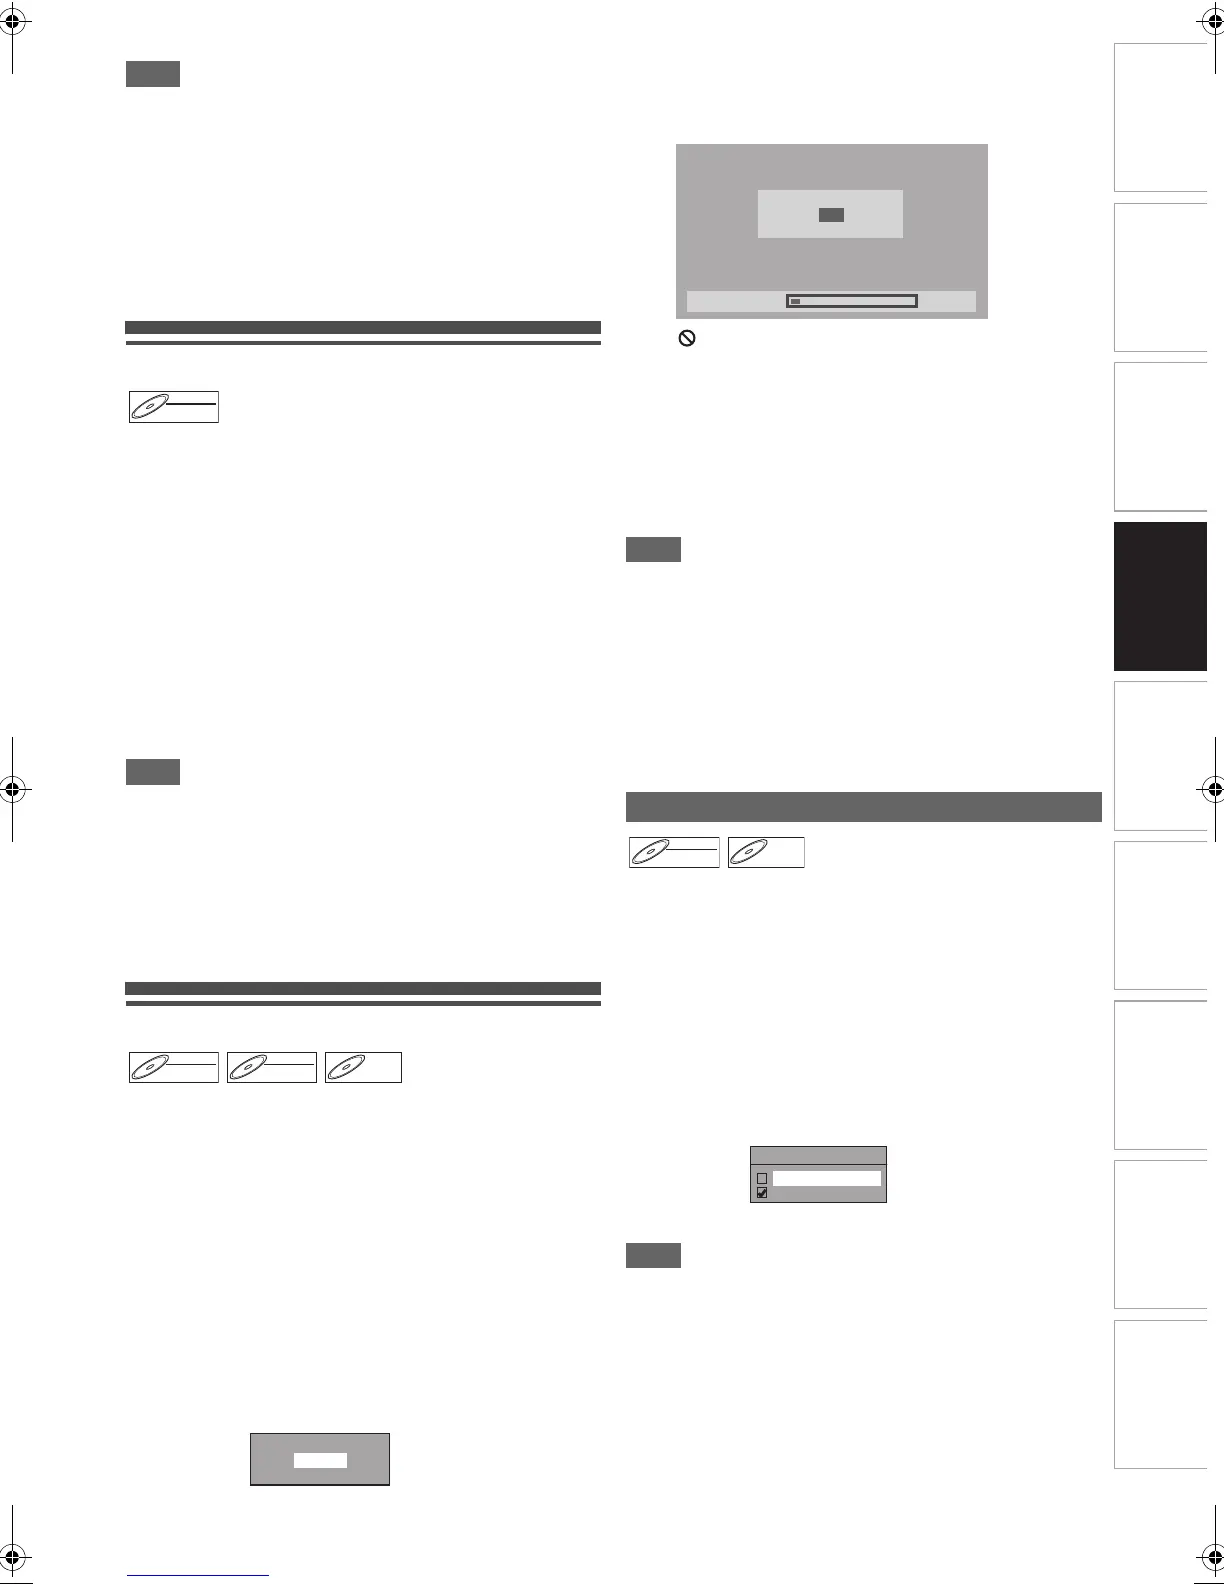
[ENTER\OK].
Finalising will start.
To cancel finalising (DVD-RW disc only):
At step
4, press [STOP C]. Select “Yes” using [K \ L],
then press [ENTER\OK]. Finalising is cancelled and the
unit switches to stop mode.
If “ ” appears when [STOP C] is pressed, you cannot
cancel finalising because the finalising has already
reached at a critical point in its process.
If “No” is selected and [ENTER\OK] or [RETURN\BACK]
is pressed, finalising is continued.
You cannot cancel finalising a DVD-R disc once it has
started.
5 Finalising is complete.
Note
• Finalising a disc in video mode automatically creates a Title
menu.
• After you finalise DVD-RW/-R disc, you can edit or record
only on a video mode disc.
• To release the finalisation of the disc, select “Undo Finalise”
at step
3.
• If you insert a DVD-RW disc finalised with this unit,
“Undo Finalise” will appear instead of “Finalise”.
• DO NOT power off during finalising. This may result in a
malfunction.
You can finalise discs automatically when the disc space runs
out if you set this in “Setup” menu.
1 In stop mode, press [SETUP]. Select “General
Setting” using [K \ L], then press [ENTER\OK].
2 Select “Recording” using [K \ L], then press
[ENTER\OK].
3 Select “Auto Finalise” using [K \ L], then press
[ENTER\OK].
4 Select “ON” using [K \ L], then press
[ENTER\OK].
5 Press [SETUP] to exit.
Note
• Auto finalise function is not available for discs formatted in
VR mode disc.
DVD-RW
DVD-RW
VR
DVD-RW
DVD-RW
Video
DVD-RW
DVD-RW
VR
DVD-R
DVD-R
Finalise disc?
Yes
No
Auto Finalise
10%
Do you want to cancel?
Yes
No
Finalising
DVD-RW
DVD-RW
Video
DVD-R
DVD-R
Auto Finalise
ON
OFF
40_Recording.fm Page 45 Friday, April 9, 2010 4:21 PM