60
EN
Deleting Selected Titles
You can delete titles which you do not need anymore.
Please be advised that the titles once deleted cannot be
brought back.
1 Press [HDD], then press [TOP MENU].
2 Select the title you want to delete using
[K \ L \ 0 \ 1], then press [ENTER\OK].
3 Select “Delete Multiple Titles” using [K \ L],
then press [ENTER\OK].
4 Select other title you want to delete using
[K \ L \ 0 \ 1], then press [ENTER\OK].
Trash mark will appear whose title number is highlighted
for deletion.
5 Repeat step 4 until you select all the titles you
want to delete.
To remove the trash mark from the title:
Select the title with the trash mark, then press
[ENTER\OK].
6 Press [CLEAR].
Confirmation message will appear.
7 Select “Yes” using [K \ L], then press
[ENTER\OK].
Final confirmation message will appear. Select “Yes”, then
press [ENTER\OK].
You can edit the title names from this menu.
The title names you edit will appear on the title list.
If you edit the HDD, press [HDD] first.
If you edit a disc, press [DVD] first.
1 In stop mode, press [TOP MENU].
Title List will appear.
For HDD and VR mode DVD-RW disc, press
[MENU\LIST] to switch between “Original” and “Playlist”.
2 Select the desired title with [K \ L \ 0 \ 1], then
press [ENTER\OK].
Pop up window will appear.
3 Select “Edit” with [K \ L], then press
[ENTER\OK].
Edit menu will appear.
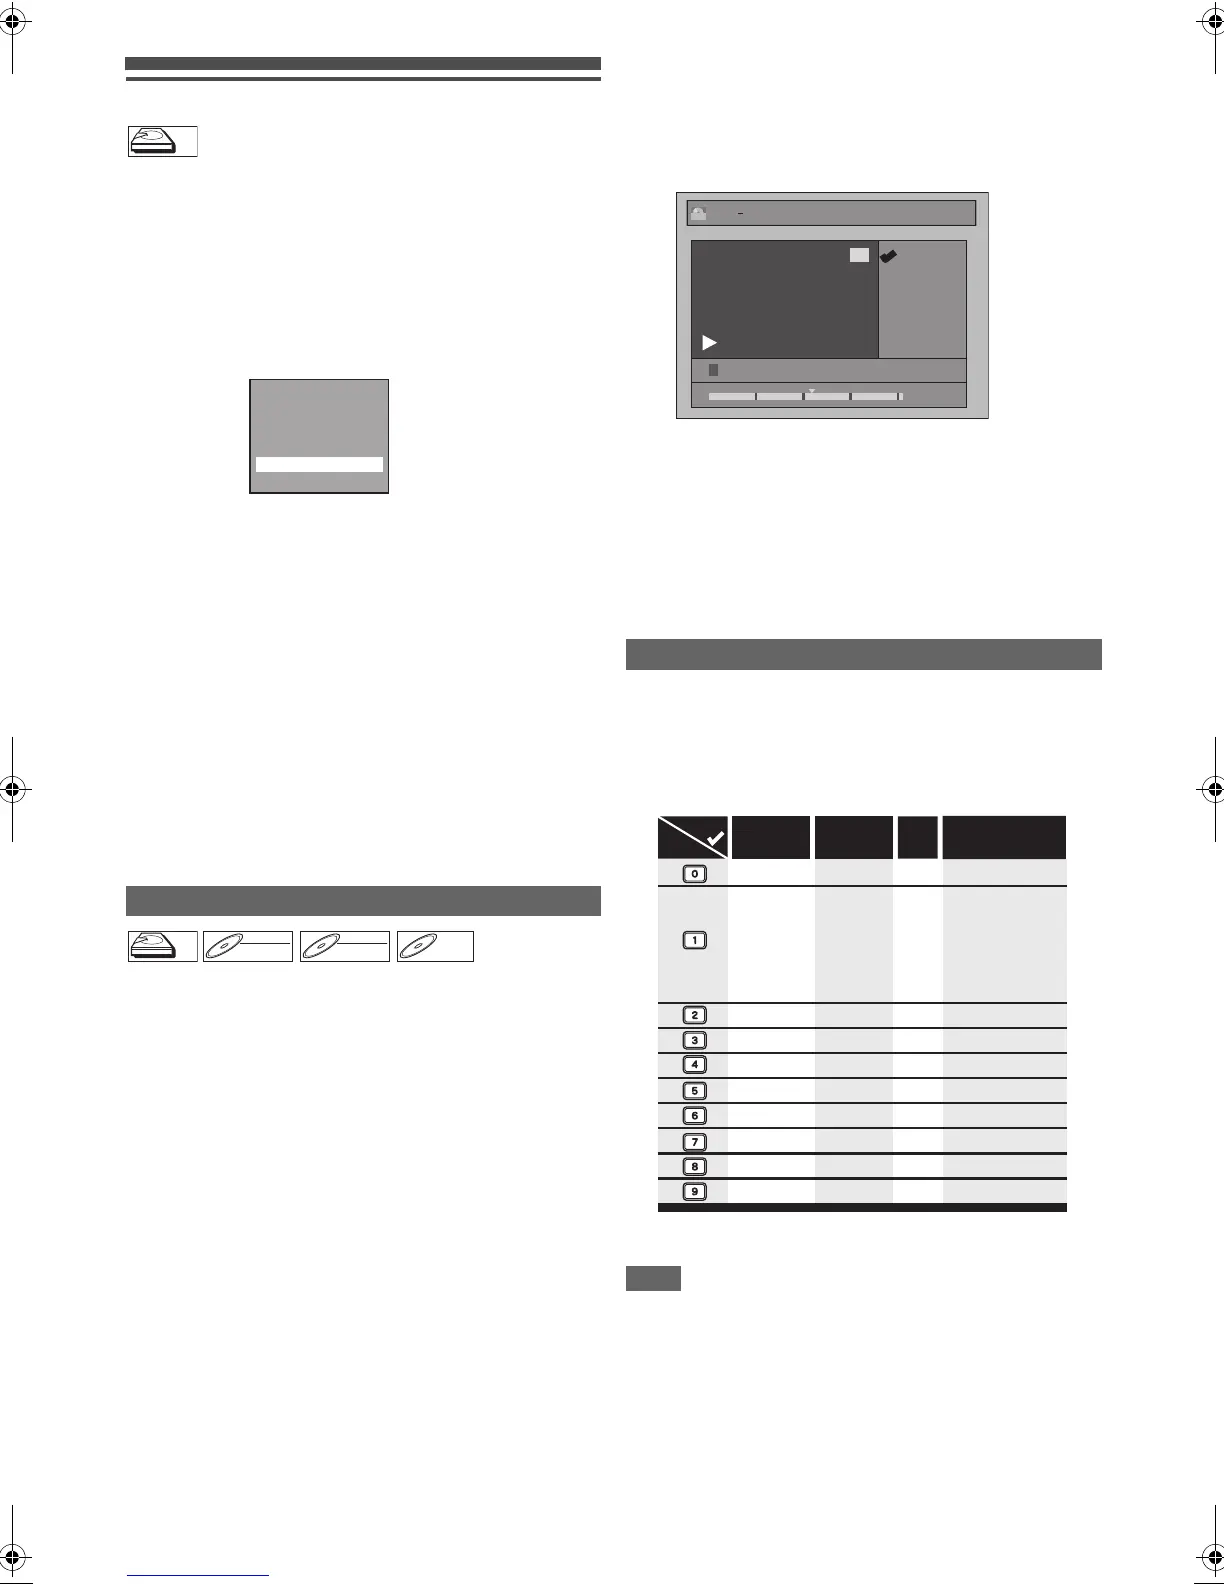
4 Select “Edit Title Name” using [K \ L], then
press [ENTER\OK].
A window for entering the title name will appear.
5 To enter the title name, refer to “Guide to
Editing Title Names” on page 60.
When you finish entering the title name, press
[ENTER\OK].
6 Select “Yes” using [K \ L], then press
[ENTER\OK].
The name you edited becomes the title.
7 Press [RETURN\BACK] repeatedly to exit.
Writing onto the disc starts.
It may take awhile to write the data on a disc.
• Characters set will be changed to the “@!?” automatically if
you press [1] after you selected the “ABC” or “abc” mode.
Note
• To delete letters, press [CLEAR] repeatedly. Press and hold
[CLEAR] to delete all letters.
• Press [0 \ 1] to move the cursor to the left or right.
• You can enter up to 30 letters.
• Unrecognisable characters will be replaced with asterisks
(*). If you delete them, adjoining characters may change to
asterisks (*) or other.
Editing Title Name
HDD
HDD
Resume Playback
Play From Start
Edit
Delete Multiple Titles
Dubbing
Add to Playlist
Title Delete
HDD
HDD
DVD-RW
DVD-RW
Video
DVD-RW
DVD-RW
VR
DVD-R
DVD-R
Guide to Editing Title Names
Step 1 : Select the desired character set using [K \ L], then
press [ENTER\OK].
Step 2 : Using the list below as a guide, press
[the Number buttons] repeatedly until the desired
letter appears.
A B C
a b c
1 2 3
@ ! ?
0:00:59
7/05/10 18:00 22 SP
1
ORG
1
Edit Edit Title Name
ABC
DEF
GHI
JKL
MNO
PQRS
TUV
WXYZ
abc
def
ghi
jkl
mno
pqrs
tuv
wxyz
! ” # $ % & ’ ( )
∗
+ , - . / : ; < = >
? @ [ ] ^ _ { | }
2
3
4
5
6
7
8
9
0
1
ABC
abc @ ! ?
123
––
–
–
–
–
–
–
–
–
Press
Select
<space> <space> <space>
E3TF0ED_EN.book Page 60 Wednesday, March 17, 2010 11:20 AM