Requirements for the milk samples to be examined
1. pH value: Minimum 6.3
2. Free of air bubbles: The sample must not foam, because air bubbles
significantly distort the measurement.
3. The sample must be liquid. It must not contain any solids.
4. The sample must be well mixed / stirred. For raw milk, the fat globules must
be well distributed.
5. Sample temperature: From 8° C to 40°C. The milk samples should show as
far as possible a uniform temperature.
The LactoFlash is a physical properties measurement device. It does not
perform any chemical analyses. Therefore, some basic chemical properties of
the samples must be met for successful usage of the LactoFlash:
■ It should be a real milk. Fermented milk products such as yoghurt, whey
and similar have properties which deviate too much from natural milk to expect
reliable results.
■ Additives which are not usually contained in milk such as, e.g.
flavourings, thickening agents, dyes, salts, preservatives, sugar and similar can
falsify the measurement results in unpredictable ways.
■ The sample does not necessarily need to be homogenised, but it must
not be viscid, sour or clotted in any case. In such cases, there is the additional
risk of blockages which can make the device unusable.
Procedure in the case of milk coagulations
It should first be ensured that no stale or precipitating milk (see above pH value
< 6.3) is being measured with the LactoFlash. However, if this does happen,
then rinse thoroughly immediately until the water in the waste hose is clear. An
intensive cleaning should be carried out afterwards
Entrainment
As with all measurement equipment where samples are pumped through internal
measurement chambers, the LactoFlash also has the interference effect of
entrainment. This consists of the precious sample or previous rinsing water not
being exactly 100 % flushed out so that small residues of this are mixed with the
current sample in the measurement section and can therefore falsify the
measurement result.
16 LactoFlash 31. Januar 2013
6. Initial Operation / Printer Connection
Insert the printer cable into the 6 V connection located on the rear of the
device. Then insert the other end of the cable into the corresponding socket
on the rear of the printer.
Proceed in the same way with the parallel interface cable. The two cables are
fitted with different plugs so that it is not possible to make a wrong connection.
7. Initial Operation / Turning the Device on
Turn the device on by the power switch.
After 15 Minutes warm-up phase the device
can be used.
8. Initial Operation / Turning the Printer on
Turn the printer on with the help of the sliding switch on the left-hand side of
the printer (see also the operating instructions for the printer).
Open the paper compartment of the printer. Remove the roll of thermal paper
from the compartment and insert the thermal paper into the slit provided. As
soon as the paper is detected in the slit, the printer pulls in the paper. Then
turn the printer to “Online Mode” by pressing the left-hand button.“Online-
Mode” is indicated by the green diode next to the button. Now the printer is
ready to print. If you would like to move the paper on, turn the printer to “Offline
Mode” with the left-hand button. Then press the right-hand “Feed” button -- the
paper is moved forward.
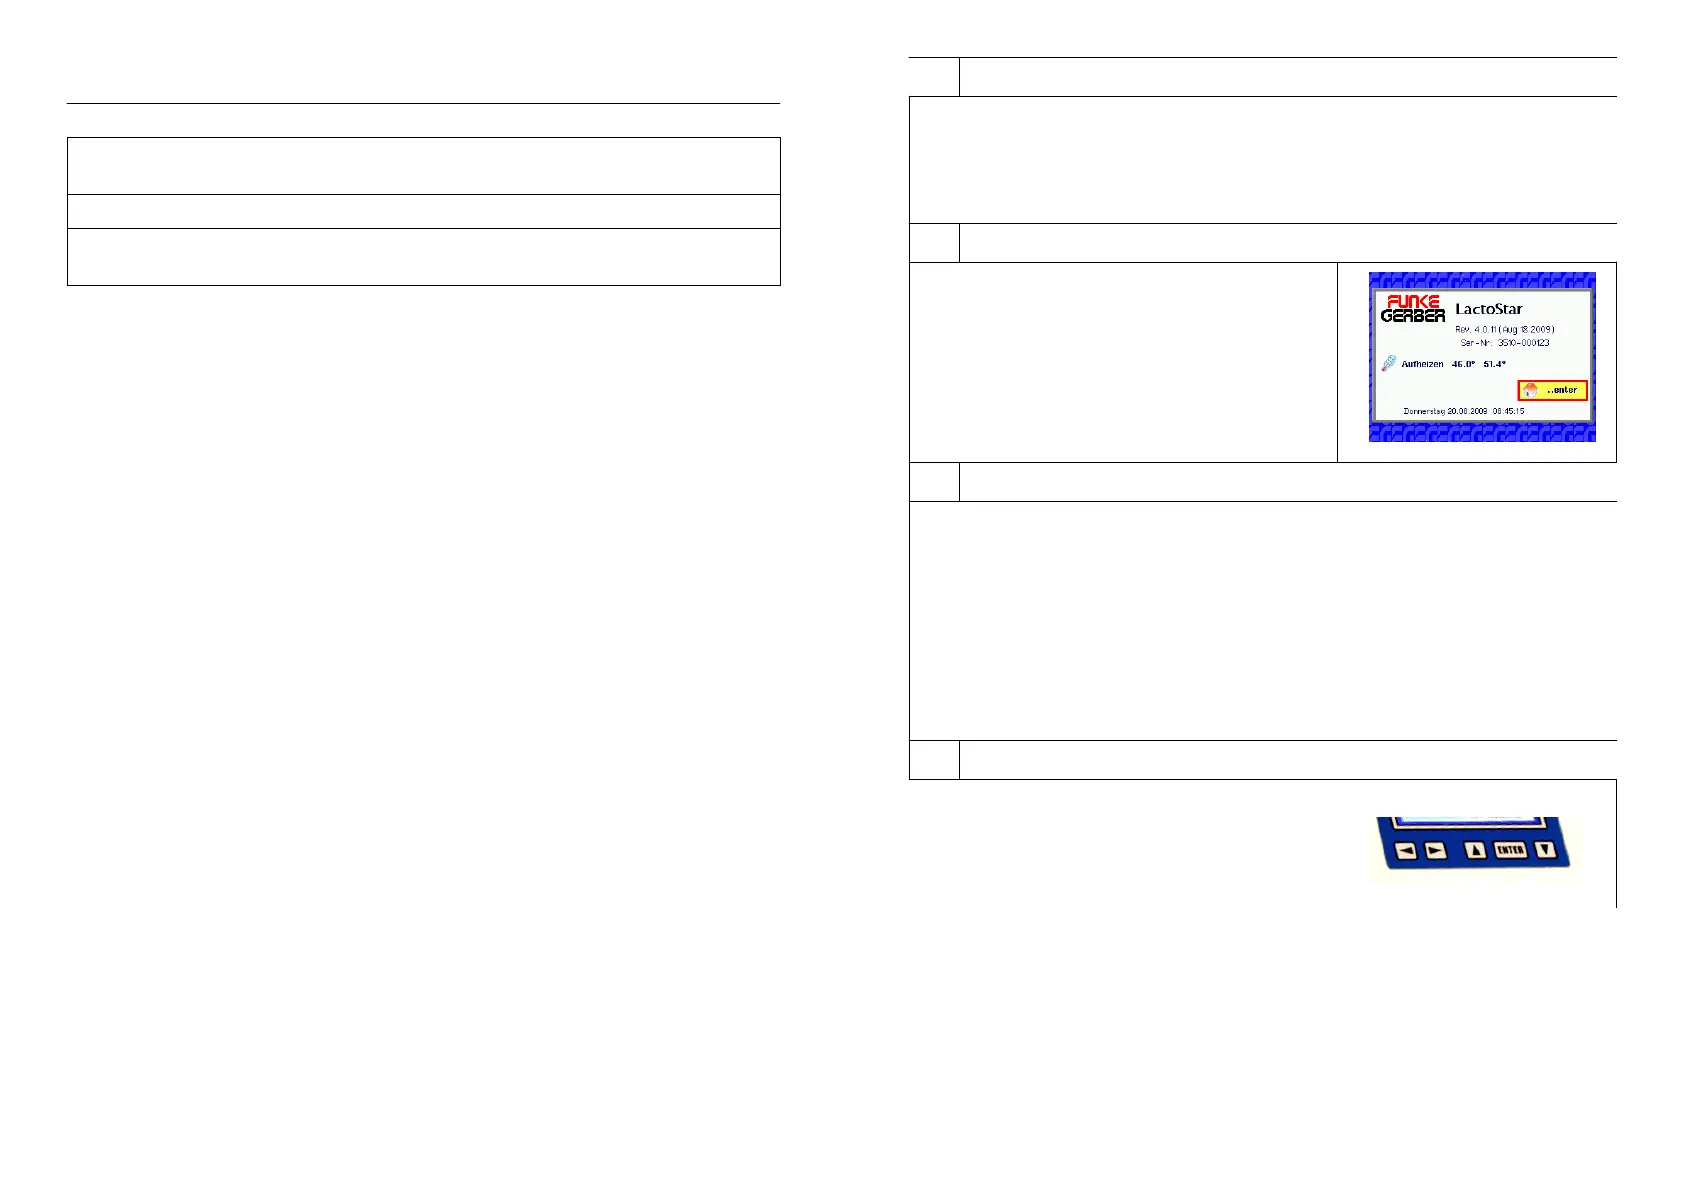
9. Initial Operation / Operating the Device
The device has 4 arrow buttons and one
“Enter” button. The “Enter” button is used to
start the function or action that has been
selected with the help of the arrow buttons.
LactoFlash 31. Januar 2013 5