Do you have a question about the Furinno 11191 and is the answer not in the manual?
Instruction for assembling the unit, showing part H.
Instruction for assembling the unit, showing part H and other components.
Details maximum load limits for the unit and safety warnings.
Contact information for product inquiries and replacement requests.
Provides an exploded view of parts and useful hints before starting assembly.
Lists all required hardware and parts with quantities for assembly.
Instructions for completing assembly steps 9 and 10.
Instructions for completing assembly steps 7 and 8, including hardware.
Instructions for completing assembly steps 1 and 2, detailing parts and hardware.
Instructions for completing assembly steps 3 and 4, using cam-lock screws.
Instructions for completing assembly steps 5 and 6, involving panel attachment.
| Category | Indoor Furnishing |
|---|---|
| Material | Engineered Wood |
| Assembly Required | Yes |
| Style | Modern |
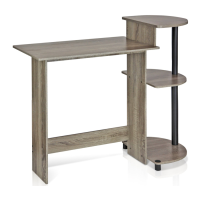
| Product Name | Furinno 11191 |
| Shape | Rectangle |
| Color | Black |