Do you have a question about the Furinno 11159 and is the answer not in the manual?
Install square legs onto the panel using screws.
Attach the bottom panel to the assembled unit with screws.
Upright the unit and attach the back panel to the back side with power pins.
Unfold the bin and slide it into the storage compartment.
Read steps carefully, sort parts, assemble on packaging to prevent damage, and clean with mild cleanser.
Insert dowels into specified panels and attach shelf panels to side and center panels.
Install cam-lock screws into the top panel and secure the assembled unit by tightening cam-lock nuts.
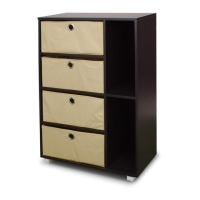
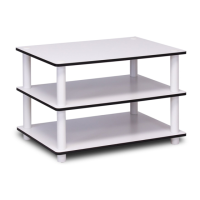
| Product Name | Furinno 11159 |
|---|---|
| Category | Indoor Furnishing |
| Material | Engineered Wood |
| Assembly Required | Yes |
| Style | Contemporary |
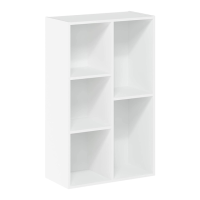
| Number of Shelves | 3 |
| Type | Shelf |
| Color | Black |
| Shape | Rectangle |
| Weight Capacity | 15 lbs per shelf |