Do you have a question about the Furinno 11157 and is the answer not in the manual?
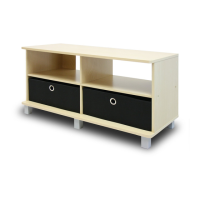
Attach assembled unit to Panel (A) and tighten Cam-Lock Nut.
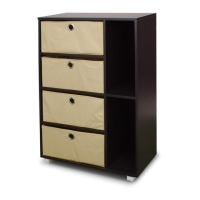
Install Nail Leg (3) to the bottom of Panel (D) using a hammer.
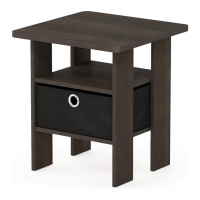
Unfold Bin (6) and slide into the table.
Specifies the maximum weight capacity for the unit in Pounds.
Important safety warnings regarding load limits and usage.
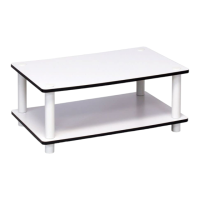
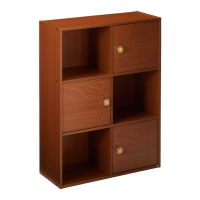
Lists all hardware and furniture parts with quantities and a visual diagram.
Provides essential tips for successful furniture assembly.
Insert plastic dowels and cam-lock nuts into specified panels.
Attach Panel (D) to Panels (B) & (C) and tighten with screws.
Attach Cam-Lock Screw (5) into the pre-drilled holes on Panel (A).
| Category | Indoor Furnishing |
|---|---|
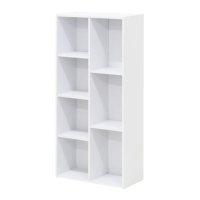
| Number of Shelves | 4 |
| Weight Capacity | 15 lbs per shelf |
| Assembly Required | Yes |
| Tools Included | No |
| Shape | Rectangular |
| Product Name | Furinno 11157 |
| Material | Engineered wood |