12
4. Setting up NavNet TZtouch and TZtouch2
After the FLIR M-Series setup is complete, the TZT9/14/BB and TZTL12F/15F should be set to detect the camera.
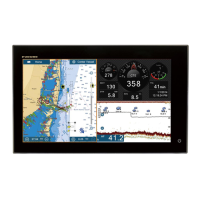
4-1 NavNet TZtouch Models TZT9/14/BB
(1) Access [Home] – [Menu] – [Camera] – [FLIR Installation].
At this stage, the IP address of the camera is not detected yet. You will see the [ ] symbol in [FLIR IP].
(2) In [Scan IP], tap [Scan].
If the M-Series camera is properly detected, you will see the IP address of the camera with the [ ] symbol.
Note:
If the IP address of the FLIR M-Series camera is not detected properly, the message of
[No FLIR Detected] will appear. See Section 5-1 for troubleshooting.
(3) Once the M-Series camera is detected, select the video input
port that the analog video output from the camera is connected.
In this example, [Camera 1] is selected.
After the settings (1) to (3) finishes, all the setting
options related to FLIR M-
available as shown at left.
 Loading...


