7
3. User Interface: AeroSphère Base
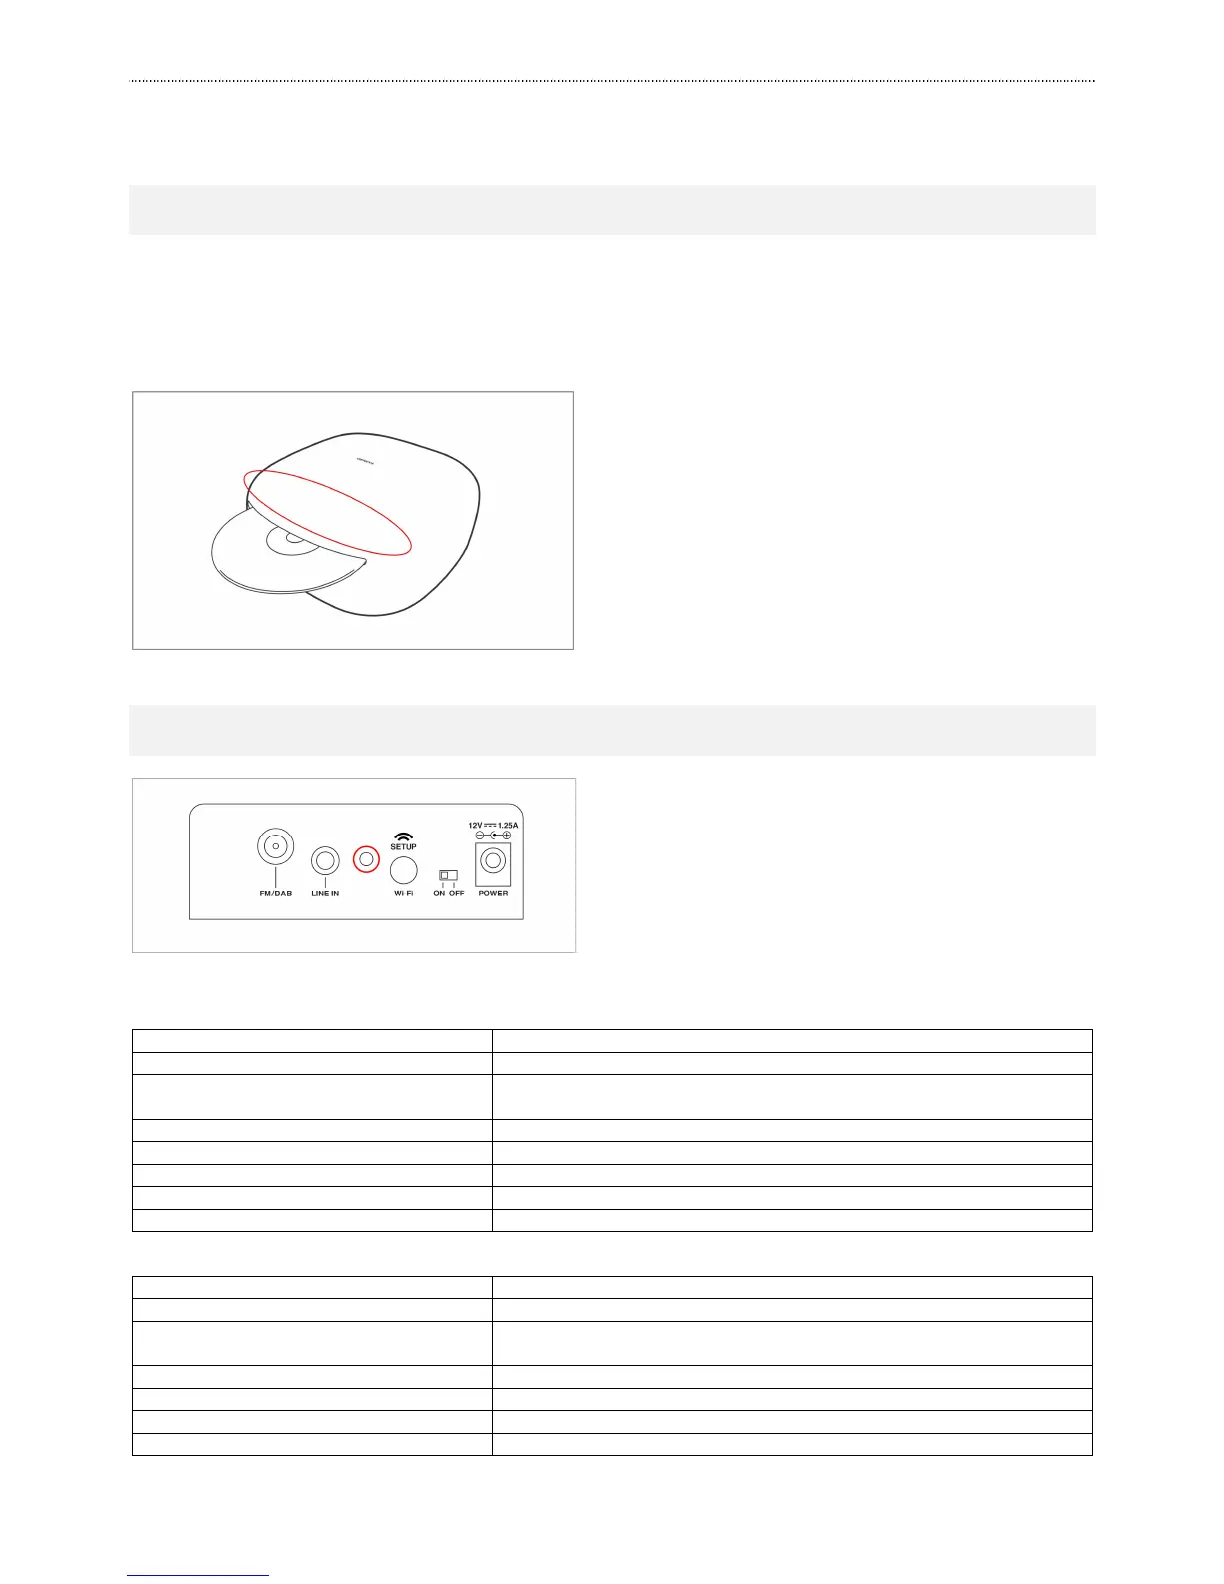
3.1. INSERT AND EJECT A CD
You can eject the CD with the following methods:
• Hold your hand about 10 mm above the CD slot. The CD eject sensor is located above the CD slot. It detects
the hand with a proximity sensor.
• Use the eject button on the remote control.
• Use the eject icon in the AeroSphère app.
Figure 3: Hold your hand in the marked area for inserting and ejecting a CD.
3.2. BACK PANEL
Figure 4: Base panel, the status light is marked in red.
Status light
AeroSphère Base is starting up, this takes about 20 seconds
Successfully connected to the Wi-Fi network and successfully
connected to at least one AeroSphère speaker
Successfully connected to the Wi-Fi network
In the process of connecting to the Wi-Fi network
Wi-Fi setup in progress (WPS method)
Wi-Fi setup in progress (network setup webpage method)
yellow / green / red (changing)
Software update in progress
Back panel
Press WPS, then select button setup method
Hold for 10 seconds: Network webpage setup method
Analog audio input ( stereo ), 3.5 mm connector
Connect to the AC power adapter connector
Input for external FM / DAB antenna. F-Type connector.
Shows current status, see details below

 Loading...