G-PLAY Installation Guide
Pa
e 13
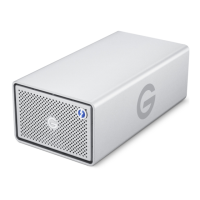
14. G-PLAY will now be displayed as an available hard disk
drive under My Computer as shown below.
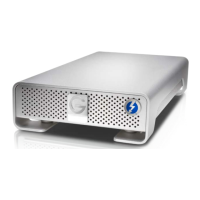
9.4 Creating the Required File Folders on G-PLAY
Windows 2000/XP
Now that G-PLAY is initialized, four folders must be
created to store the various types of media files.
1. Double click on the My Computer icon on your desktop.
2. Double click on the G-PLAY icon.
3. Click on the <File> menu and choose New > Folder.
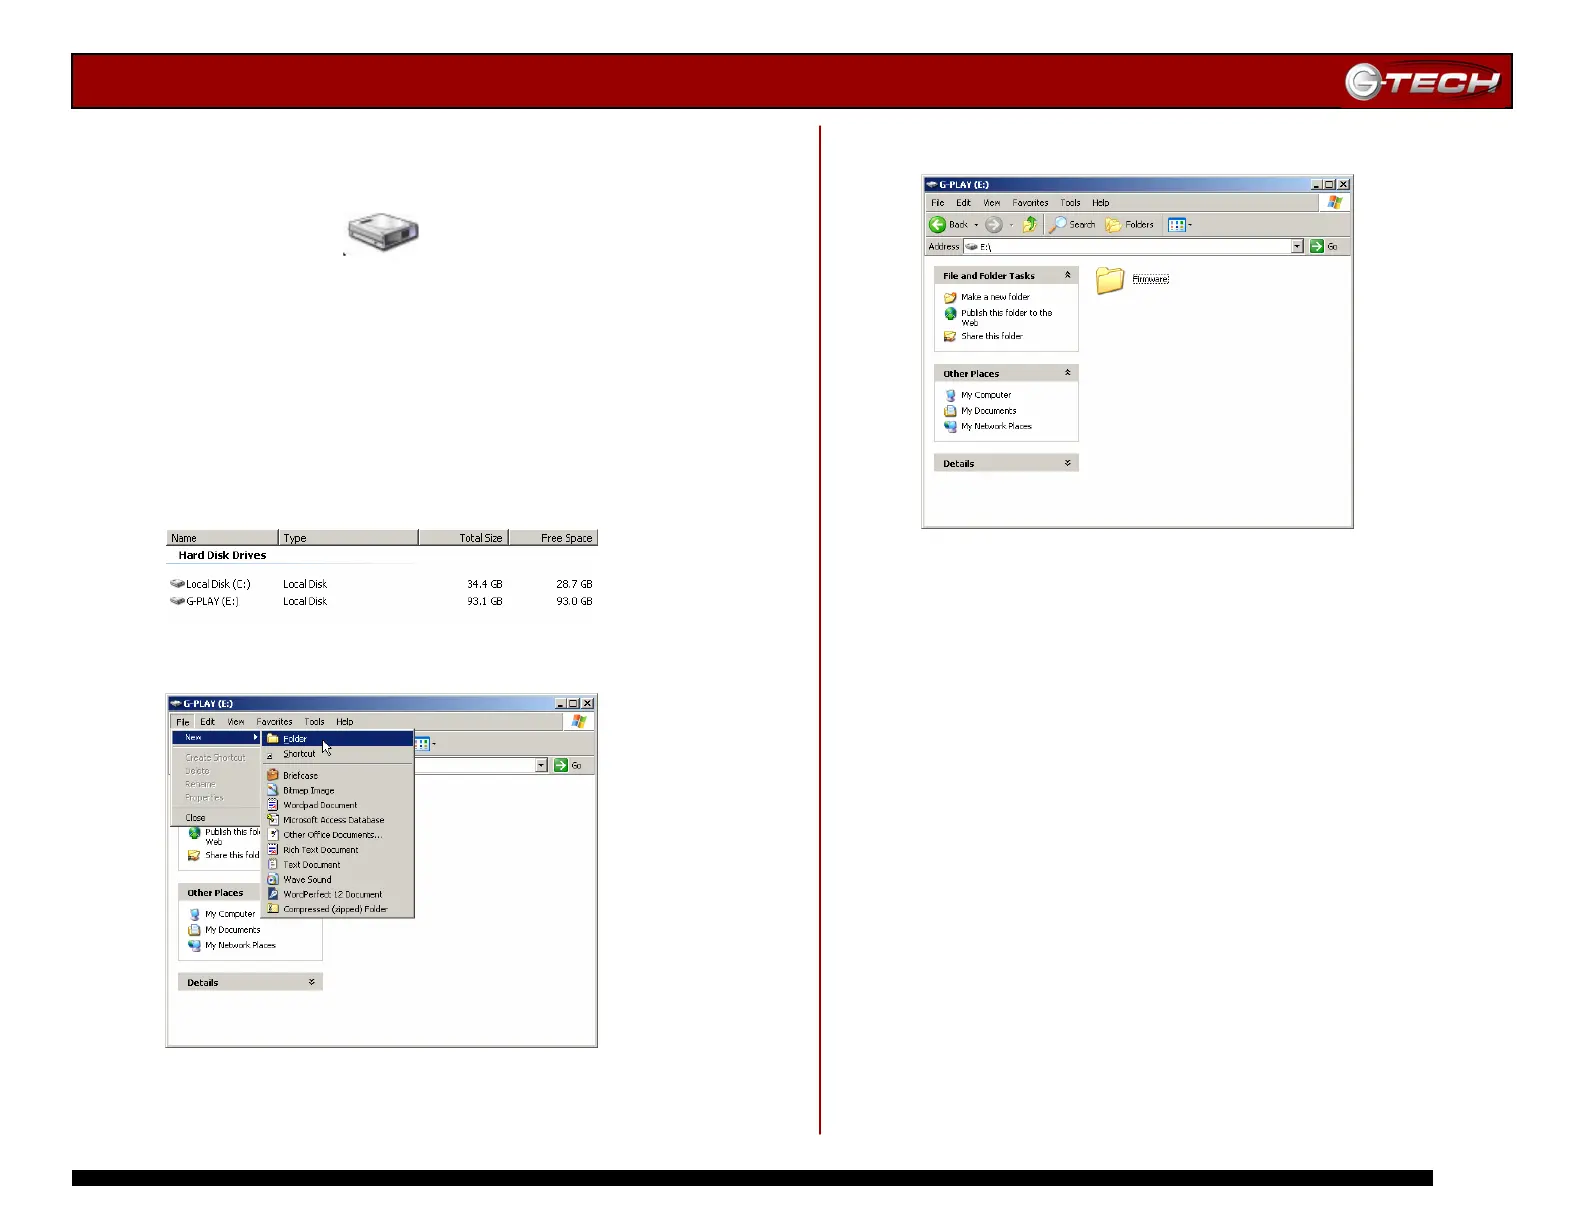
4. Name the new folder Firmware.
5. Repeat the above steps and create three additional new
folders with the following names…
• Movies
• Music
• Pictures
Note: DO NOT change the names of these folders. G-PLAY uses
these exact names to locate files. These folders can be
customized. For example, the Movies folder could be spilt into
sub-directories with names such as “Action”, “Adventure”, etc.
The Music folder could be spilt into “Rock”, “Classical”, etc.
Note: G-PLAY can also double as a standard USB hard drive. You
can create another folder (“Data” for example) to store your
data files. This folder will only be visible and accessible when G-
PLAY is attached to your computer.
G-PLAY (E:)

 Loading...