EasyManua.ls Logo

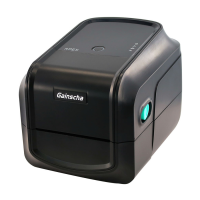
Gainscha GA-2408T Series - User Manual

Gainscha GA-2408T Series
93 pages
Print Icon
To Next Page IconTo Next Page
Loading...
1
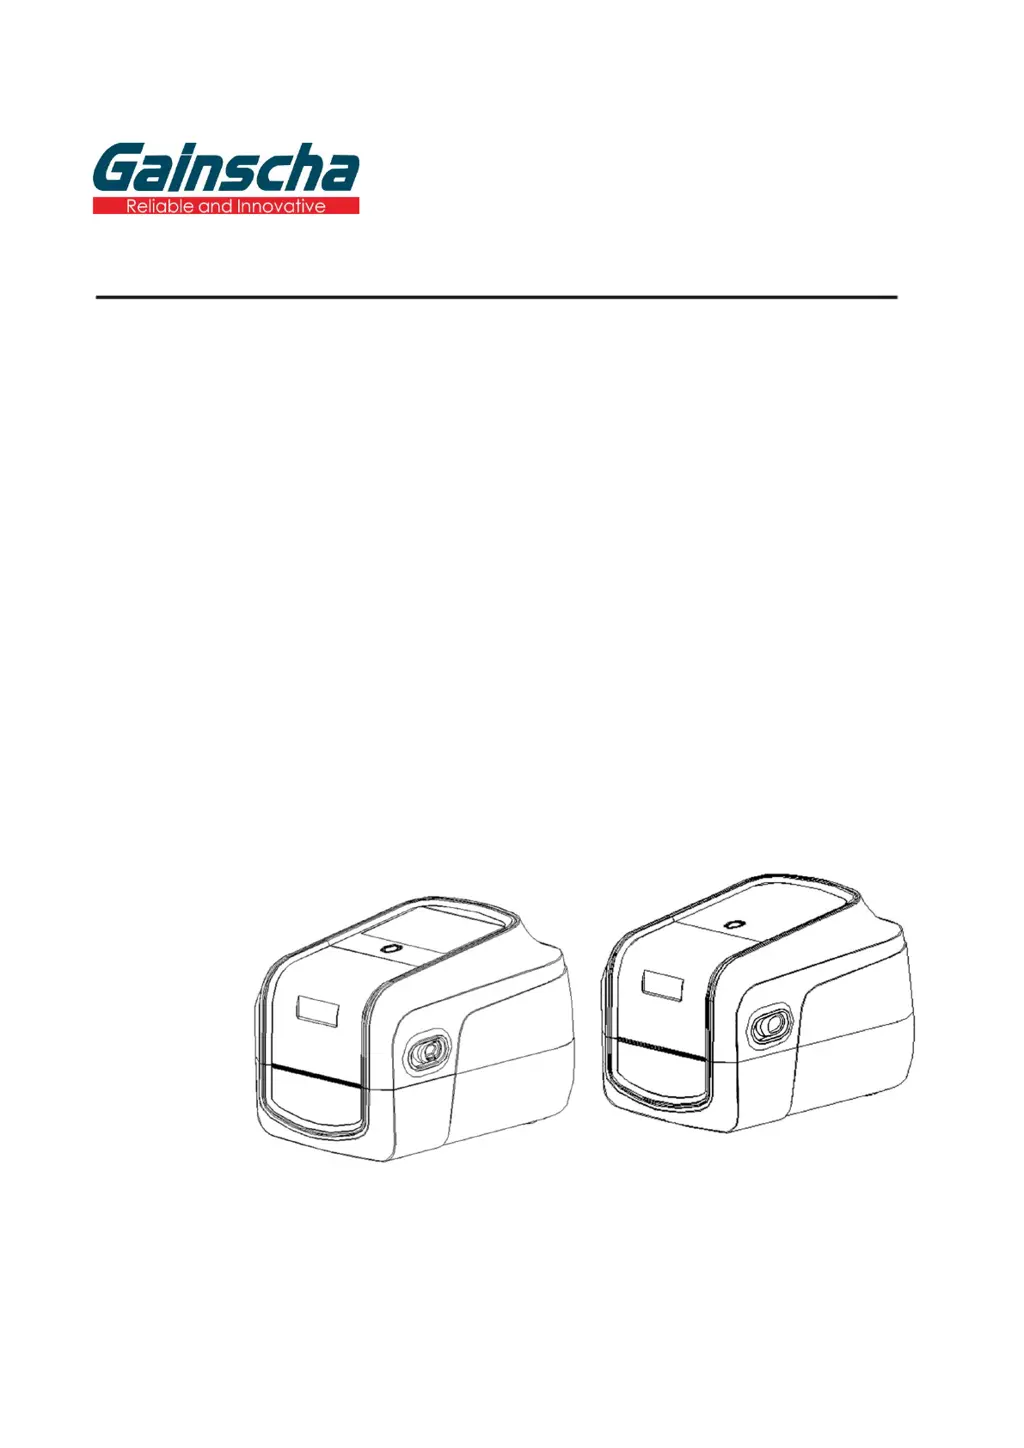
GA-2408T / GA-3406T / GA-6404T / Series
THERMAL TRANSFER / DIRECT THERMAL
APEX LABEL PRINTER
USER’S
MANUAL
Ver.1.1.0

Table of Contents

Questions and Answers

  • R
    russellholderSep 10, 2025
    What to do if my Gainscha GA-2408T is out of paper?
    • A
      Alicia MannSep 10, 2025
      If your Gainscha Label Maker is out of paper, install new paper. If the issue persists, the paper installation path may be incorrect, so follow the steps for installing the paper to reinstall. Also, the gap or black mark sensor detection could be incorrect, so recalibrate the label sensor.
  • D
    Daniel NavarroAug 23, 2025
    How to fix poor print quality on Gainscha Printer?
    • I
      ialexanderAug 23, 2025
      If your Gainscha Printer is producing poor quality prints, consider the following: - The ribbon and media might be loaded incorrectly. Reload the supply. - There may be dust or adhesive accumulation on the print head. Clean the print head. - The print density may not be set properly. Adjust the print density and print speed. - The printhead element might be damaged, or the ribbon and media may be incompatible. Change the ribbon or label media. - The print head mechanism may not be latching properly. Change the ribbon or label media.
  • S
    sgrahamAug 25, 2025
    What to do if my Gainscha Printer says 'Out of paper'?
    • C
      chandlerjohnnyAug 25, 2025
      If your Gainscha Printer indicates it's out of paper, here's what you can do: - Install new paper. - If paper was installed, the paper installation path may be incorrect. Reinstall the paper following the correct steps. - The gap / black mark sensor detection may be incorrect. Recalibrate the label sensor.
  • J
    Joseph EvansAug 27, 2025
    How to fix paper jam in Gainscha Printer?
    • S
      smithscottAug 27, 2025
      If you're experiencing a paper jam in your Gainscha Printer: - The gap / black mark sensor detection may be incorrect. Recalibrate the label sensor. - The label size may be set incorrectly. Set the correct label size. - A label may be blocked inside the printer. Clean the inside of the printer.
  • A
    Ashley PetersonAug 28, 2025
    What to do if my Gainscha Printer says 'Out of ribbon'?
    • W
      Walter SantanaAug 28, 2025
      If your Gainscha Printer displays an 'Out of ribbon' message: - Install a new ribbon. - If a new ribbon was installed, the ribbon installation path may be incorrect. Follow the steps for installing the ribbon to reinstall.
  • T
    Thomas CurtisAug 29, 2025
    How to troubleshoot Gainscha Printer when the power indicator does not illuminate?
    • C
      Carl WeeksAug 30, 2025
      If the power indicator on your Gainscha Printer isn't lighting up, it's likely that the power cord is not properly connected. Ensure you plug the power cord into both the printer and the outlet, and then switch the printer on.
  • K
    Karen NewtonSep 18, 2025
    What to do if the power indicator does not illuminate on my Gainscha GA-2408T?
    • Z
      Zachary HernandezSep 18, 2025
      If the power indicator on your Gainscha Label Maker does not illuminate, the power cord is not properly connected. Plug the power cord into the printer and the outlet, then switch the printer on.
  • T
    Tracy SmithSep 12, 2025
    Why is the printing position of small labels incorrect on my Gainscha GA-2408T Label Maker?
    • J
      James WilliamsSep 12, 2025
      Incorrect printing position of small labels on your Gainscha Label Maker can occur if the media sensor sensitivity is not set properly, so calibrate the sensor sensitivity again. Ensure the label size is correct. If using the software BarTender, set the vertical offset in the driver.
  • B
    Brandi HuberSep 8, 2025
    What causes missing printing on the sides of labels with Gainscha GA-2408T Label Maker?
    • Z
      Zachary WilcoxSep 9, 2025
      Missing print on the sides of labels with your Gainscha Label Maker is caused by wrong label size setup. Set the correct label size.
  • I
    iobrienSep 5, 2025
    How to fix wrinkle problem on Gainscha Label Maker?
    • P
      pollardjohnSep 5, 2025
      Wrinkles during printing with your Gainscha Label Maker may occur due to several reasons. Ensure the ribbon installation is correct. Make sure the label guide touches the edge of the media guide, because media installation might be incorrect. Adjust print density. Also, check media feeding.

Summary

1. Introduction

1.1 Product Introduction

Provides an overview of the Gainscha bar code label printer features and benefits.

1.2 Product Features

Details the standard features of the T series printers.

2. Operations Overview

2.1 Unpacking and Inspection

Guides users on how to unpack and inspect the printer and its accessories.

2.2 Printer Overview

Identifies the printer's exterior and interior components and interfaces.

3. Setup

3.1 Setting up the Printer

Provides step-by-step instructions for initial printer setup.

3.2 Install Printer Driver

Guides users through the process of installing the printer driver software.

3.4 Loading the Media

Instructions for loading roll labels and media into the printer.

4. Button Functions

4.1 Regular Button Functions

Explains the functions of the printer's main button in different modes.

4.2 Power-on Utilities

Describes how to access special functions by pressing buttons during power-on.

5. Printer Utility

5.1 Start the Printer Utility

Guides users on how to launch and navigate the Printer Utility software.

5.2 Printer Utility Status & Information

Explains how to use the utility to get printer status and information.

5.3 Printer Setup

Details how to access and modify printer settings via the utility.

5.8 Wi-Fi Setup

Guides on setting up the printer's Wi-Fi connection.

5.17 Printer Utility - RFID Test

Explains how to perform RFID tests like writing and reading data.

6. Label editing software - BarTender

6.1 Design labels and print contents

Step-by-step guide for designing labels using BarTender software.

6.2 Import the database

Instructions on importing databases for batch printing in BarTender.

6.5 Add RFID Tags in BarTender

Instructions on adding RFID tags within the BarTender software.

7. RFID Functions and Protocols

7.1 ISO 18000-6 C Protocol Introduction

Provides an introduction to the ISO18000-6C protocol and data storage areas.

7.2 RFID Driver Installation

Guides on installing the RFID driver for the printer.

7.3 RFID Calibration

Explains how to perform auto and manual calibration for the RFID sensor.

7.4 RFID Password Settings

Details how to set Access and Kill Passwords for RFID tags.

8. RFID Data Writing in BarTender

8.1 Write Open Data in EPC Area

Explains how to write open data into the EPC area of RFID tags.

8.3 EPC Area Write Locking Data

Details how to lock the EPC area of RFID tags.

9. Other RFID Function Settings

10. Printer Program Upgrade

10.1 Printer Status Upgrade

Guides on upgrading the printer's firmware via status monitoring.

10.2 Debug Mode Upgrade Program

Explains how to upgrade the printer firmware using debug mode.

11. LCD Menu Functions

11.1 Enter the Menu

Instructions on how to access the printer's LCD menu.

11.2 Menu Overview

Provides an overview of the printer's menu categories and functions.

11.3 Error and Screen Message Introduction

Explains common screen messages and their meanings for troubleshooting.

12. Communication Interfaces

12.1 USB Interfaces Pinout

Details the pinout for the USB Type-A and Type-B communication interfaces.

12.3 Serial and Ethernet Port Pinouts

Details the pinout for the Serial (RS232) and Ethernet ports.

13. Troubleshooting

13.1 Common Problems

Lists common printer problems and provides their solutions.

14. Maintenance

15. Revise History

Gainscha GA-2408T Series Specifications

General IconGeneral
Print Resolution203 dpi
Maximum Print Width104 mm
Label Thickness Range0.06 mm - 0.25 mm
Printing MethodThermal Transfer
InterfaceUSB
Memory4 MB Flash, 8 MB SDRAM
Power SupplyAC 100-240V, 50/60Hz
Operating Temperature5°C - 40°C

Related product manuals