O
Omar AndersonJul 25, 2025
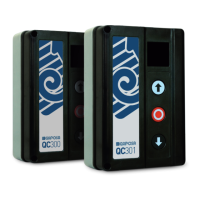
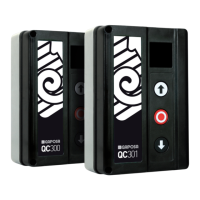
Why is the LED switch on steadily on my GAPOSA QC101 Control Unit?
- TTroy WillisJul 26, 2025
If the LED switch on your GAPOSA Control Unit is steadily lit, it indicates an incorrect DIP switch setting. To resolve this: 1. Set all DIP switches to the OFF position. 2. Wait for 5 seconds. 3. Set the DIP switches to your desired configuration, following the provided instructions.