HARDTOP LIFTER INSTALLATION
6. Vehicle Installation
1. Lift the frame above the height of the vehicle’s top.
Po
sition the vehicle under the frame and then lower the
frame onto the roof. Perfect alignment is not necessary,
but try to get close.
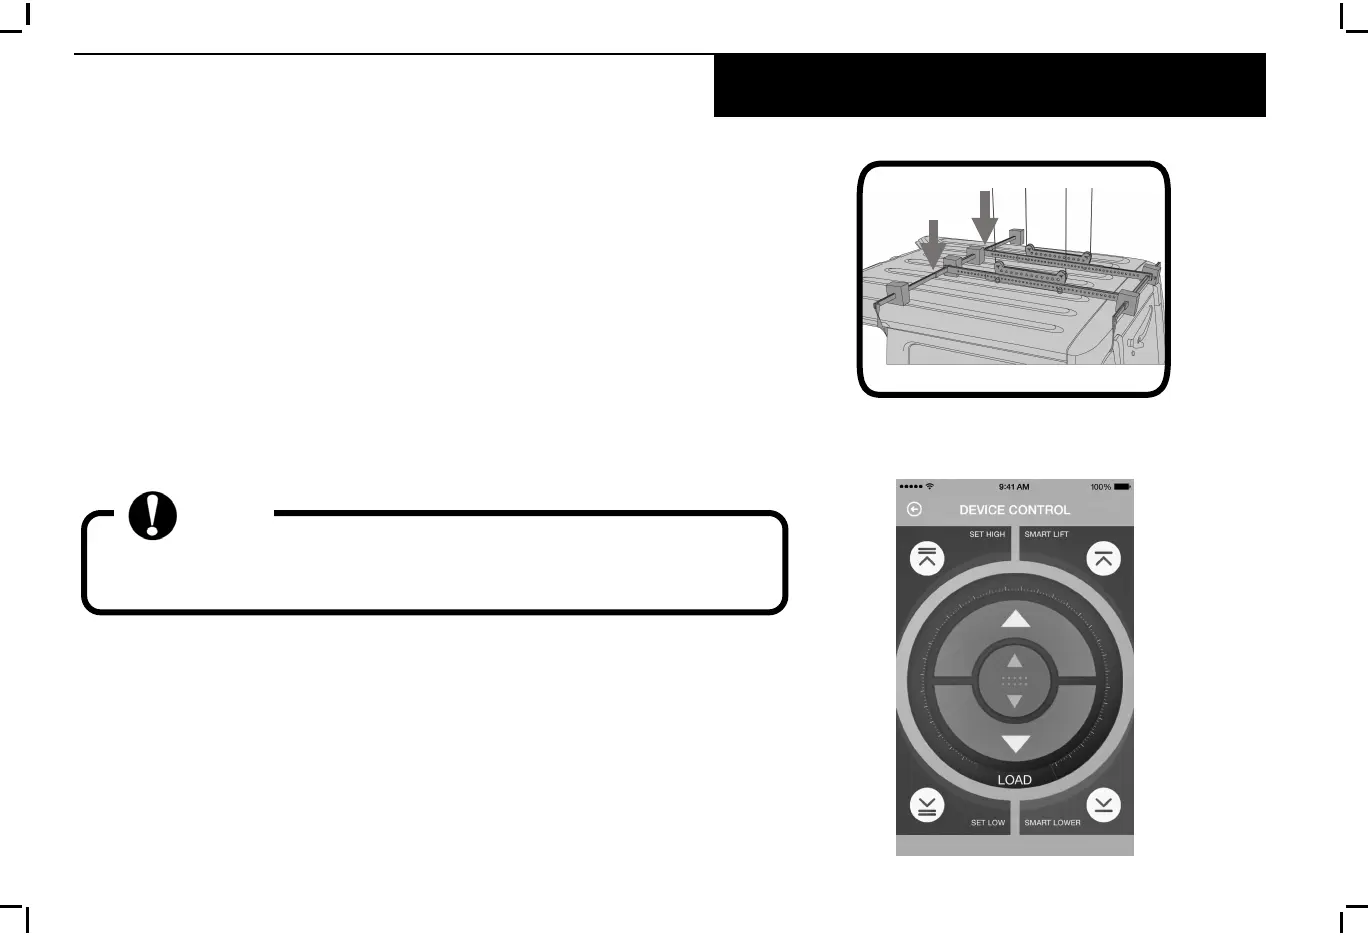
2. Adjust width by removing the long pins, repositioning the
adj
uster arms, and replacing the pins. (Fig 6.2)
Similarly, set the front to back length to be 4-6 inches
longer than the vertical side of the hard top.
3. Set the “Lower Smart Point” in the App. Refer to the
My
Lifter Manual for App instructions.
Fig 6.2
Back
Front
VEHICLE
The frame will not lift level when unattached to the hard top. It
should be leveled after the hard top is attached and all cargo stowed.
NOTE
11
 Loading...