H)
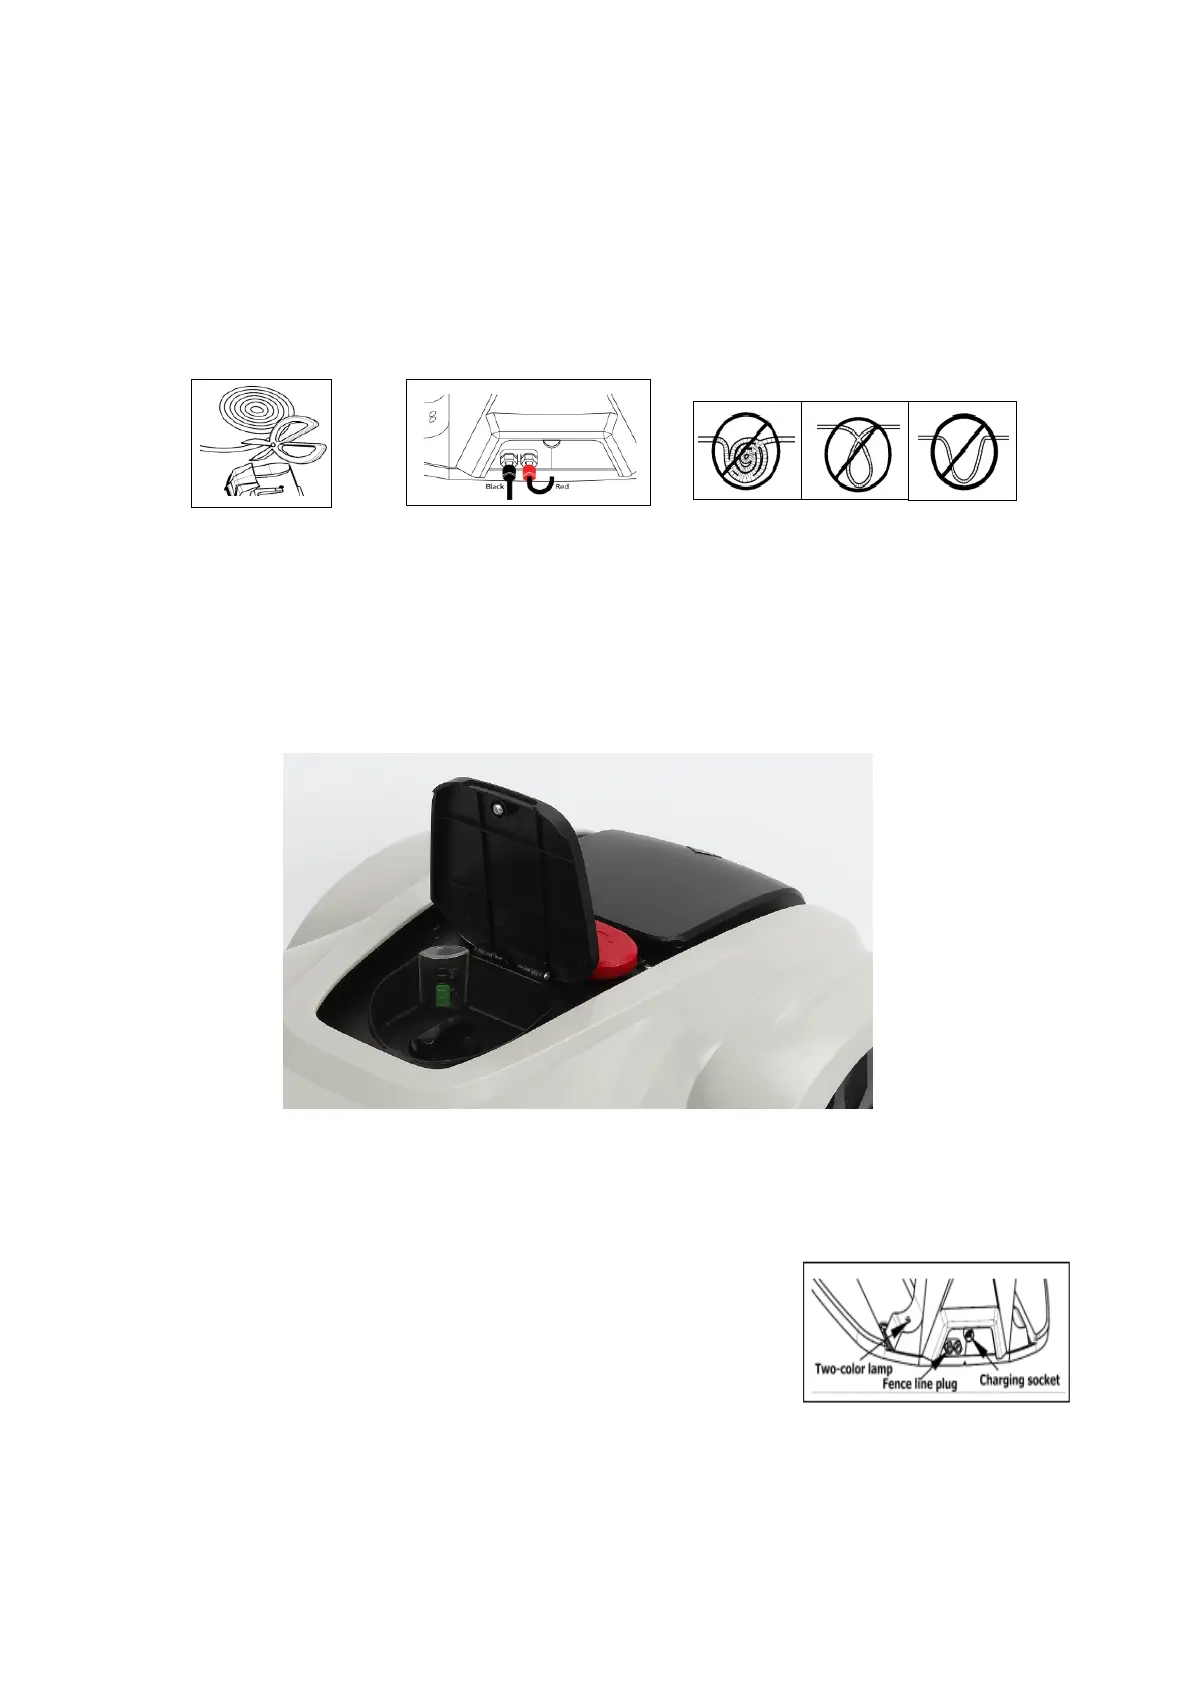
After all the fence line is fixed, reserve 10-15cm terminals respectively for both front and tail
ends. Strip the terminals to reveal the copper lines for 2-3cm (Fig. A). Remove the nuts, fasten
the copper lines on copper conductors. Then tighten the nuts (Fig.B). Front tail connect with
the red pole, rear tail connect with the black pole. When the charger is connected to the
charging station and the fence line starts to operate, the red lamp should be off.
Fig. A Fig. B Fig. C
Note: Do not fold or repeat wiring with the rest fence line. Cut it instead (Fig. C)
Mowing He
i
gh
t:
The mowing height can be adjusted from 2.5cm to 5.5cm by adjusting knob.
Note : Make sure that the power is off before operation.
C
h
ar
g
i
ng
:
The mower can be charged in the charging station. The extruding
poles of the mower should be in contact with the respective paddles
of the charging station. The mower will find its way to the station for
charging
automatically
when it needs to recharge.
 Loading...