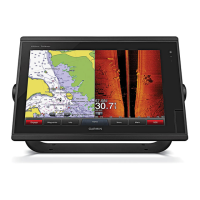
Charts and 3D Chart Views
The charts and 3D chart views that are available depend on the
map data and accessories used.
You can access the charts and 3D chart views by selecting
Charts.
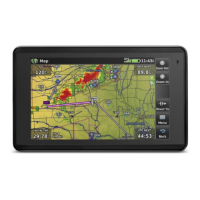
Navigation Chart: Shows navigation data available on your pre-
loaded maps and from supplemental maps, if available. The
data includes buoys, lights, cables, depth soundings,
marinas, and tide stations in an overhead view.
Perspective 3D: Provides a view from above and behind the
boat (according to your course) and provides a visual
navigation aid. This view is helpful when navigating tricky
shoals, reefs, bridges, or channels, and is beneficial when
trying to identify entry and exit routes in unfamiliar harbors or
anchorages.
Mariner’s Eye 3D: Shows a detailed, three-dimensional view
from above and behind the boat (according to your course)
and provides a visual navigation aid. This view is helpful
when navigating tricky shoals, reefs, bridges, or channels,
and when trying to identify entry and exit routes in unfamiliar
harbors or anchorages.
NOTE: Mariner's Eye 3D and Fish Eye 3D chart views are
available with premium charts, in some areas.
Fish Eye 3D: Provides an underwater view that visually
represents the sea floor according to the chart information.
When a sonar transducer is connected, suspended targets
(such as fish) are indicated by red, green, and yellow
spheres. Red indicates the largest targets and green
indicates the smallest.
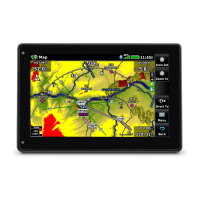
Fishing Chart: Provides a detailed view of the bottom contours
and depth soundings on the chart. This chart removes
navigational data from the chart, provides detailed
bathymetric data, and enhances bottom contours for depth
recognition. This chart is best for offshore deep-sea fishing.
NOTE: The offshore Fishing chart is available with premium
charts, in some areas.
Radar Overlay: Superimposes radar information on the
Navigation chart or the Fishing chart, when the chartplotter is
connected to a radar. This feature is not available with all
models.
Navigation Chart and Offshore Fishing Chart
NOTE: The offshore Fishing chart is available with premium
charts, in some areas.
The Navigation and Fishing charts allow you to plan your
course, view map information, and follow a route. The Fishing
chart is for offshore fishing.
To open the Navigation chart, select Charts > Nav. Chart.
To open the Fishing chart, select Charts > Fishing.
Selecting an Item on the Map Using the Device Keys
1
From a chart or 3D chart view, select
, , , or to move
the cursor.
2
Select SELECT.
Selecting a Map
If your product has both BlueChart
®
g2 and Garmin LakeVü
™
HD
built-in maps, you can select which map to use. Not all models
have both types of built-in maps.
1
From the Navigation chart, select MENU > Built-in Map.
2
Select an option:
• When you are on an inland lake, select LakeVü™ HD.
• When you are offshore, select BlueChart® g2.
Measuring a Distance on the Chart
1
From a chart or the Radar overlay, select a location.
2
Select Measure Distance.
A push pin appears on the screen at your present location.
The distance and angle from the pin is listed in the corner.
TIP: To reset the pin and measure from the current location of
the cursor, select SELECT.
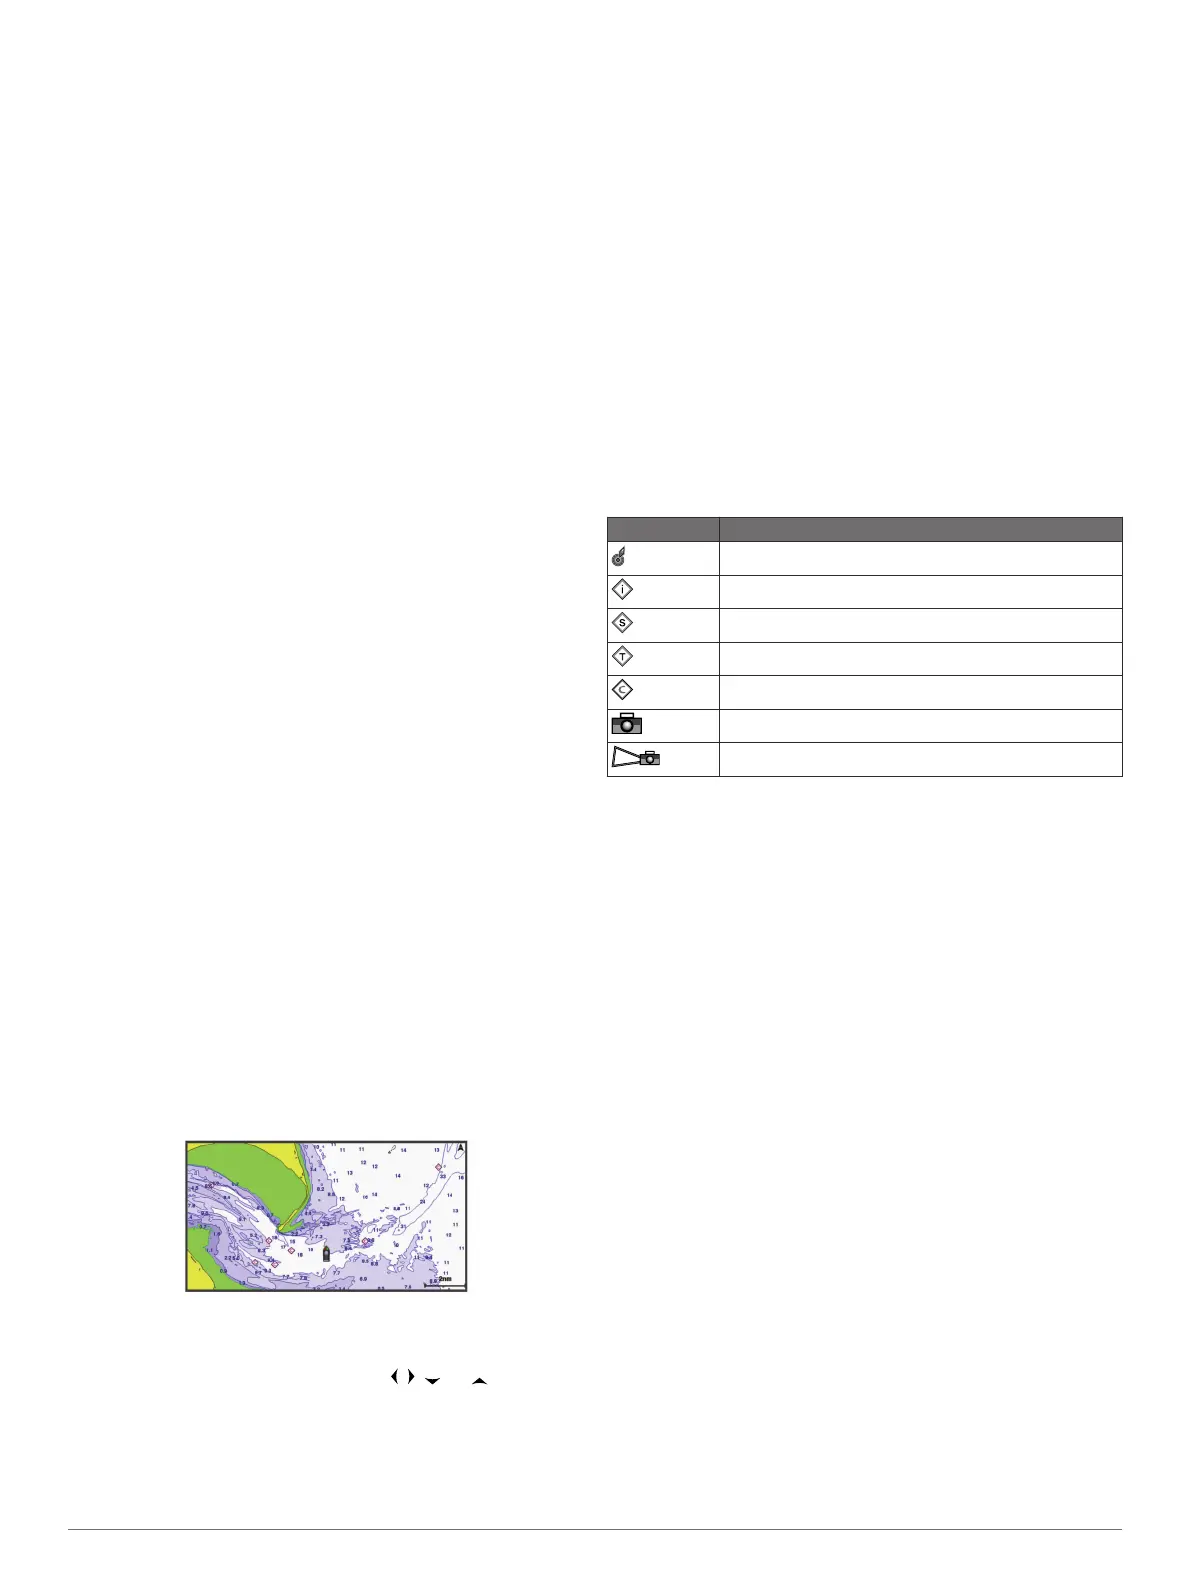
Chart Symbols
This table contains some of the common symbols you might see
on the detailed charts.
Icon Description
Buoy
Information
Marine services
Tide station
Current station
Overhead photo available
Perspective photo available
Other features common to most charts include depth contour
lines, intertidal zones, spot soundings (as depicted on the
original paper chart), navigational aids and symbols,
obstructions, and cable areas.
Showing a Different Chart
1
From a combination screen or SmartMode layout with a
chart, select MENU > Navigation Chart Menu > Change
Chart.
2
Select a chart or 3D chart view.
Creating a Waypoint on the Chart
1
From a chart or a 3D chart view, select a location or object,
and select SELECT.
A list of options appears along the right side of the chart. The
options that appear vary based on the location or object you
selected.
2
Select New Waypoint.
Navigating to a Point on the Chart
1
From the Navigation chart or Fishing chart, select a location.
2
Select SELECT > Navigate To.
Viewing Location and Object Information on a Chart
You can view information about a location or an object on the
Navigation chart or the Fishing chart.
NOTE: The offshore Fishing chart is available with premium
charts, in some areas.
1
From the Navigation chart or Fishing chart, select a location
or object.
A list of options appears along the right side of the chart. The
options that appear vary based on the location or object you
selected.
4 Charts and 3D Chart Views