Connection Considerations
When making the wiring connections, observe the following considerations.
• You must connect the trolling motor to a 24or 36Vdc battery bank capable of supplying 60A continuously.
• You must connect to the power source through a circuit breaker rated for continuous 60A (not included).
• If necessary, you can extend the power cable using the appropriate wire gauge based on the length of the
extension (Power Cable Extension, page7).
• For convenience, you can install a trolling motor plug and receptacle rated for 60A or greater (not included)
in the bulkhead to make it easier to disconnect the motor from the power source.
Installation Procedures
NOTICE
When assembling the motor, you must use hand tools to install all of the parts, observing the torque
specifications when provided. Using power tools to assemble the motor may damage the components, and
voids the warranty.
Installing the Motor on the Deck
NOTE: If the supplied bolts are not long enough for the mounting surface, you must obtain the appropriate
length stainless steel pan head
1
/
4
in. -20 (M6x1) bolts.
1 Select a mounting location on the bow of your boat, according to the mounting considerations.
2 Place the included mounting template on the mounting location with the mount on the template overhanging
the gunwale or the edge of the boat deck.
3 Mark the mounting hole locations on the boat deck.
4 Using a
5
/
16
in. (8mm) drill bit, drill the mounting holes.
5 Place the motor on the boat deck, aligning the holes on the mount with the mounting holes.
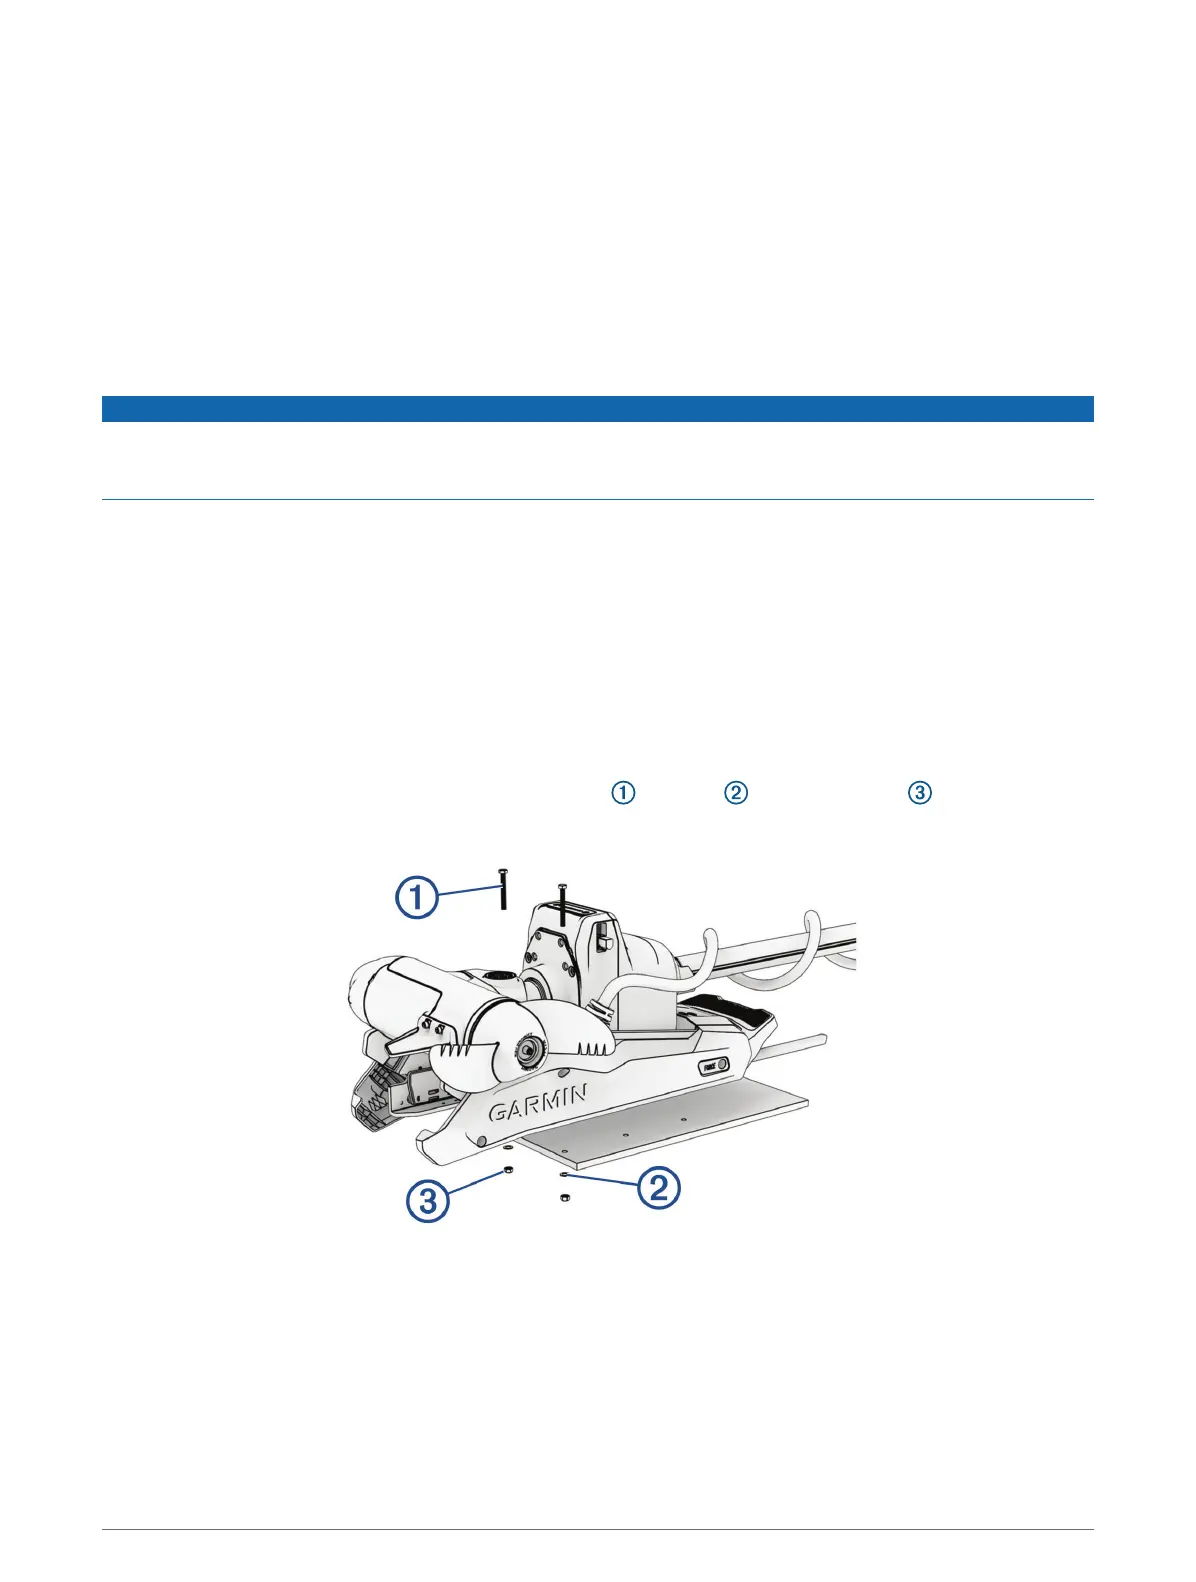
6 Secure the mount to the deck using the included bolts , washers , and locking nuts in the two holes
closest to the gunwale or edge of the boat deck.
7 Adjust the depth stop so that the motor can deploy without hitting the ground.
4