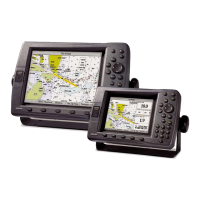
GPSMAP 2006 / 2010/ GPS 17N Installation Guide
Introduction
The GPSMAP 2006/2010 must be properly installed according to the follow-
ing instructions to get the best possible performance. To complete the installation,
you’ll need the appropriate fasteners, tools and mounts listed in each section. These
items should be available at most marine dealers. When in doubt, seek profes-
sional assistance.
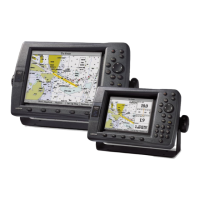
Surface Mount
Tools
Drill Pencil
Drill Bit Screw Driver
• Mounting Hardware (Fasteners) Not Included
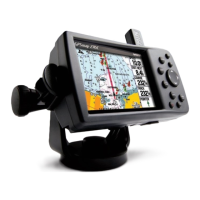
Installing the Bail Mount and Unit:
1. Using the Bail Mount as a template, mark the location of the four mounting holes
with the pencil. Be sure to leave at least two inches of clearance behind the unit
for the wiring connector.
2. Using an appropriate size drill bit, drill pilot holes for the fasteners that you choose
to use.
3. Secure the Bail Mount to the surface with the fasteners.
4. Loosen the Mounting Knobs.
5. Slide the unit into the Bail Mount and tighten the Mounting Knobs.
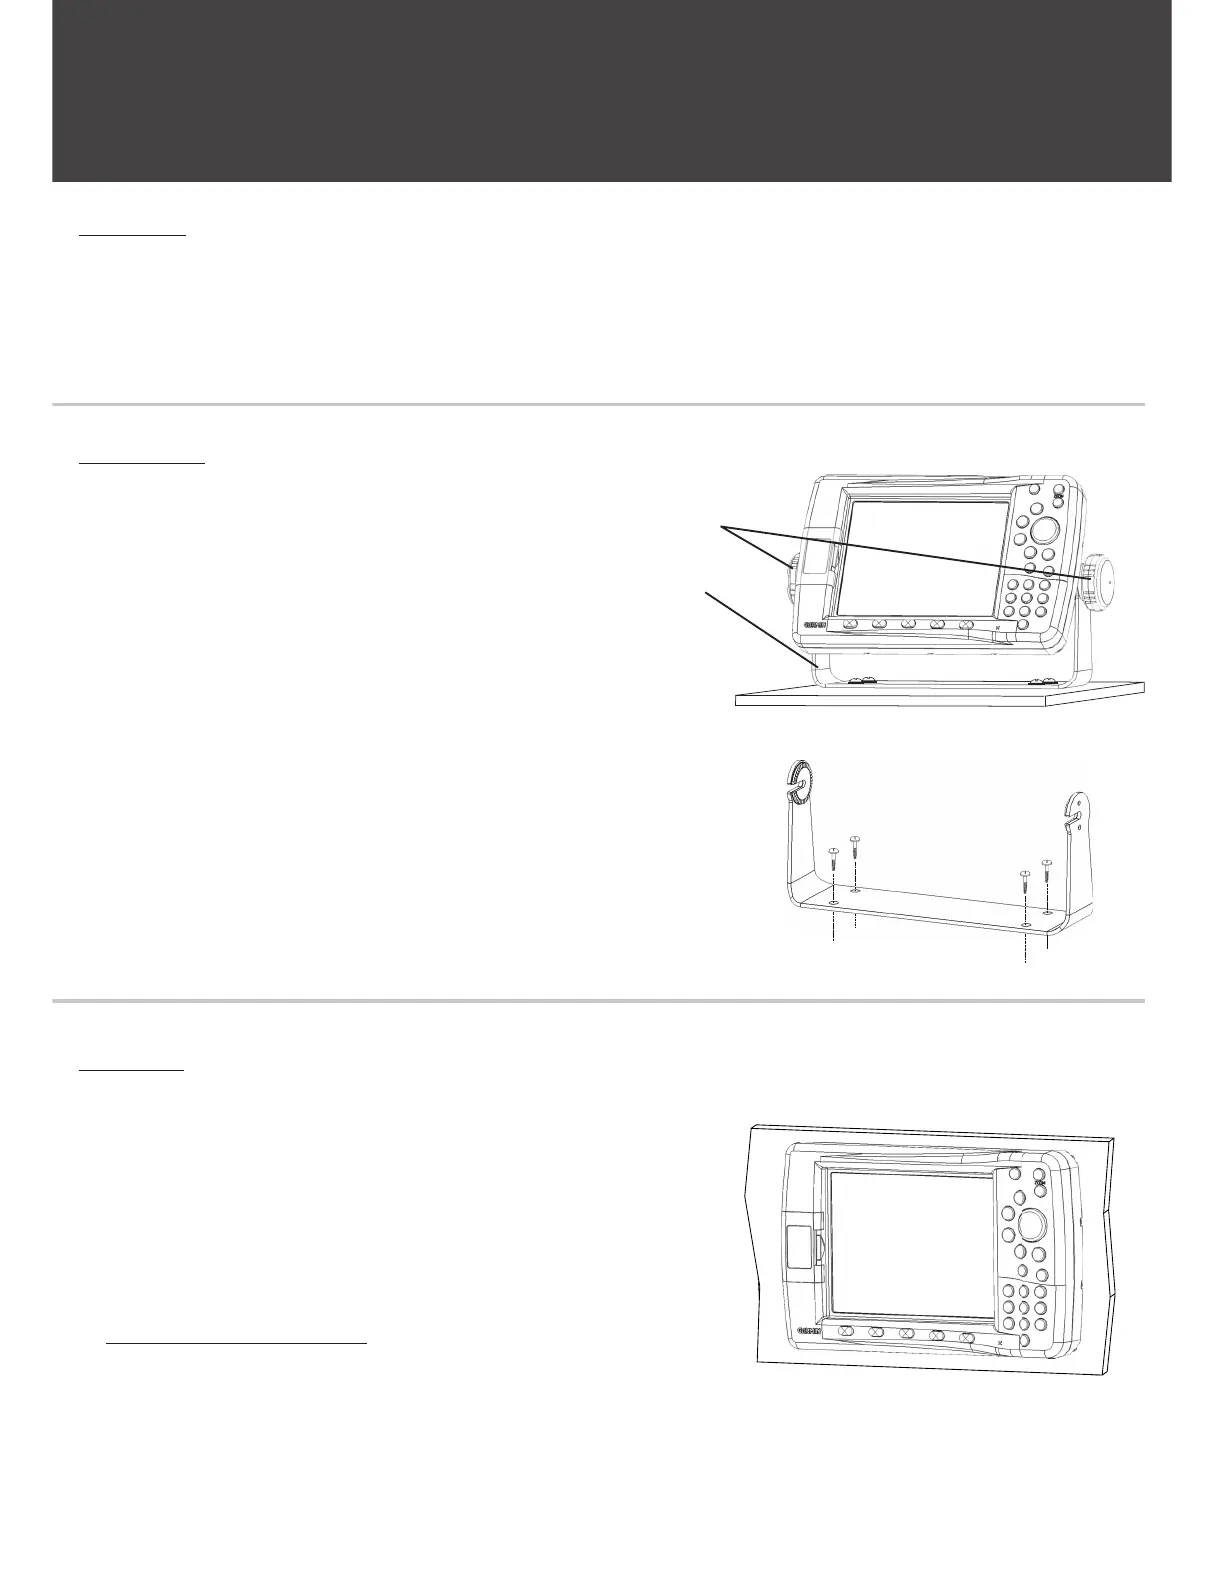
Flush Mount
Tools
Jig Saw Center Punch
Scissors Masking Tape
Drill Bits 1/16”(2mm) Allen (Hex) Wrench
Drill Hammer
Sockets or Pliers
Included Mounting Hardware
4 - 3mm Studs
4 - Flat Washers
8 - 3mm Hex Nuts
(continued on next page)
Mounting Knobs
Bail Mount
Bail Mount
FlushMount
 Loading...