To navigate to a point using Where To?:
1. On the Main Menu, touch Where To?.
2. Touch a category.
3. Touch the item to which you want to navigate.
4. Touch Go. A colored line indicates your course.
5. Touch > Compass.
6. Use the compass to navigate to your destination.
To navigate to a point on the map:
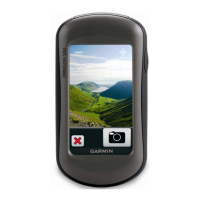
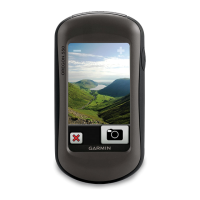
1. On the Main Menu, touch Map.
2. Touch the point on the map.
3. Touch the information button at the top of the
screen.
4. Touch Go > > Compass.
5. Use the compass to navigate to your
destination.
To stop navigating, touch Where To? >
Stop Navigation.
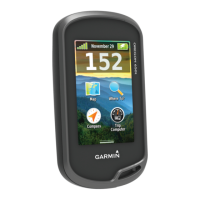
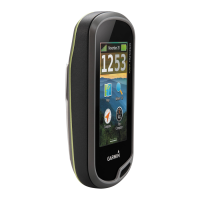
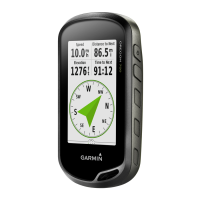
To open the Compass page:
On the Main Menu, touch Compass.
Hold the compass level when
navigating.
The bearing pointer points to
your destination, regardless of
the direction you are moving.
If the bearing pointer points
toward the top of the compass,
you are traveling directly toward
your destination. If it points any other direction, turn toward
that direction until the arrow is pointing toward the top of the
compass.
Calibrate the compass after moving large distances, experiencing
temperature changes, or changing the batteries.
To calibrate the electronic compass (Oregon 300, 400t,
400c, and 400i):
1. While outdoors, hold the Oregon level and do not stand near
objects that inuence magnetic elds, such as cars, buildings,
or overhead power lines.
2. On the Main Menu, touch Setup > Heading > Press To Begin
Compass Calibration.
3. Touch Start and follow the on-screen directions.
Navigating to a Destination
Using the Compass
May 2008 Part Number 190-00927-01 Rev. A Printed in Taiwan
Please visit www.garmin.com for additional documentation and
information.
Creating Routes and Using Tracks
To create and navigate a new route:
1. On the Main Menu, touch Route Planner > <Create Route> >
<Select First Point> to select a starting point.
2. Touch a category.
3. Touch the rst item on the route.
4. Touch Use > <Select Next Point>.
5. Repeat until the route is complete.
6. Touch to save the route.
7. Touch > Where To? > Routes to navigate the route.
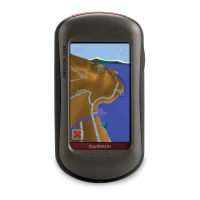
To record your tracks:
1. On the Main Menu, touch Setup > Tracks > Track Log.
2. Touch Record, Do Not Show or Record, Show On Map.
If you select Record, Show On Map, a dashed line on the Map
page indicates your track.
To clear your current track:
On the Main Menu, touch Setup > Reset > Clear Current
Track > Yes.
Information button
Bearing to
destination
Direction you
are currently
traveling
Data elds
Oregon
™
series
quick reference guide