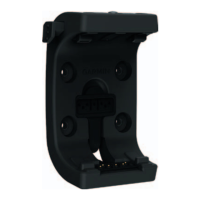
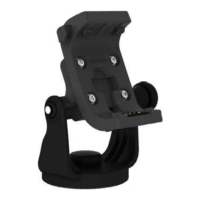
QUICKFIT
®
BUNGEE MOUNT
Garmin
®
, the Garmin logo, and QuickFit
®
are trademarks of Garmin Ltd. or its subsidiaries, registered in the USA and other countries. These trademarks may not
be used without the express permission of Garmin.
Installation Instructions ...................2
Instructions d'installation.................4
Istruzioni di installazione .................6
Installationsanweisungen ................8
Instrucciones de instalación ..........10
Instruções de instalação................12
Installatie-instructies.....................14
Installationsvejledning...................16
Asennusohjeet ..............................18
Installeringsinstruksjoner...............20
Installationsinstruktioner ...............22
Instrukcja instalacji .......................24
Pokyny pro instalaci ......................26
Navodila za namestitev..................28
Pokyny na inštaláciu......................30
Инструкции по установке ............32
Upute za instalaciju .......................34
Οδηγίες εγκατάστασης .................36
Yükleme Talimatları.......................38
Installeerimisjuhised .....................40
Uzstādīšanas instrukcija................42
Įdiegimo instrukcijos .....................44
Instrucţiuni de instalare .................46
GUID-EA14EBBE-ADAB-42A6-A0BC-199DEC06F155 v1March 2022