EasyManua.ls Logo

Garmin STRIKER 5 User Manual

Garmin STRIKER 5
2 pages
To Next Page IconTo Next Page
Page #1 background imageLoading...
Page #1 background image
Fixed Bail Mount
June 2018 190-01950-92_0CPrinted in Taiwan
Swivel Bail Mount
Compass Safe Distance Distance de sécurité du compas Distanza di sicurezza dalla bussola
Sicherheitsabstand zum Kompass Consumo eléctrico máximo Distância segura da bússola
Sikkerhedsafstand for kompas Trygg avstand fra et kompass Säkerhetsavstånd till kompass
STRIKER 5: 25 cm (9.84 in.)STRIKER 7: 30 cm (11.81 in.)
3 mm (1/8 in.)
3 mm (1/8 in.)
Question and Answer IconNeed help?

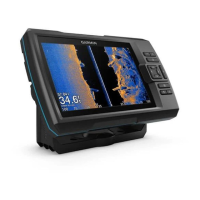
Do you have a question about the Garmin STRIKER 5 and is the answer not in the manual?

Garmin STRIKER 5 Specifications

General IconGeneral
BrandGarmin
ModelSTRIKER 5
CategoryRacks & Stands
LanguageEnglish

Summary

Fixed Bail Mount Installation

Fixed Bail Mount Step 1

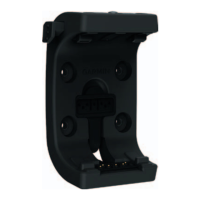
Initial placement of the fixed bail mount base plate and bracket for installation.

Fixed Bail Mount Step 2

Drilling pilot holes for securing the fixed bail mount to the surface.

Fixed Bail Mount Step 3

Attaching the fixed bail mount bracket to the prepared surface.

Swivel Bail Mount Installation

Swivel Bail Mount Step 1

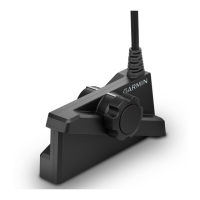
Positioning the swivel bail mount base plate on the surface.

Swivel Bail Mount Step 2

Drilling pilot holes for the swivel bail mount installation.

Swivel Bail Mount Step 3

Securing the swivel bail mount base plate with a screwdriver.

Swivel Bail Mount Step 4

Final attachment of the swivel bail mount assembly.

Related product manuals