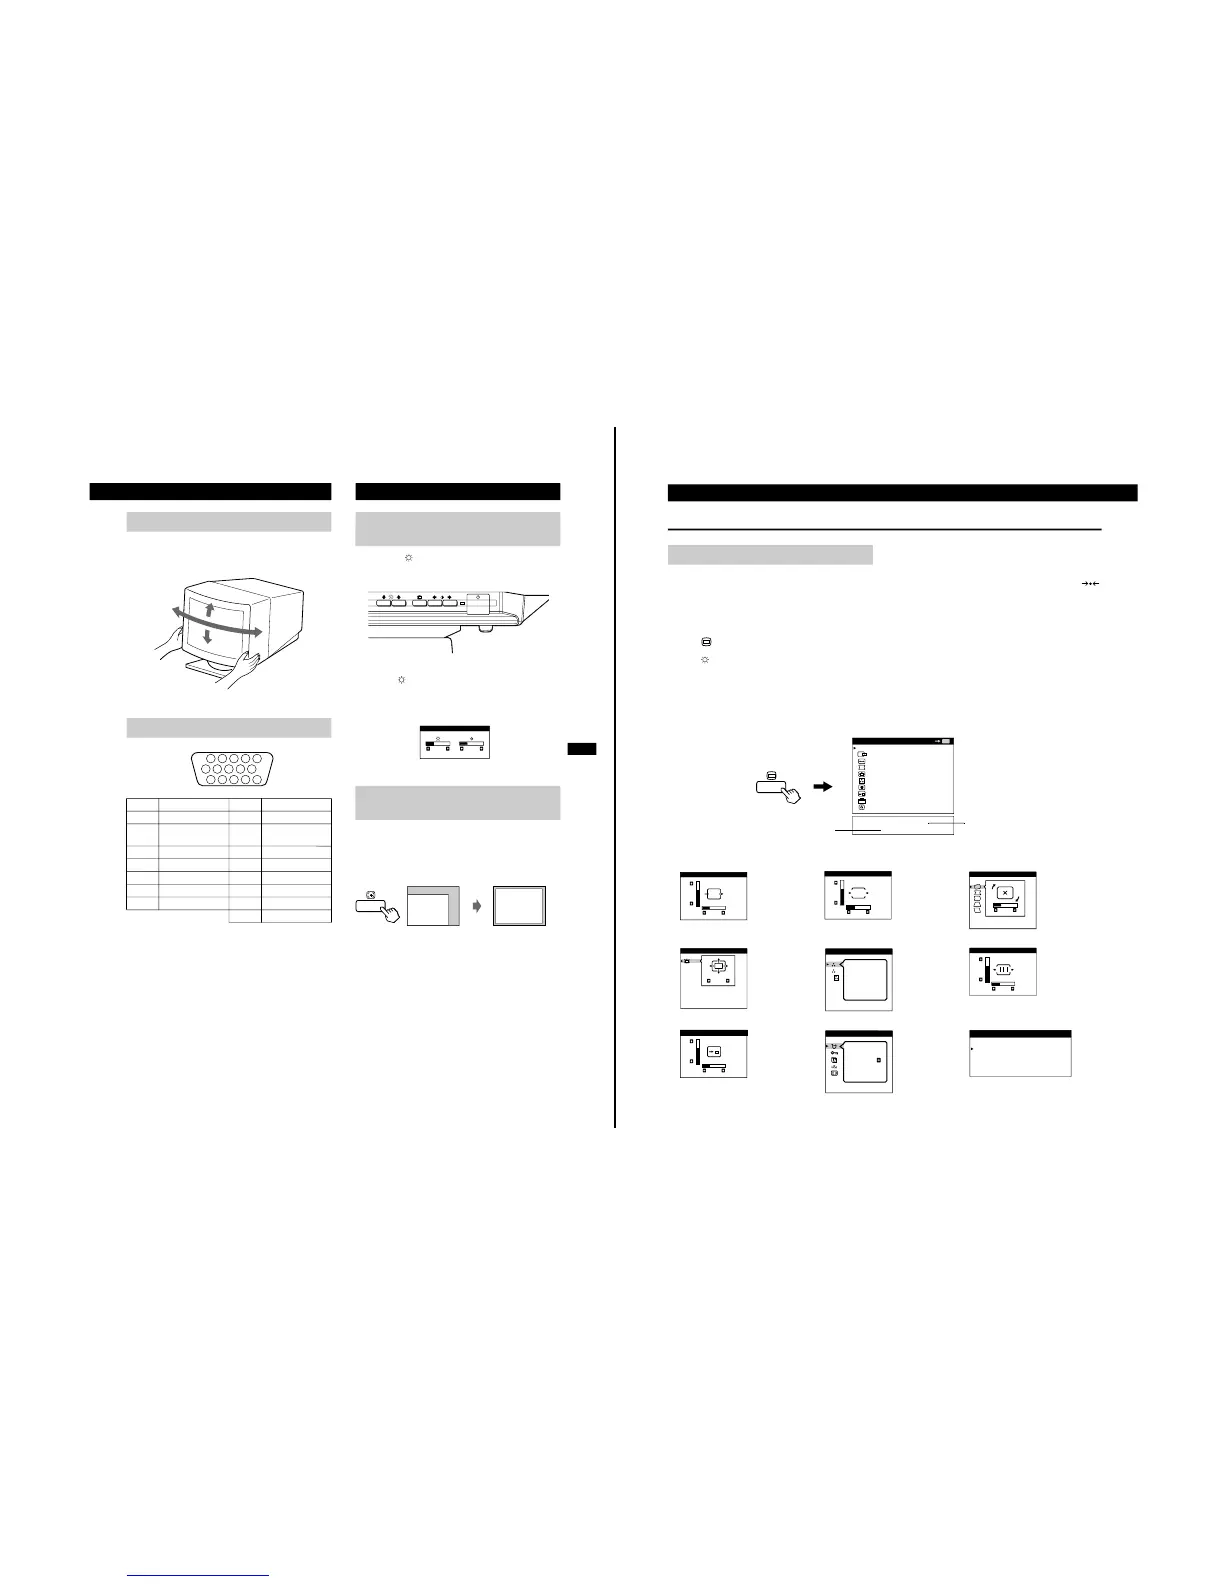
This monitor can be adjusted within the angles shown below. To
turn the monitor vertically or horizont ally, hold it at the bottom with
both hands.
1
Press the (BRIGHTNESS)
v/V
or
6
(CONTRAST)
B/b
buttons.
The BRIGHTNESS/CONTRAST OSD appeears.
2
To adjust the brightness.
Press the (BRIGHTNESS) v/V buttons.
To adjust the contrast.
Press the 6 (CONTRAST) B/b buttons.
You can easily adjust the picture to fill the screen by pressing the
Auto Sizing and Centering button.
Press the Auto Sizing and Centering button.
The picture automatically fills the screen.
Note
This function is intended for use with a computer running Windows or
similar graphic user interface software that provides a full-screen picture. It
may not work properly if the background color is dark or if the input picture
does not fill the screen to the edges (such as an MS-DOS prompt).
Use of the Tilt/Swivel
Video Connector
Pin No. Signal Pin No. Signal
1 Red 8 Blue Ground
2 Green (Composite
Sync on Green)
9 Not used (no pin)
3Blue 10Ground
4Ground 11Ground
5CPU Snense 12 SDA (serial data)
6 Red Ground 13 Horizontal Sync
7 Green Ground 14 Vertical Sync
15 SCL (serial clock)
90°
5°
90°
15°
1234
5
987
10
11 12 13 14 15
6
Adjusting the Picture Brightness
and Contrast
Automatically Sizing and
Centering the Picture
6
Customizing Your Monitor
The OSD (On-screen Display) System
You can adjust most of the monitor’s settings using the OSDs (On-
screen Displ ay). All of the OSDs in this illustration are described on
the following pages in order. You can access any of these OSDs
from the MENU OSD. To adjust monitor settings using the OSDs,
follow the steps below:
Basic controls:
• Use the (MENU) button to display the MENU OSD and to
select menu items.
• Use the (BRIGHTNESS) v/V buttons to highlight menu
items and to adjust settings.
To adjust the monitor settings:
1
Press the MENU button to display the MENU OSD.
2
Highlight the desired OSD using the BRIGHTNESS buttons and
press the MENU button again.
3
If necessary, use the BRIGHTNESS buttons to select a specific
item.
4
Adjust the monitor setting using the BRIGHTNESS and
CONTRAST buttons.
• To reset the current item to its original setting, press the
(RESET) button while the item’s adjustment OSD is displayed.
5
When you finish adjusting the setting, press the MENU button to
return to the MENU OSD.
Press the MENU button twice to return to normal viewing.
• Resetting: If you press the RESET button while an OSD is
displayed, only the current adjustment item is reset. For
additional information on using the reset function, see the
“Resetting the Adjustments” section on page 10.
• The each of the adjustment’s OSD automatically disappears
after 30 seconds.
Introducing the OSD System
OK
MENU
MENU
EXIT
CENTER
SIZE
GEOMETRY
ZOOM
COLOR
CONVERGENCE
OSD POSITION
OPTION
GRAPHIC ENHANCEMENT
80.0kHz/ 75Hz
1280 X 1024
Horizontal/Vertical
frequencies for
current input signal
Resolution for current
input signal
1
CENTER
2
SIZE
3
GEOMETRY
4
ZOOM
5
COLOR
6
CONVERGENCE
7
OSD POSITION
8
OPTION
9 GRAPHIC ENHANCEMENT
CENTER
26
73
SIZE
26
73
ROTATION
GEOMETRY
26
ZOOM
ZOOM
COLOR
1
2
9300K
CONVERGENCE
26
73
OSD POSITION
26
73
MANUAL DEGAUSS
ON
OPTION