Degaussing the monitor
The monitor is automatically degaussed (demagnetized) when the
power is turned on.
To manually degauss the monitor, first press the
v/V
buttons to highlight (MANUAL DEGAUSS).
Then press only the right
6
b
button.
The monitor is degaussed for about three seconds. If a second
degauss cycle is needed, allow a minimum interval of 20
minutes for the best result.
Locking the controls
To protect adjustment data by locking the controls,
first press the
v/V
buttons to highlight
(CONTROL LOCK). Then press the right
6
b
button to
turn the lock ON.
Only the 1 (power) switch, EXIT and (CONTROL
LOCK) of the OPTION menu will operate. If any other
items are selected, the mark appears on the screen.
To cancel the control lock
Repeat the procedure above and set (CONTROL LOCK) to OFF.
Changing the OSD language
To change the language of the OSD, first press the
v/V
buttons to highlight (LANGUAGE). Then
press the
6
B/b
buttons to select the desired
language.
• ENG: English
• FRA: French
•DEU: German
• ESP: Spanish
•ITA: Italian
• NLD: Dutch
• SWE: Swedish
• RUS: Russian
• JPN: Japanese
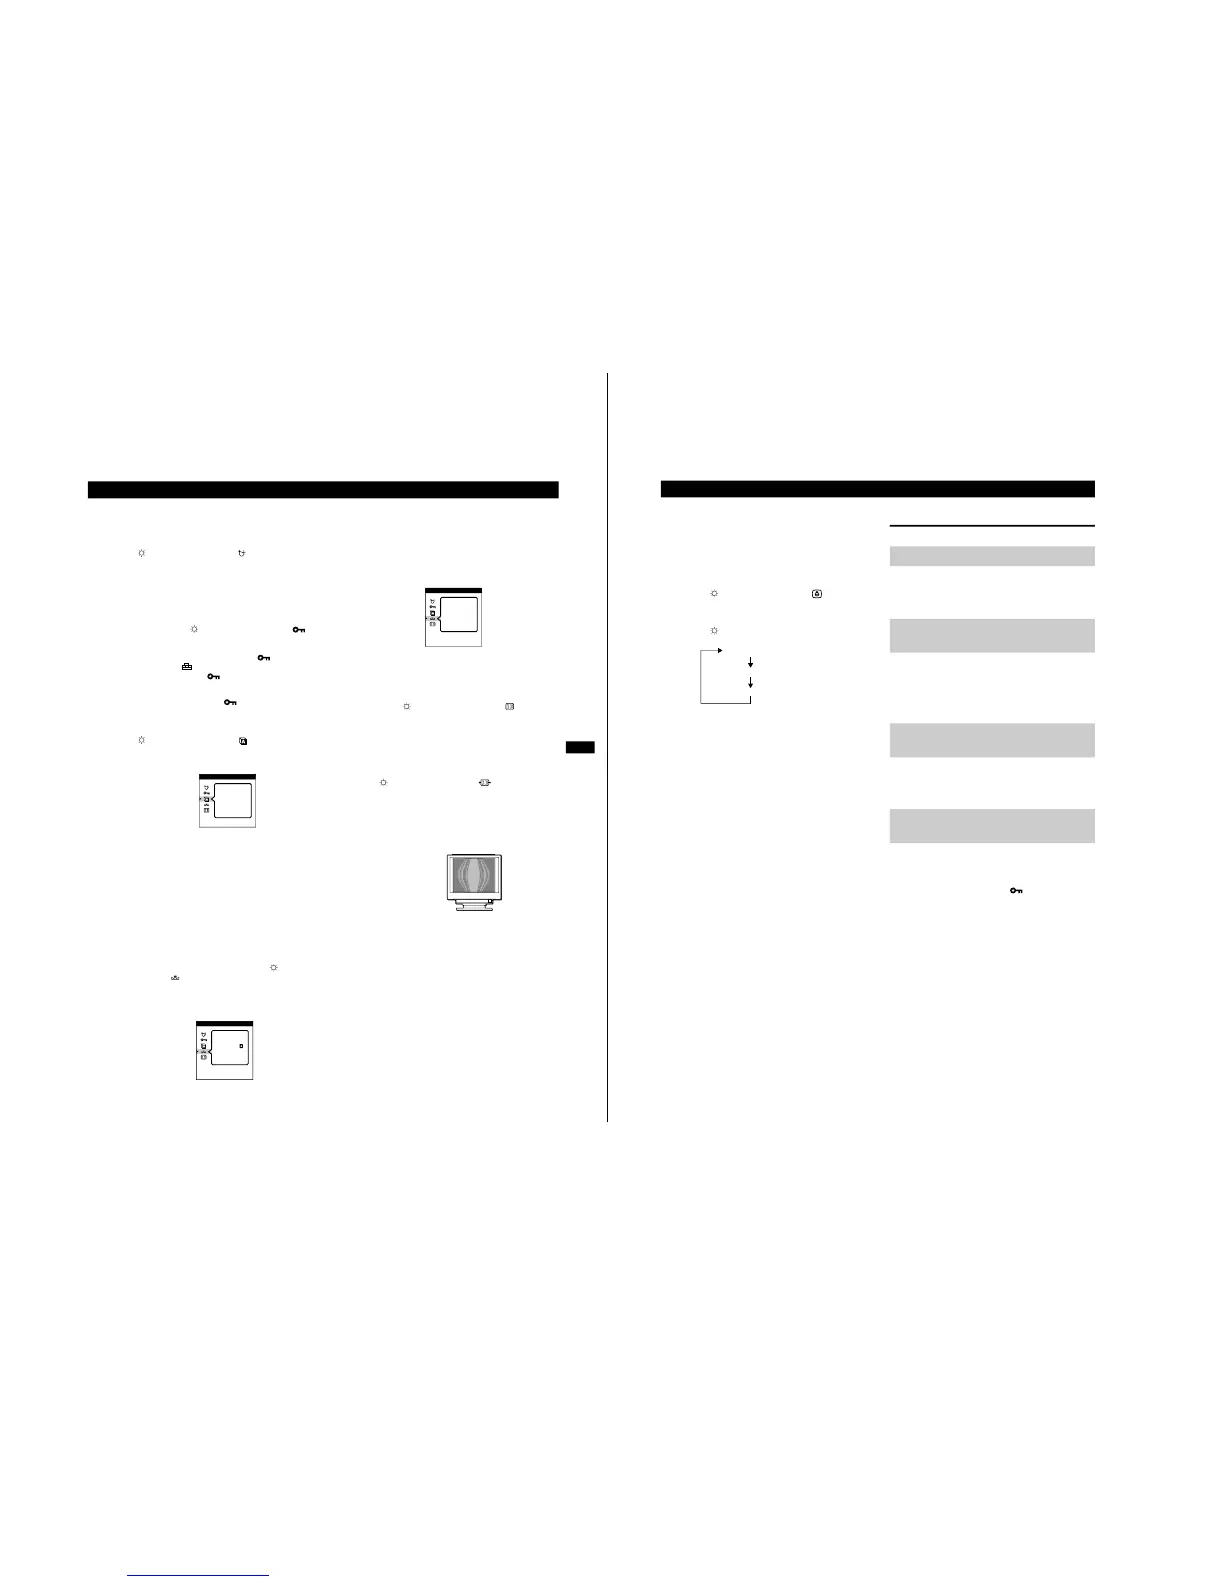
Restoring the Color Image
The color of most display monitors tend to gradually lose brilliance
after several years of service. The Color Return feature allows you
to restore the color to the original factory preset levels.
To restore the image, first press the
v/V
buttons
to select (COLOR RETURN). Then press the right
6
b
button.
A white rectangle appears in the center of the screen while the
image is being restored (about two seconds).
Note
• Before using this feature, the monitor must be in normal operation mode
(Green power indicator) for at least 30 minutes. If the monitor goes into
power saving mode, you must return the monitor to normal operation
mode and wait for 30 minutes for the monitor to be ready. You may need
to adjust your computer’s power saving settings to help keep the monitor
in normal operation mode for the full 30 minutes. If the monitor is not
ready, the following message will appear.
• The monitor may gradually lose its ability to perform this function due to
the natural aging of the picture tube.
Cancelling the moire
To turn the moire cancellation function on or off, first
press the
v/V
buttons to highlight (CANCEL
MOIRE). Then press the
6
B/b
buttons to turn the
moire cancellation ON or OFF.
Adjusting the amount of the moire cancellation
Before you can adjust this setting, the Cancel Moire setting must be
turned ON.
To adjust th e amount of moire cancellation, first press
the
v/V
buttons to highlight (MOIRE ADJUST).
Then press the
6
B/b
buttons to adjust the amount of
moire cancellation until the moire effect is at a
minimum.
* Moire is a type of natural interference which produces soft, wavy lines on
your screen. It may appear due to interference between the pattern of the
picture on the screen and the phosphor pitch pattern of the monitor.
• ENG
• DEU
• ITA
• SWE
• JPN
LANGUAGE
• FRA
• ESP
• NLD
• RUS
OPTION
COLOR
RETURN
OPTION
ON
10
Customizing Your Monitor
9 Using the GRAPHIC
ENHANCEMENT OSD
This setting is stored in memory for the current input signal.
1
Press the MENU button.
The main MENU appears on the screen.
2
Press the
v/V
buttons to highlight GRAPHIC
ENHANCEMENT and press the MENU button again.
GRAPHIC ENHANCEMENT OSD appears.
3
Press the
v
button to select the mode.
The STANDARD MODE is ideal for spreadsheets, word
processing, and other text oriented applications.
The PRESENTATION MODE is useful for presentation programs
that require vivid colors.
The GRAPHICS/VIDEO MODE gives movies and games
enhanced visual appeal by increasing the sharpness and brightness.
The selected mode indication appears on the screen for about three
seconds.
If the screen appears too white, adjust the color temperature
(see “Adjusting the color of the picture (COLOR)” on page 8).
Note
The PRESENTATION MODE and GRAPHICS/VIDEO MODE may
produce ghost images when displaying text oriented applications. These
modes change the brightness of the picture dynamically according to
changes in moving pictures. If ghost images appear, set the Video
Enhancement Mode to STANDARD MODE.
Resetting the adjustments
Navigate through the on-screen menus to select the adjustment item
you want to reset, and press the RESET button. You can do this
while you are adjusting an item.
Press the RESET button when no menu is displayed on the screen.
Note that the following items are not reset by this method:
• on-screen menu language (page 9)
• on-screen menu position (page 8)
• control lock (page 9)
Press and hold the reset button for more than two seconds when no
menu is displayed on the screen. This resets everything to the
factory preset mode.
Press and hold the reset button for more than five seconds. This resets
everything to the factory presets including the input selection.
Note
The RESET button does not function when
(CONTOL LOCK) is
set to ON.
STANDARD MODE
PRESENTATION MODE
GRAPHICS/VIDEO MODE
Resetting a specific adjustment
Resetting all of the adjustments
for the current input signal
Resetting all of the adjustments
for all input signals
Resetting all of the adjustment
data to the factory presets
 Loading...