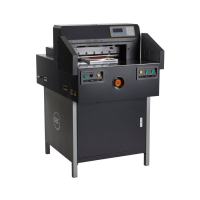
Figure 16. Rendering of Sample Program
8. Using the Keypad, enter the value for the first cut.
• Use the Down arrow to proceed to and enter
the next cut value.
• Continue this process until all cut values are
entered.
9. After the last cut value has been entered, key in a
value of 0.00. This signifies the end of your program
and will return the Back Gauge to your first cut value
position.
Figure 17. 00 Signies End of Program
10. Press the Enter button once to signify program
is complete and press Enter again to return the
machine to the home screen and auto setup for the
first cut of your program.
• The first step is highlighted.
• You are now ready to begin your job.
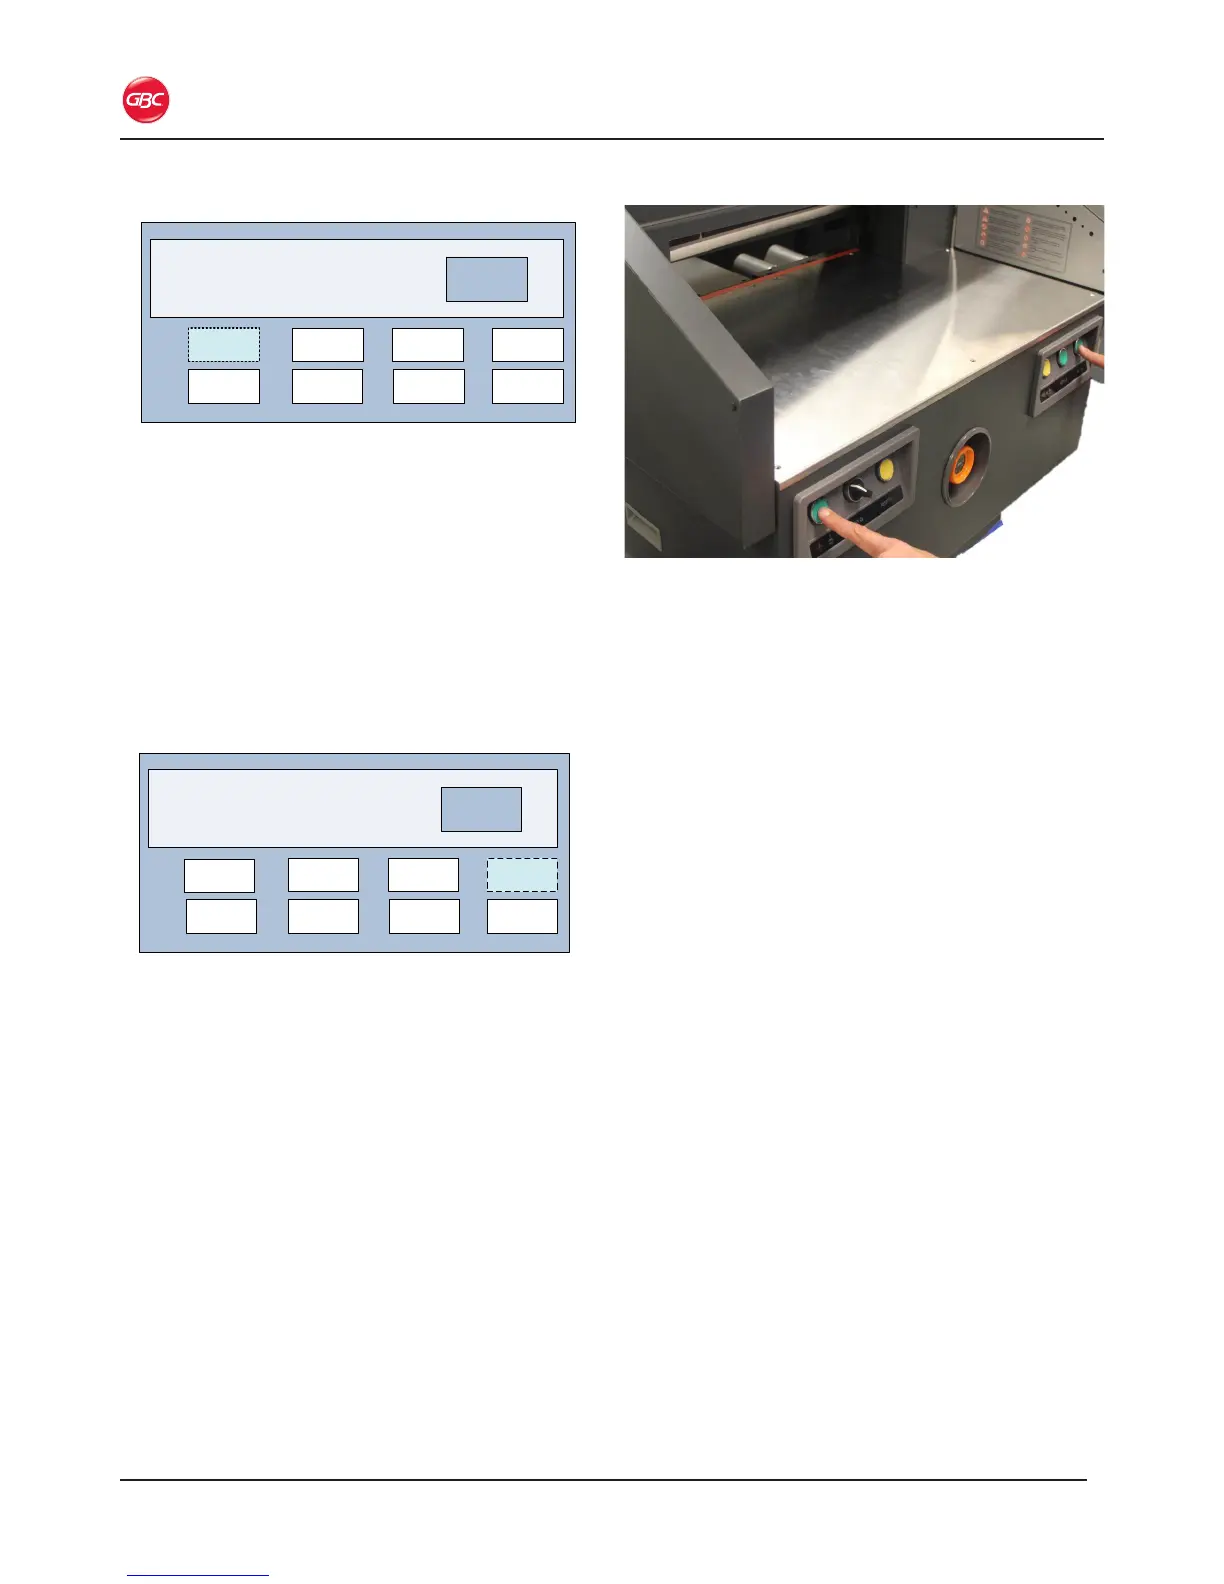
11. Make the first cut by simultaneously pressing the
Clamp Cut and Cut buttons until it finishes cutting.
• The Back Gauge then moves to the second step
cut position, which is highlighted on the LCD.
Figure 18. Operating the Machine
• Once all cuts in the program have been completed,
the Back Gauge and LCD return to the rst step in the
program.
12. Press the Set button to exit the program.
13. Press the arrow to select the mode used in the
program and press the Enter button.
• The program number blinks.
14. Use the Up or Down arrow to select program 00.
15. Press the Enter button.
16. Press the “C” button.
• The cutter is back in manual mode.