Installation Instructions
[] FINAL CHECK
Review this Checklist before restoring power:
• Correct line voltage?
• Single circuit only?
• HVACR _'pe breaker/fllse?
• Ductwork connected?
• Case and unit level?
• Wdl plenum caulked? I,evel? Flashing?
• Drain connected?
• _4all them_ostat wired correctly?
• Unit wi_ed correcflv?
[] CONNECT POWER
1. If all tile above items are correct, tm'n tile power on
at tile main service panel.
2. Turn tile unit power switch, on tile fl'ont of tile unit,
to ON by pressing the top of the switch in.
SERVICING
./kWARNING: Before ser\icing,
switch power off at the service panel and lock the
area to prevent power fl'om being switched on
accidentally. When the area cammt be locked,
securely fasten a prominent warning device, such
as a tag, to the service panel.
NOTE: We strongly recommend that any se_Mcing be
pe_tmmed bv a qualified individual.
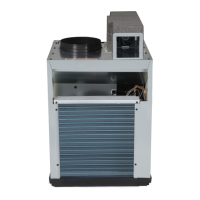
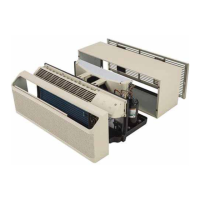
For ease of service, tile trait can be removed fl'om
the case:
1. Unplug tile power cord and disc(mnect tile wall
them]ostat C()IlIlec[i()IIS,
2. Raise tile top duct by turning all fl)m" case top duct
a(!iusting screws co/mterclockwise,
3. Remove the fl'ont case panel,
4. Remove tile fl'ont and/or side case-to-refit
gro/mding scre_, if present.
5. Slide the unit out ot the case.
22