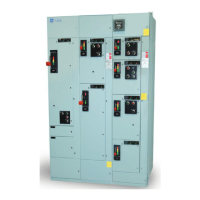
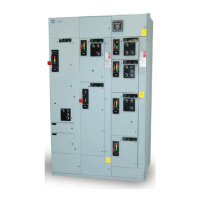
34 EVOLUTION SERIES E9000 MOTOR CONTROL CENTER
—
42
—
42
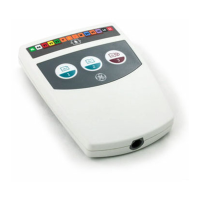
Rating plug removal tool,
catalog number TRTOOL
—
41
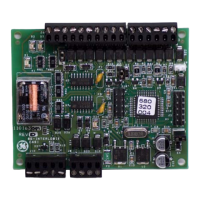
Fuse location
—
44
—
44
—
43
—
43
Pilot light and
pushbutton removal
tool, catalog number
—
45
—
46
—
45
Manual racking
handle, catalog
—
46
Remote racking
device, catalog
Control power fusing
Control fuses are front accessible except in the
6-inch compact starter. Remove 6-inch FVNR
starter for maintenance. Fuses are located on the
side, as shown in Figure 41.
Replacing or adding breaker accessories to
plug-in E or F frame circuit breaker
Use the following procedure to replace a circuit
breaker in a motor control center.
1. Turn the power off.
2. Remove the unit from the motor control center.
3. Remove line and load cables (not required for
accessories only)
4. Remove the toggle holding plate (toggle needs
to be in the ON position, UP)
5. Remove the top four screws in top plate holding
the breaker assembly (not required for
accessories only).
6. Remove three front breaker screws from
assembly.
7. Slide the breaker down and out.
8. Install the new breaker by following this
procedure in the reverse order. Torque all
electrical connections.
Rearrangement of units must follow the
following loading rules: 80% of the feeder
trip or fuse clip rating, plus 100% of the
starters full load current, plus 25% of the
largest motor full load current. Do not
exceed the vertical bus rating label on
each section.
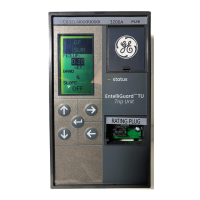
Suggested maintenance tools
The following tools are recommended for
performing maintenance operations:
• Spectra circuit breaker rating plug removal tool,
catalog number TRTOOL (see Figure 42).
• Pilot light and push button removal tool,
•
be used to temporarily defeat the ground-fault
function during primary injection (high-current
test set).
• Manual racking handle, catalog number
• Remote racking device, catalog number
• Allen wrench in size 5/32 inch or #4 metric for
defeating the door interlock.
—
41