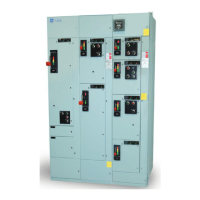
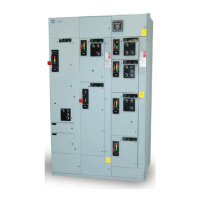
INSTALLATION, OPERATIONS AND MAINTENANCE MANUAL 35
Replacing a control power transformer
mounted under disconnect
Use the following procedure to replace a control
power transformer mounted under a disconnect.
1. Turn the power off.
2. Remove the saddle unit from the motor
control center.
3. Remove the top plate from the saddle unit.
4. Remove the handle assembly, as described
on page 15.
5. Remove line and load cables.
6. Loosen the screws securing the disconnect
assembly to the back plate and slide the
assembly out.
7. Disconnect the transformer power and
control leads.
8. Remove the transformer mounting screws
and lift out the transformer.
9. Install the new transformer by following this
procedure in the reverse order. Torque all
electrical connections.
Replacing a compact starter (1/2X)
Use the following procedure to replace
the starter.
1. Turn the power off.
2. Remove the saddle unit for the motor
control center.
3. Remove the pilot device bracket (it is not
required to remove control wiring)
4. Remove overload relay.
5. Use DIN rail release to gain access to line side
wiring of contactor, remove line wires.
6. Reverse to install new starter.
Suggested lifts
Example: Model No. 55B534913P1
• All welded construction;
• Positive lock winch system;
• 500 lb. capacity;
• Raised height 58";
• Lowered height 3-1/8Æ;
• 20" X 20" deck size;
• 10" load center;
• 2" X 6" molded-on-rubber casters.
The following instructions are available.
300 Line starter
Arc flash mitigation units
DEI-007 – Remote Racking System Instructions
DEI-009 – AFM Retrofit Assembly Instructions
DEI-010 – Manual Racking Handle Instructions
C-2000 contactors
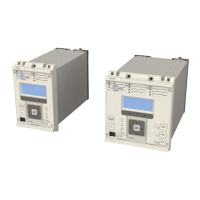
Solid state starters
DET-787 – ASTAT-BP
DEH-40397 – ASTAT-CD Plus
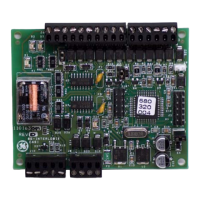
Relays
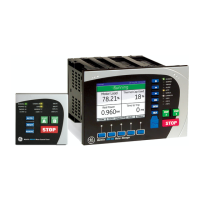
AF600 Drives
DET-609 – AF-600FP Operating/Installation
DET-633 – AF-600 FP Analog I/O Instructions
DC Supply
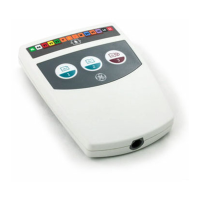
Smart relays
MM300
 Loading...