54
Installation Instructions
ICEMAKER INSTALLATION INSTRUCTIONS R
BEFORE YOU BEGIN
Read each step thoroughly before proceeding.
•
CAUTION
–
Unplug the
Refrigerator. To eliminate the danger
of electric shock during installation,
you must unplug the refrigerator from
its electrical outlet.
Flat blade and Phillips
screwdrivers
Pliers
TOOLS YOU WILL NEED
Sharp knife
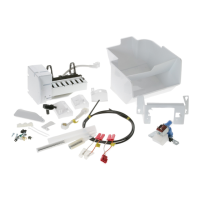
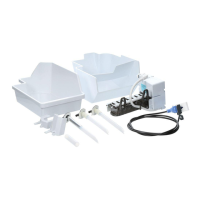
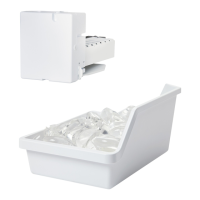
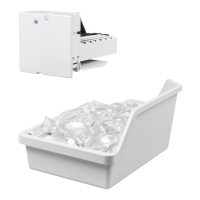
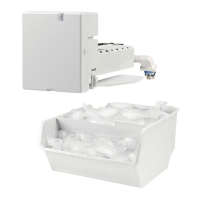
Ice bucket
Icemaker mounting block
PARTS REQUIRED THAT CAME
WITH THE REFRIGERATOR
Are these the right instructions for your model? Follow the Installation Instructions indicated by
the label on the back of the refrigerator— or
RQPNMLKJHGFC
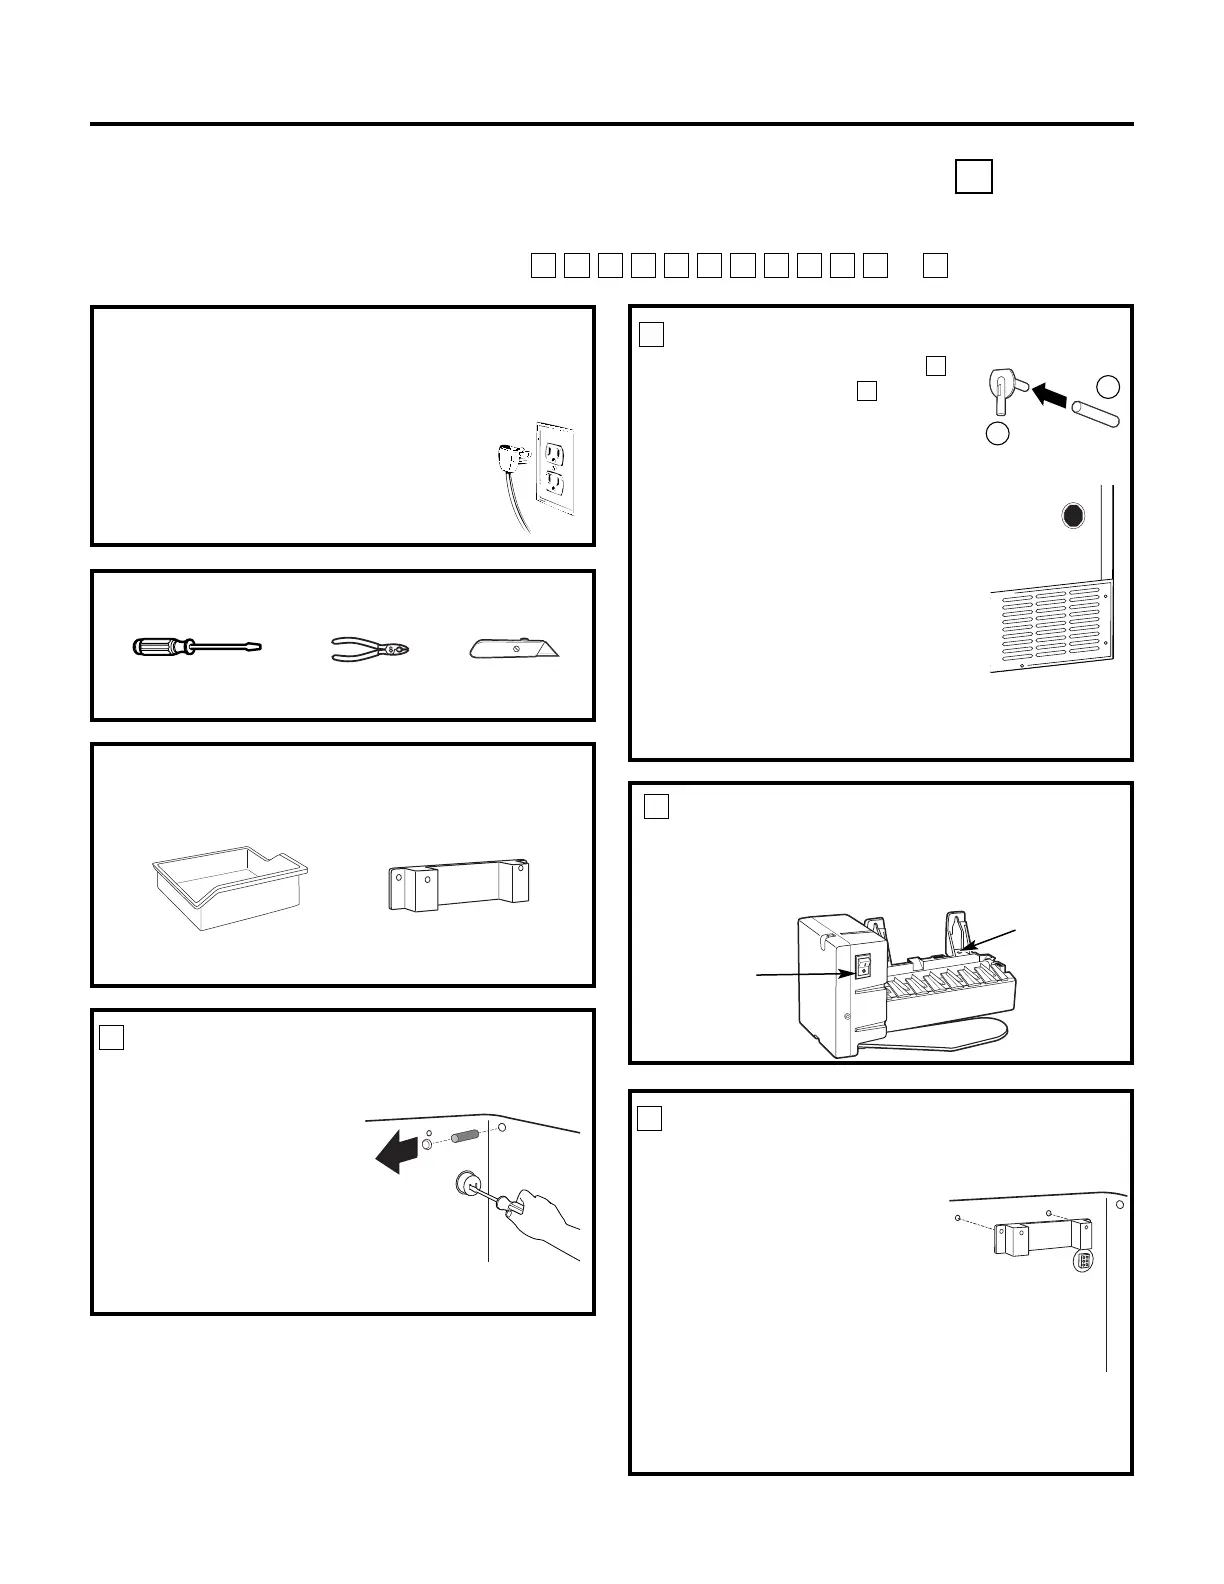
INSTALL THE MOUNTING BLOCK
• Inside the freezer, remove the two small white plug
buttons from the side wall.
• Using the Phillips head screws
that are with the mounting
block, attach the mounting
block to the refrigerator by
driving the screws through the
outer holes on the block and
into the holes that the plug
buttons were in.
• Install two Phillips head screws
(14) from the kit in the inner holes on the mounting
block. The screw heads should extend about 1/2″
(13 mm) from the mounting block.
4
SET POWER SWITCH TO OFF
Set the icemaker power switch to
OFF.
Leave the
power switch in the
OFF
position until the refrigerator
is connected to the water supply to prevent
premature operation.
3
Power
Switch
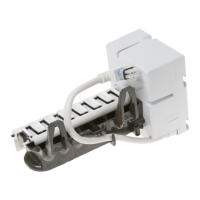
INSTALL FILL TUBE
• Cut the fill tube (16) to the
length (refer to the template
on page 62) with a sharp knife
or a single-edge razor blade.
• Slide the fill tube (16) onto the
water tube inlet (15).
• Go to the back of the refrigerator.
Remove the label covering the
hole. Pull out the insulation plug
and any debris.
• On the tube side of the water tube
inlet (15) there is an adhesive
backing. Remove the adhesive
backing and slide the tube into the
hole near the top at the back of the refrigerator.
Firmly press on the inlet to secure it to the
refrigerator.
R
R
2