Adjust the oven thermostat—Do it yourself! www.GEAppliances.ca
You may find that your new oven cooks differently than the one it replaced. Use your new oven for a few weeks to become more
familiar with it. If you still think your new oven is too hot or too cold, you can adjust the thermostat yourself.
Do not use thermometers, such as those found in grocery stores, to check the temperature setting of your oven. These
thermometers may vary 6–11 degrees Celsius (20–40 degrees Fahrenheit).
NOTE: This adjustment will only affect baking and roasting temperatures; it will not affect broiling, convection or self-cleaning
temperatures. The adjustment will be retained in memory after a power failure.
To Adjust the Thermostat
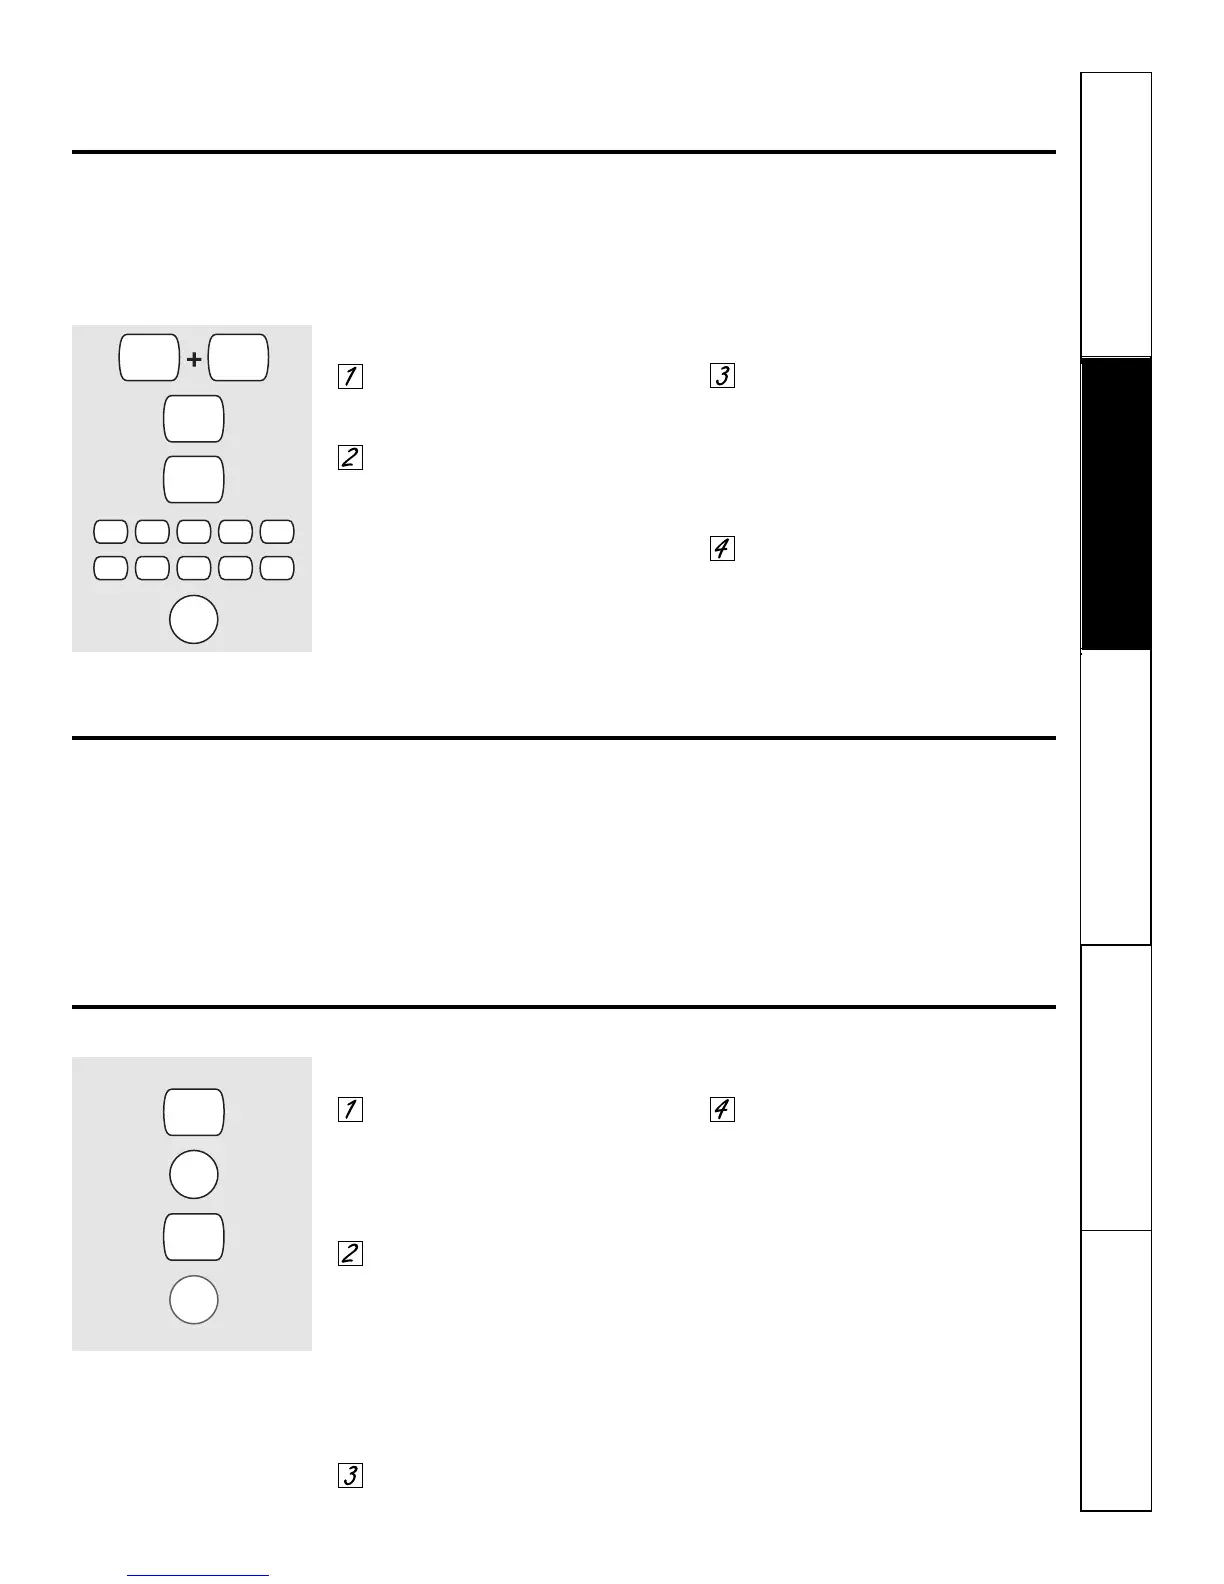
Touch the BAKE and BROIL pads at
the same time for 3 seconds until
the display shows SF.
Touch the BAKE pad. A two digit
number shows in the display.
Touch BAKE again to alternate
between increasing and decreasing
the oven temperature.
The oven temperature can be
adjusted up to (+) 19°C (35ºF)
hotter or (-) 19°C (35ºF) cooler.
Touch the number pads the same
way you read them. For example, to
change the oven temperature 12°C
(15ºF), touch 1 and 5.
When you have made the
adjustment, touch the START pad to
go back to the time of day display.
Use your oven as you would normally.
The type of margarine will affect baking performance!
Most recipes for baking have been developed using high fat products such as butter or margarine (80% fat). If you decrease the
fat, the recipe may not give the same results as with a higher fat product.
Recipe failure can result if cakes, pies, pastries, cookies or candies are made with low fat spreads. The lower the fat content of a
spread product, the more noticeable these differences become.
Federal standards require products labeled “margarine” to contain at least 80% fat by weight. Low fat spreads, on the other hand,
contain less fat and more water. The high moisture content of these spreads affects the texture and flavor of baked goods. For best
results with your old favorite recipes, use margarine, butter or stick spreads containing at least 70% vegetable oil.
Using the proofing feature.
The proofing feature maintains a warm environment useful for rising yeast-leavened products.
How to Set the Oven For Proofing (on some models)
Place the covered dough in a dish
in the oven on shelf B or C.
NOTE: For best results, cover the dough with a
cloth or with greased plastic wrap (the plastic
may need to be anchored underneath the
container so the oven fan will not blow it off).
Touch the PROOF pad and then
the START pad.
The display will read PrF (proof).
The oven interior light turns on and
remains on during proofing.
The proofing feature automatically
provides the optimum temperature for
the proofing process, and therefore
does not have a temperature adjustment.
Set the TIMER for the minimum
proof time.
When proofing is finished, touch
the OFF pad.
■ To avoid lowering the oven temperature and
lengthening proofing time, do not open the
oven door unnecessarily.
■ Check bread products early to avoid
over-proofing.
NOTE:
■ Do not use the proofing mode for warming
food or keeping food hot. The proofing oven
temperature is not hot enough to hold foods
at safe temperatures. Use the WARM feature
to keep food warm.
■ Proofing will not operate when oven is above
52°C (125°F). “HOT” will show in the display.