11
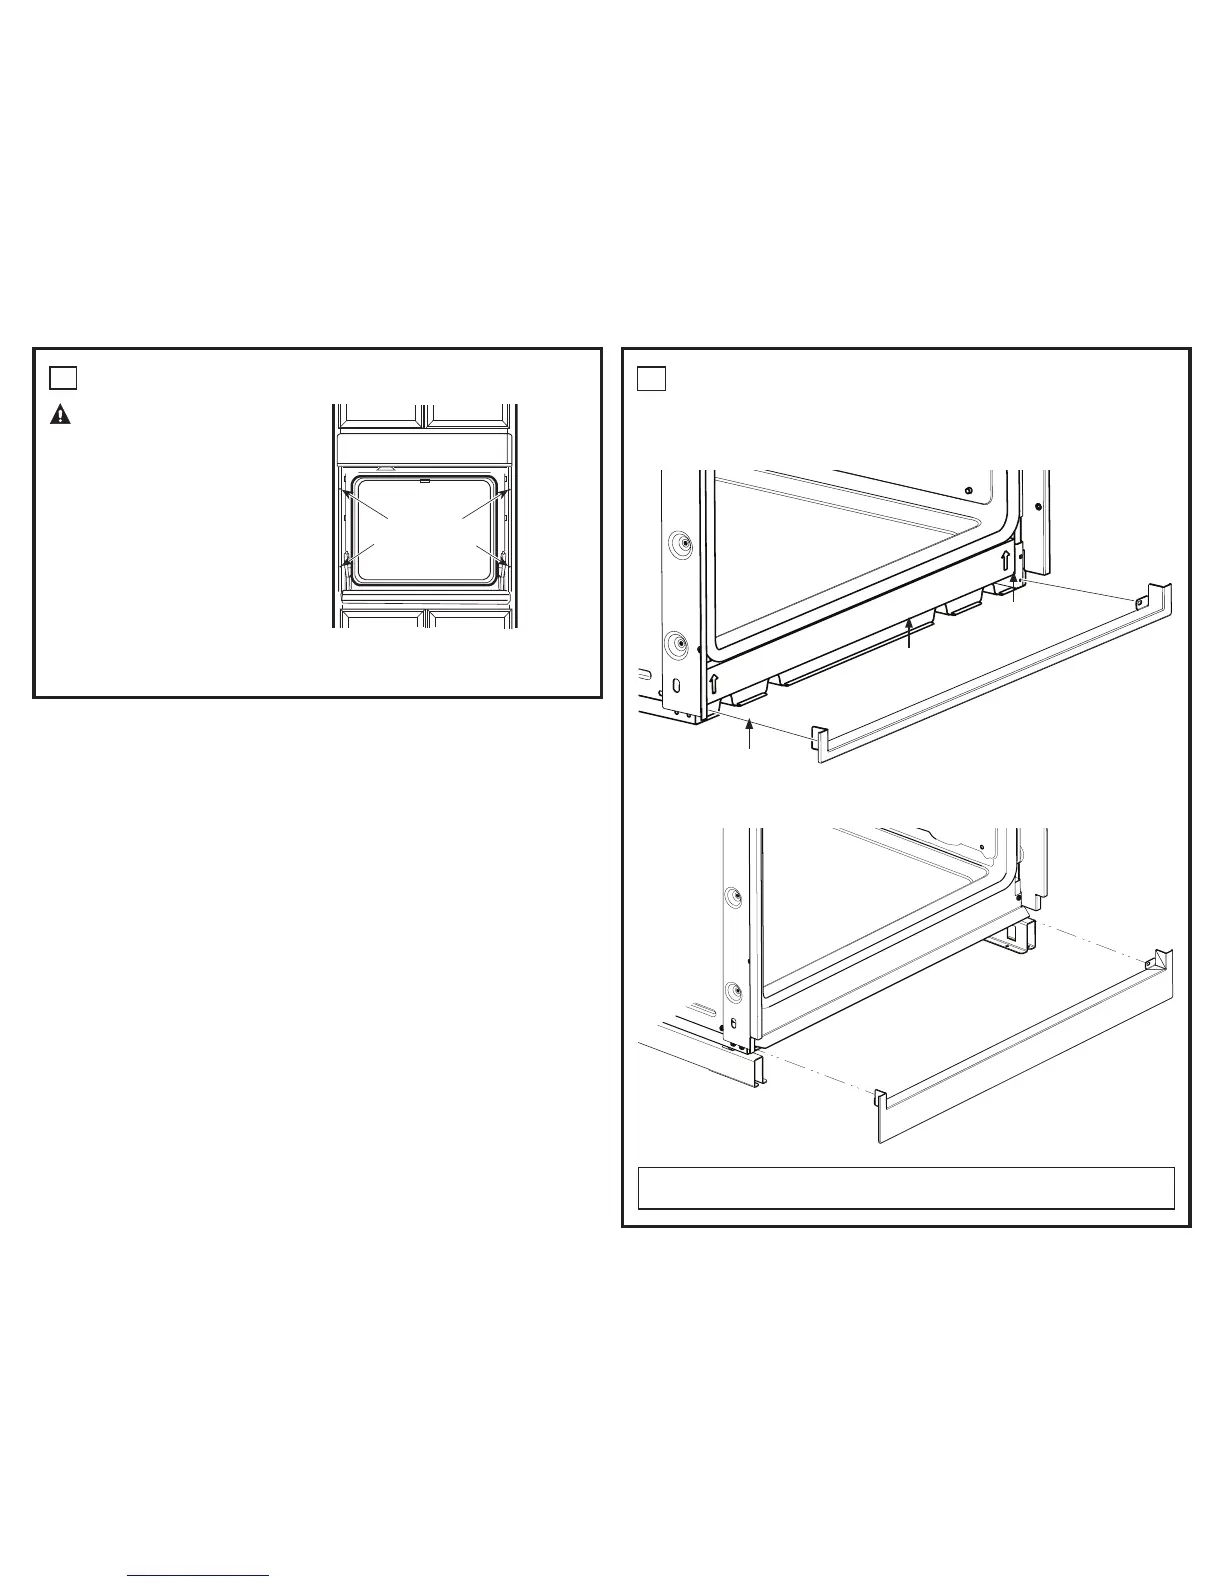
BOTTOM TRIM INSTALLATION
• With oven installed, attach the bottom trim through its mounting holes in front vertical brace using
two trim screws provided. Bottom trim lip must be placed under flange of bottom air duct.
IMPORTANT: If this unit is ever removed from the cabinet or the oven is ever pulled out for service,
the bottom trim must be removed first or damage to the trim will occur.
SWO’s and DWO installations without pedestal
DWO’s with pedestals
10
MOUNT THE OVEN
WARNING: Mounting screws
must be used. Failure to do so could result in
the oven falling out of the cabinet, causing
serious injury.
NOTE: During oven mounting step, ensure that no
damage is done to oven gasket which lines the
edge of oven cavity.
NOTE: Before drilling the pilot holes, make sure
the oven is pushed as far back into the opening
as it will go and is centered.
NOTE: If the cabinet is particle board, you must
use #8 x ¾” particle board screws. These may be
purchased at any hardware store.
A. Drill through the mounting holes (top and
bottom) of the side trim for the #8 mounting
screws provided.
B. Secure the oven cabinet with the screws
provided.
Mounting
Hole
Locations
(hole locations
may vary)
The Screws
Must Be a
Minimum of
1/4” (6 mm)
From the
Front of
the Cutout.
 Loading...