– 68 –
Element Reinstallation
1. Be careful that the wire terminals do not catch
on the rear of the frame when reinstalling
the element. Be sure that the insulation is
reassembled to prevent excessive heat leakage.
2. Be sure to clear the lip when reinstalling. The
element may have resistance when pushing
through as it slides through the guides.
3. Reinstall the two T20 Torx screws that secure
the hidden bake compartment cover in place.
4. Reinstall the insulation panels.
5. At the front of the unit, replace the oven door(s)
and reinstall the four or six T20 Torx screws
(depending on whether the unit is single or
double oven, upper or lower).
6. Reinstall the wires from the bake terminals and
the T20 Torx screw securing the bake element to
the frame.
7. Reinstall the rear wire cover.
8. Safely replace the oven into the cabinet
installation.
9. Reconnect power to the oven.
Broil
Broil Elements Removal
1. Remove one T20 Torx screw from the oven
sensor, pull the wire through and disconnect.
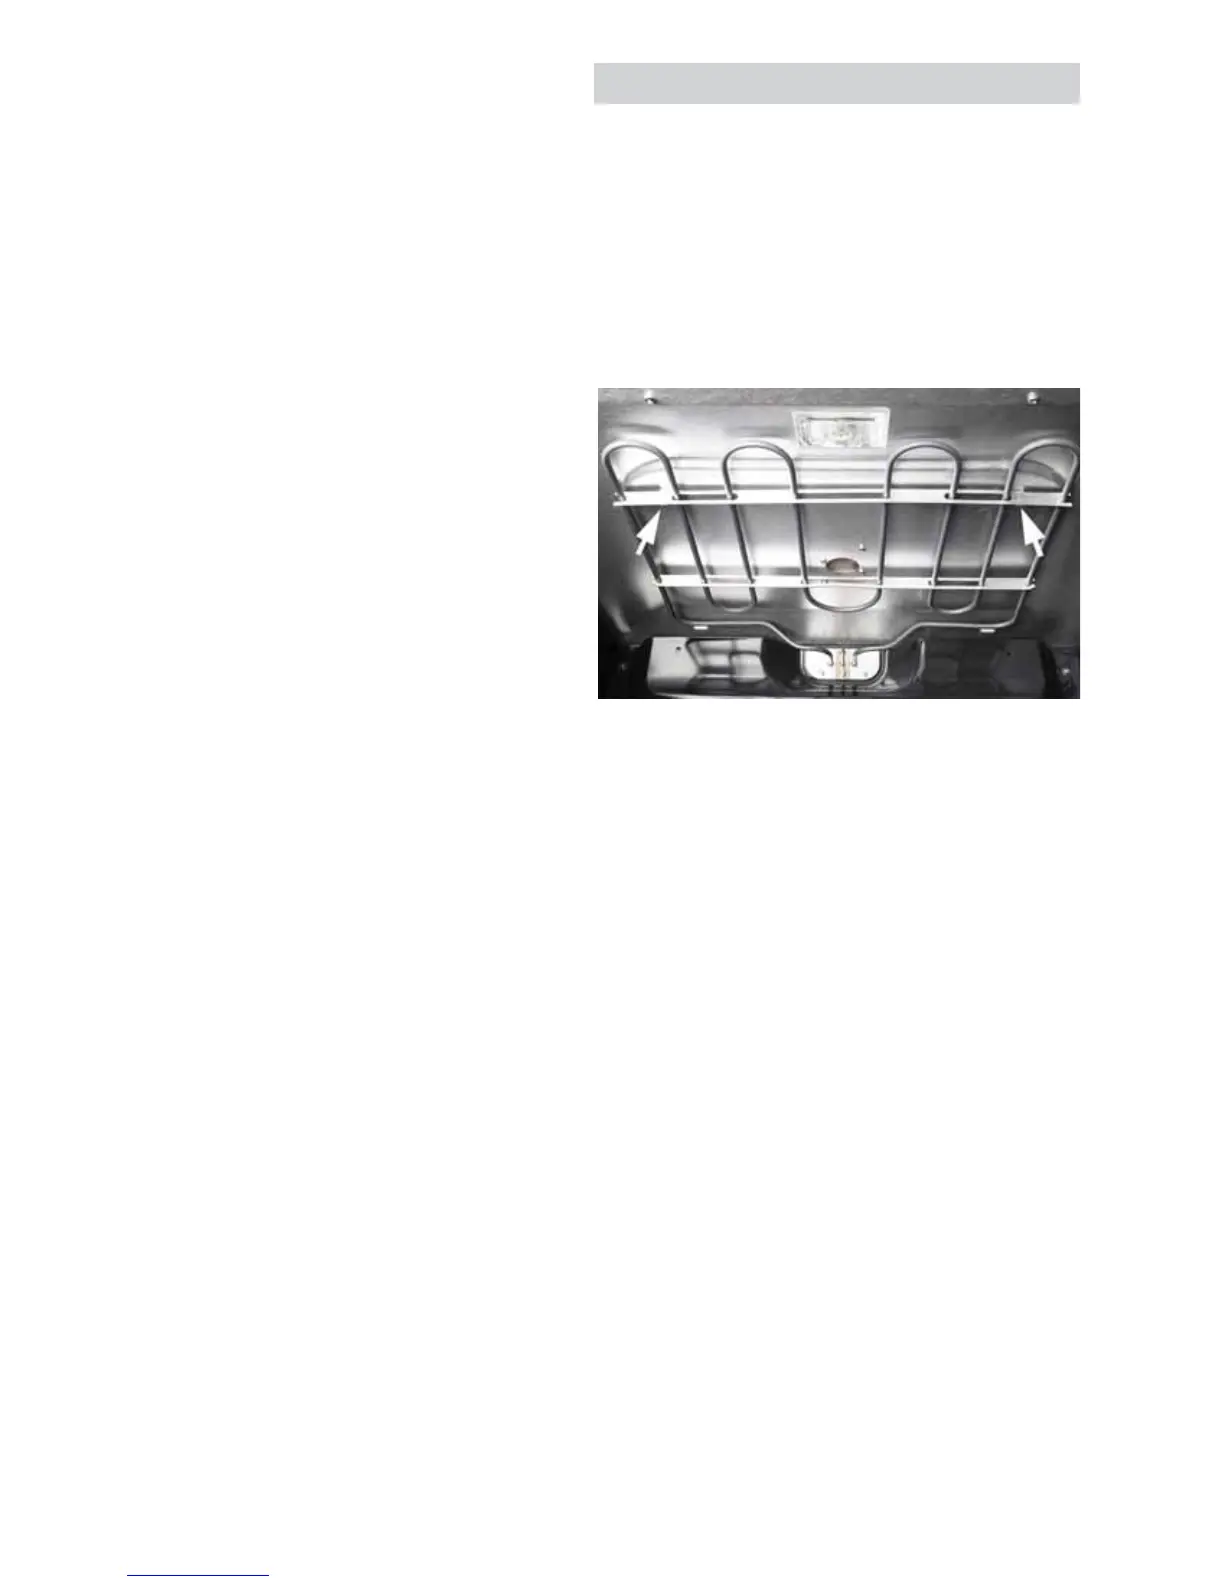
2. Remove the two T20 Torx screws on the back
wall and the two T20 Torx screws from the front
support bracket.
3. Pull forward and remove the wires.
Broil Elements Reinstallation
1. Reinstall the wires on the broil element, then
insert through the opening and secure.
2. Reinstall the two T20 Torx screws on the back
wall and the two T20 Torx screws to the front
support bracket.
3. Reconnect the wire harness plug and push
through the broil opening and secure with one
T20 screw.
 Loading...