– 32 –
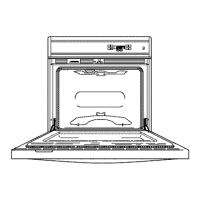
Oven Removal
The replacement of certain components require
oven removal. (See Oven Component Access Chart.)
WARNING: The oven is heavy and requires two
people to remove it from the installation.
To remove the oven:
Remove oven doors and racks. (See 1. Door
Assembly).
Remove the 2 Phillips-head screws that attach 2.
the metal bottom trim to the bottom edge of the
cabinet. Remove the trim.
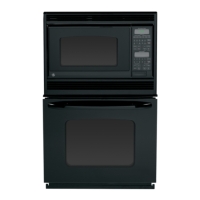
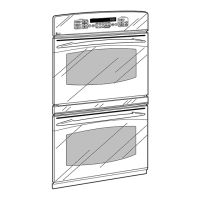
Double Wall Oven
4. Pull the oven slightly forward to access some
components (See Oven Component Access Chart)
or, if removing it completely, utilize a table or
platform in front of the oven and pull the oven
completely out.
Note: When reinserting the oven into cabinet
opening, ensure that the conduit is properly
positioned behind the oven. (See the Installation
Instructions manual.)
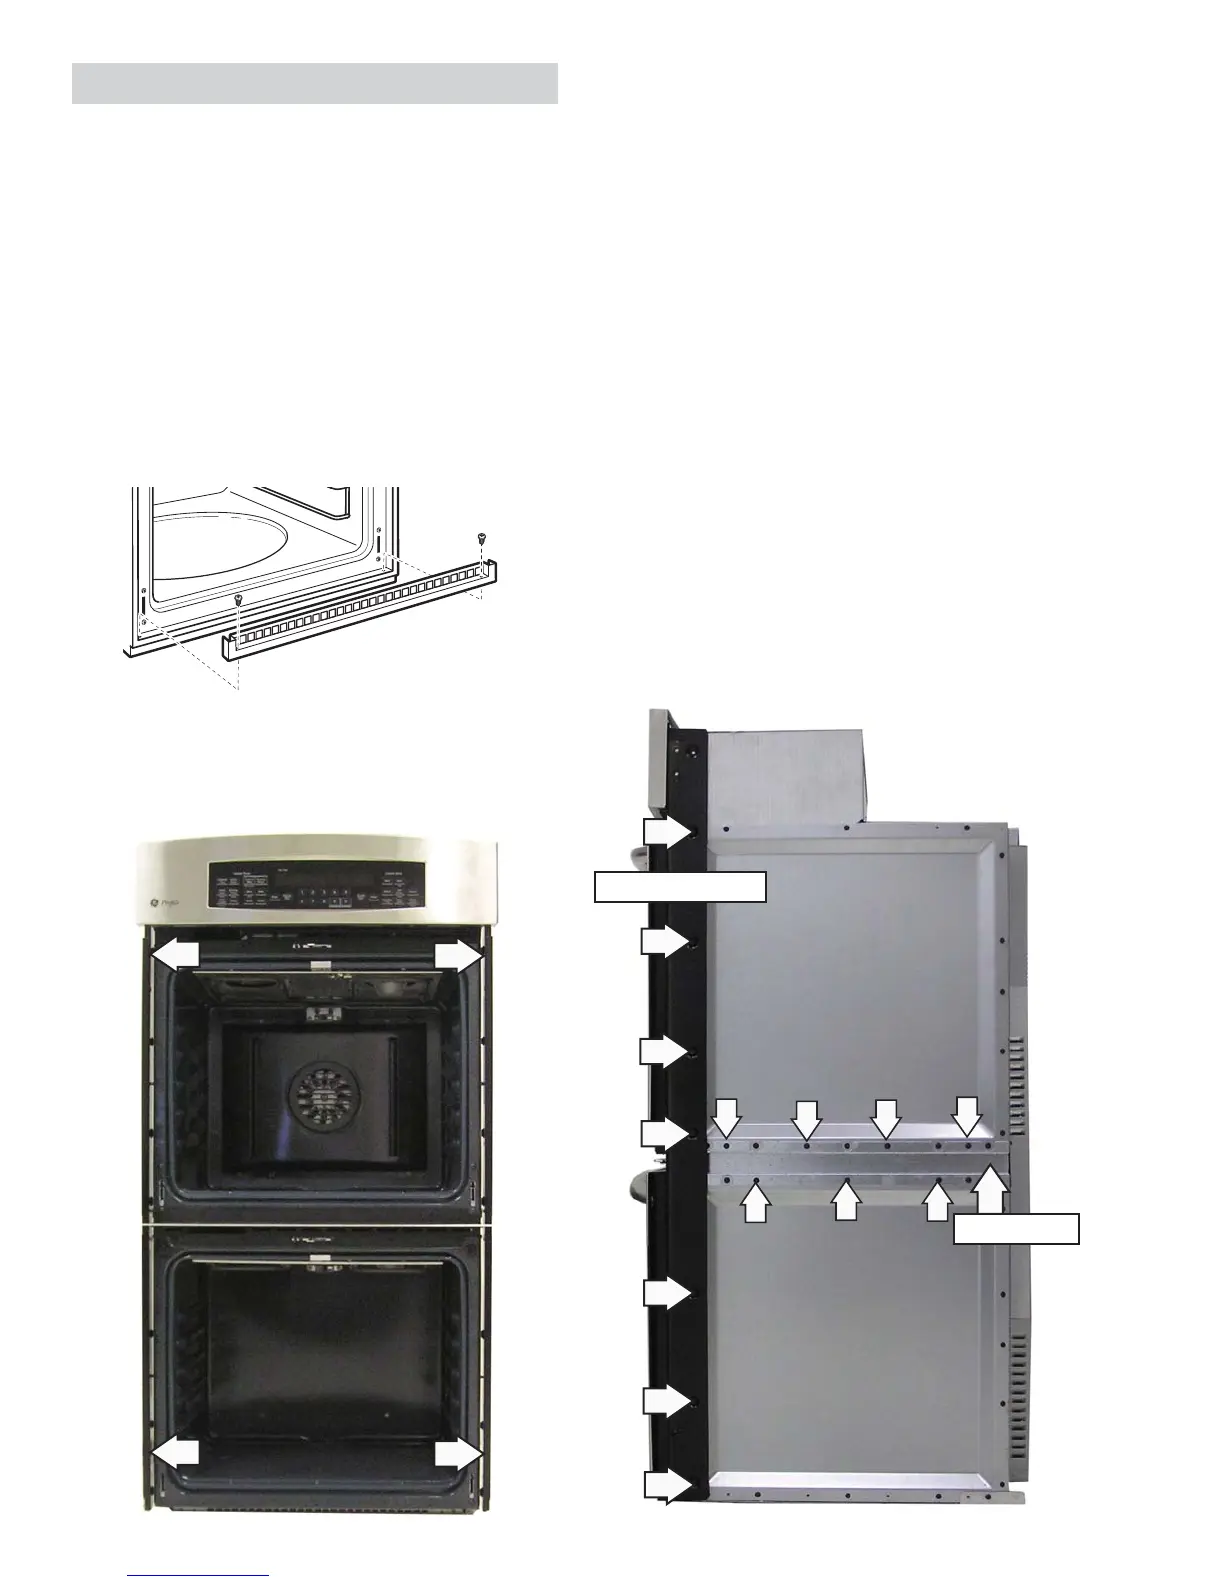
Side Access Panels
To remove side access panels on each side:
1. Remove the ¼-in. hex-head screws that hold
each side trim in place. The single wall oven has
4 hex-head screws. The double wall oven has 7
hex-head screws.
(Continued next page)
3. Remove the 4 Phillips-head screws (2 on each
side) from the side trim that hold the oven in
place.
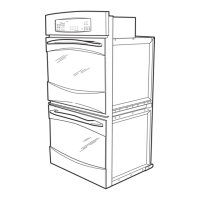
Double Wall Oven (right side)
Side Trim Screws
2. On double wall ovens, remove seven ¼-in. hex-
head screws that hold the oven divider to the
side of the oven.
Oven Divider
 Loading...