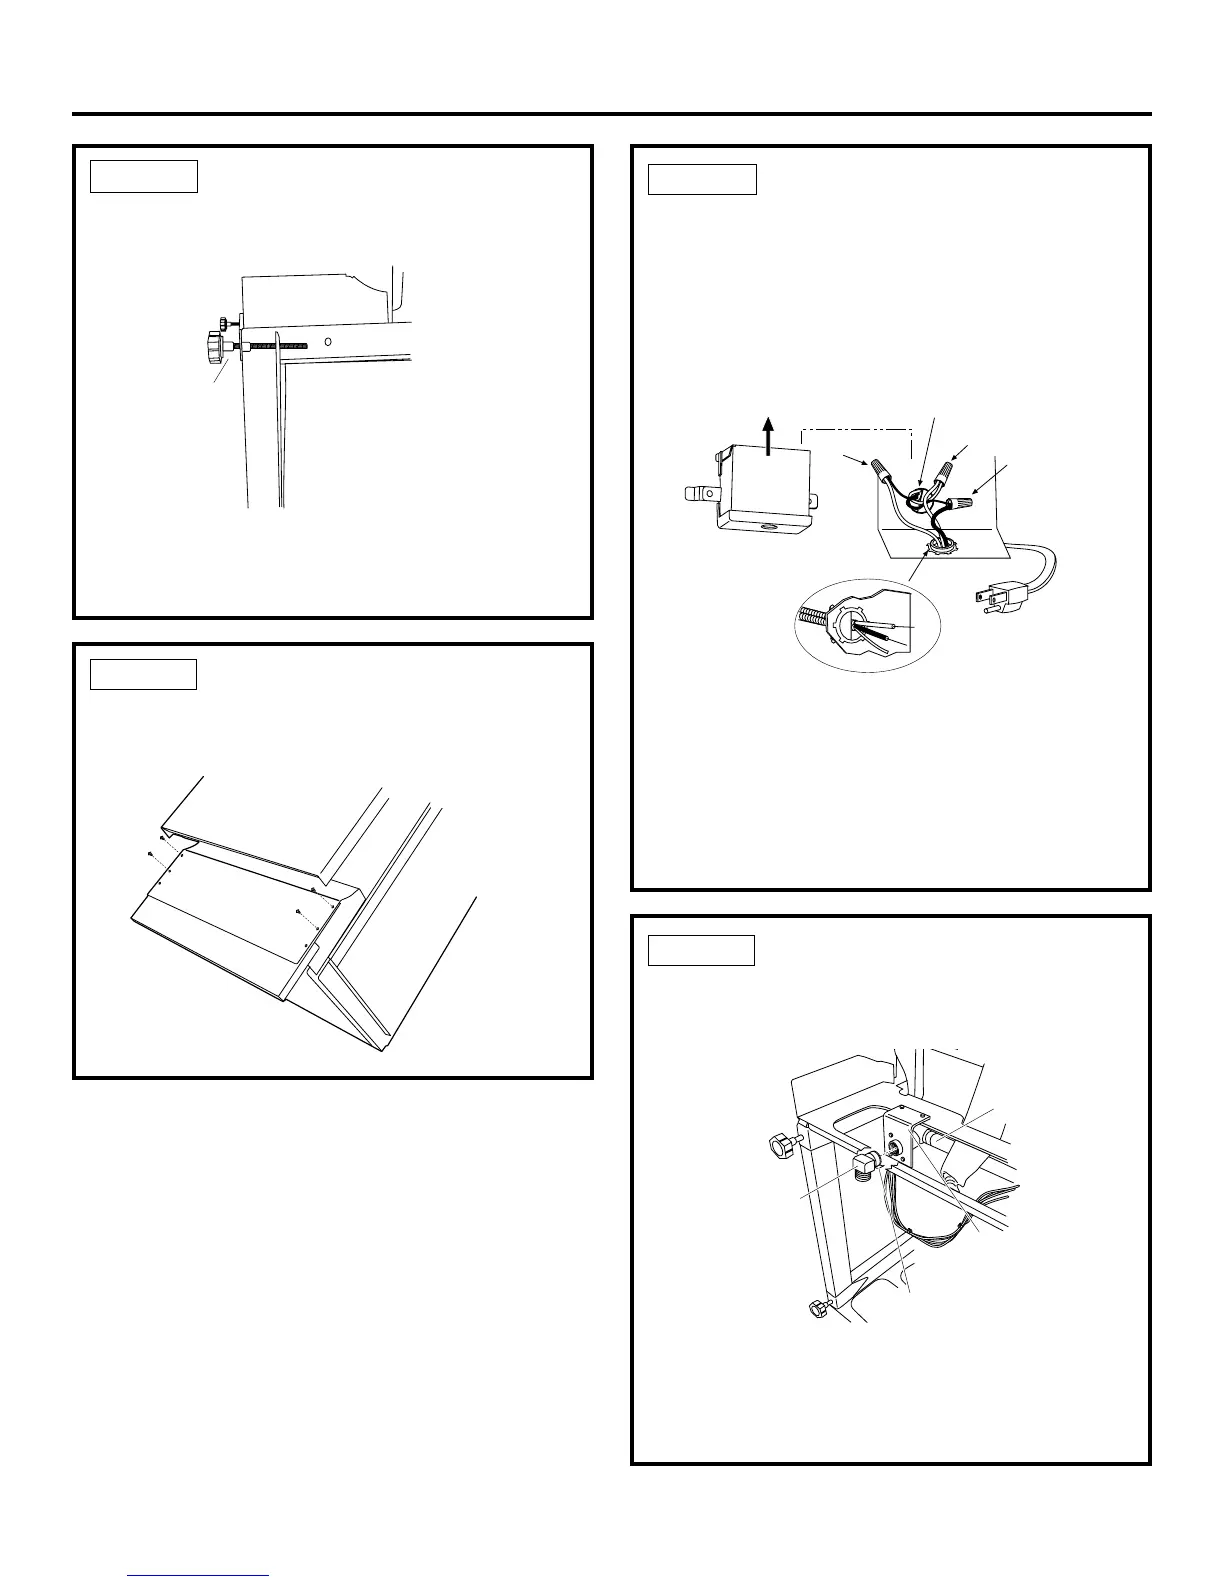
• Do not over tighten 90° elbow, water valve bracket
could bend or water valve fitting could break.
• Position the end of the elbow to face the rear of the
dishwasher.
STEP 5 INSTALL 90° ELBOW
• Wrap 90° elbow with thread seal tape.
• Install a 90° elbow onto the water valve.
Figure O
Figure M
STEP 3 REMOVE TOEKICK
• Remove the 4 toekick screws. Lift off the 2-piece
toekick.
• Measure installation height and dishwasher height.
Extend leveling legs out from the dishwasher base,
1/4" less than installation height.
Figure L
STEP 2 ADJUST LEVELING LEGS
• Move the dishwasher close to the installation
location and lay it on its back.
• Connect incoming power cord white (or ribbed)
to dishwasher white, black (or smooth) to black and
ground to dishwasher green wire. Use UL listed wire
nuts of appropriate size.
• Replace junction box cover. Be sure wires are not
pinched under the cover.
STEP 4 INSTALL POWER CORD
Skip this step if dishwasher will be direct wired.
The power cord and connections must comply with
the National Electrical Code, Section 422 and/or local
codes and ordinances.
• Recommended power cord length is 54" min. and
64" max.
Figure N
 Loading...