Installation
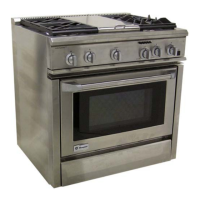
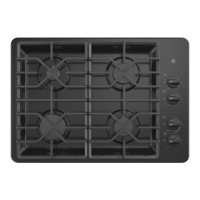
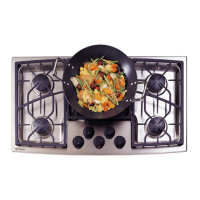
Stainless Steel G as Cooktop
8
• Check to be sure the receptacle is properly
wired by checking for proper polarity and
grounding.
• Plug in power cord.
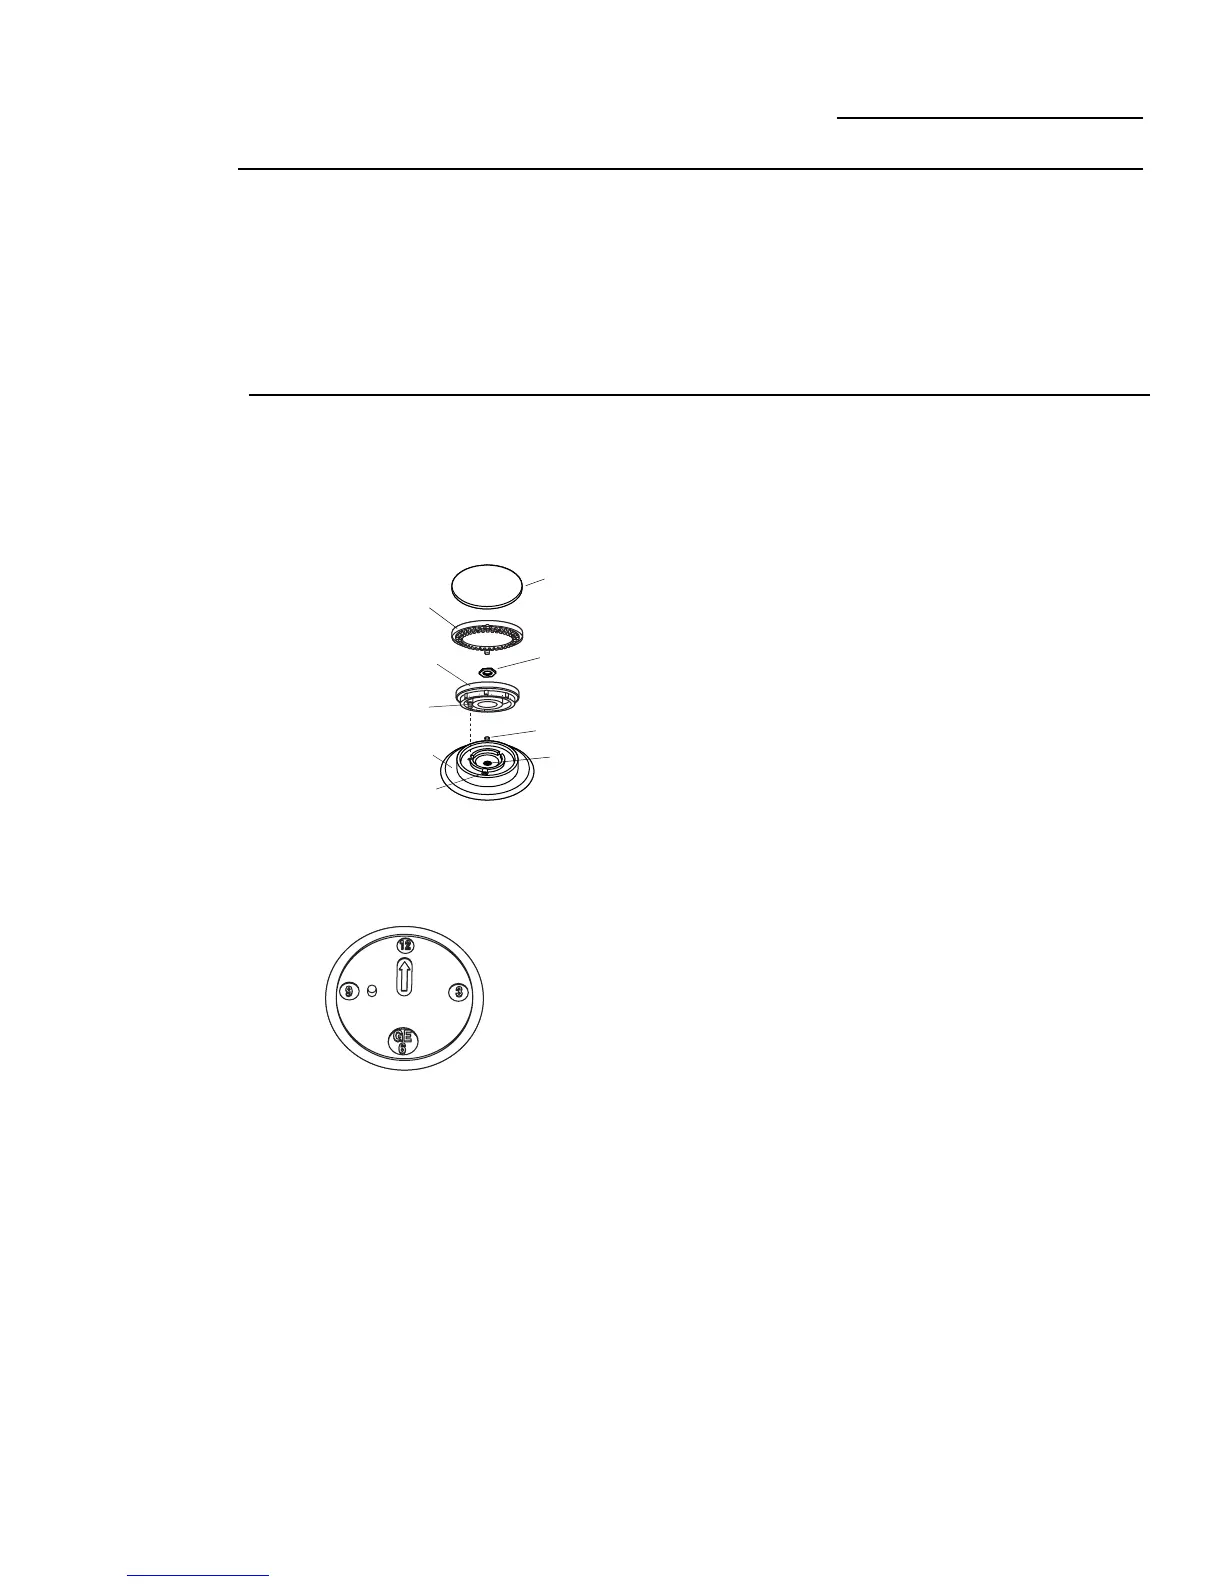
•Remove tape on burners.
•Assemble burner as shown. Check to be sure
that burner heads and caps are securely
seated.
3
Connect
electrical
Step
4
Assemble
burners,
check ignition
Step
•Check for proper ignition:
–Push in one control knob and turn 90° to
HIGH position.
–The igniter will spark and the burner will
light; the igniter will cease sparking when
the burner is lit.
–First test may require some time, while air is
flushed out of the gas line.
–Turn knob to OFF.
–Repeat the procedure for each burner.
Important: If the ignitor electrodes continue
to spark after the burners are lit, check that
each burner component is assembled and
seated properly by observing constant gaps
between each layer. Disassemble and
reassemble as required.
To aid reassembly, each
brass Burner Head is
marked with a clock face.
Replace the Burner Head
with the arrow pointing
to the rear of the cooktop
(12 o’clock position).
Locator Pin
Electrode
Main Orifice
Burner Ring
Locking Nut
Burner Base
Burner Head
(Brass)
Burner Ring
(Aluminum)
Burner Cap
Simmer Orifice
 Loading...