Do you have a question about the GE PDWT380R10SS and is the answer not in the manual?
Read and follow all instructions carefully before starting the installation process.
Adhere to codes, ordinances, and safety warnings for proper installation.
Ensure correct cabinet opening dimensions, clearances, and floor leveling for installation.
Configure drain hose, air gap, or high drain loop per local codes and requirements.
Connect appliance to a grounded branch circuit safely and correctly.
Connect hot water line, ensuring correct pressure and temperature for operation.
Locate items, install trim pieces, and adjust door spring tension for smooth operation.
Remove shipping base, install adjustable leveling legs, and connect power cord.
Install 90° elbow for water, connect water line, and attach drain hose.
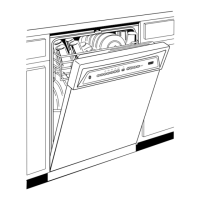
Slide dishwasher into enclosure, center, and secure to countertop or cabinet.
Complete electrical, water, and drain connections; perform pre-test checklist.
Conduct wet test, set water hardness, install sound kit, and provide literature.
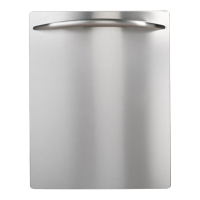
| Type | Built-In |
|---|---|
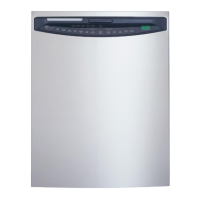
| Color | Stainless Steel |
| Capacity | 16 place settings |
| Control Type | Electronic |
| Energy Star Qualified | Yes |
| Soil Sensor | Yes |
| Third Rack | No |
| Stainless Steel Interior | Yes |
| Water Heater | Yes |
| Lower Rack Features | Adjustable Tines |
| Width | 24 in |
| Wash Cycles | Heavy, Normal, Light, Rinse Only |
| Options | Hi-Temp Wash |
| Dimensions (H x W x D) | 24 in x 24 in x 24 in |
| Upper Rack Features | Adjustable |