Printer Features and Use
A-3
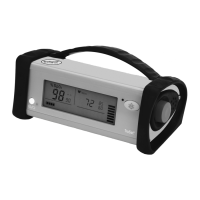
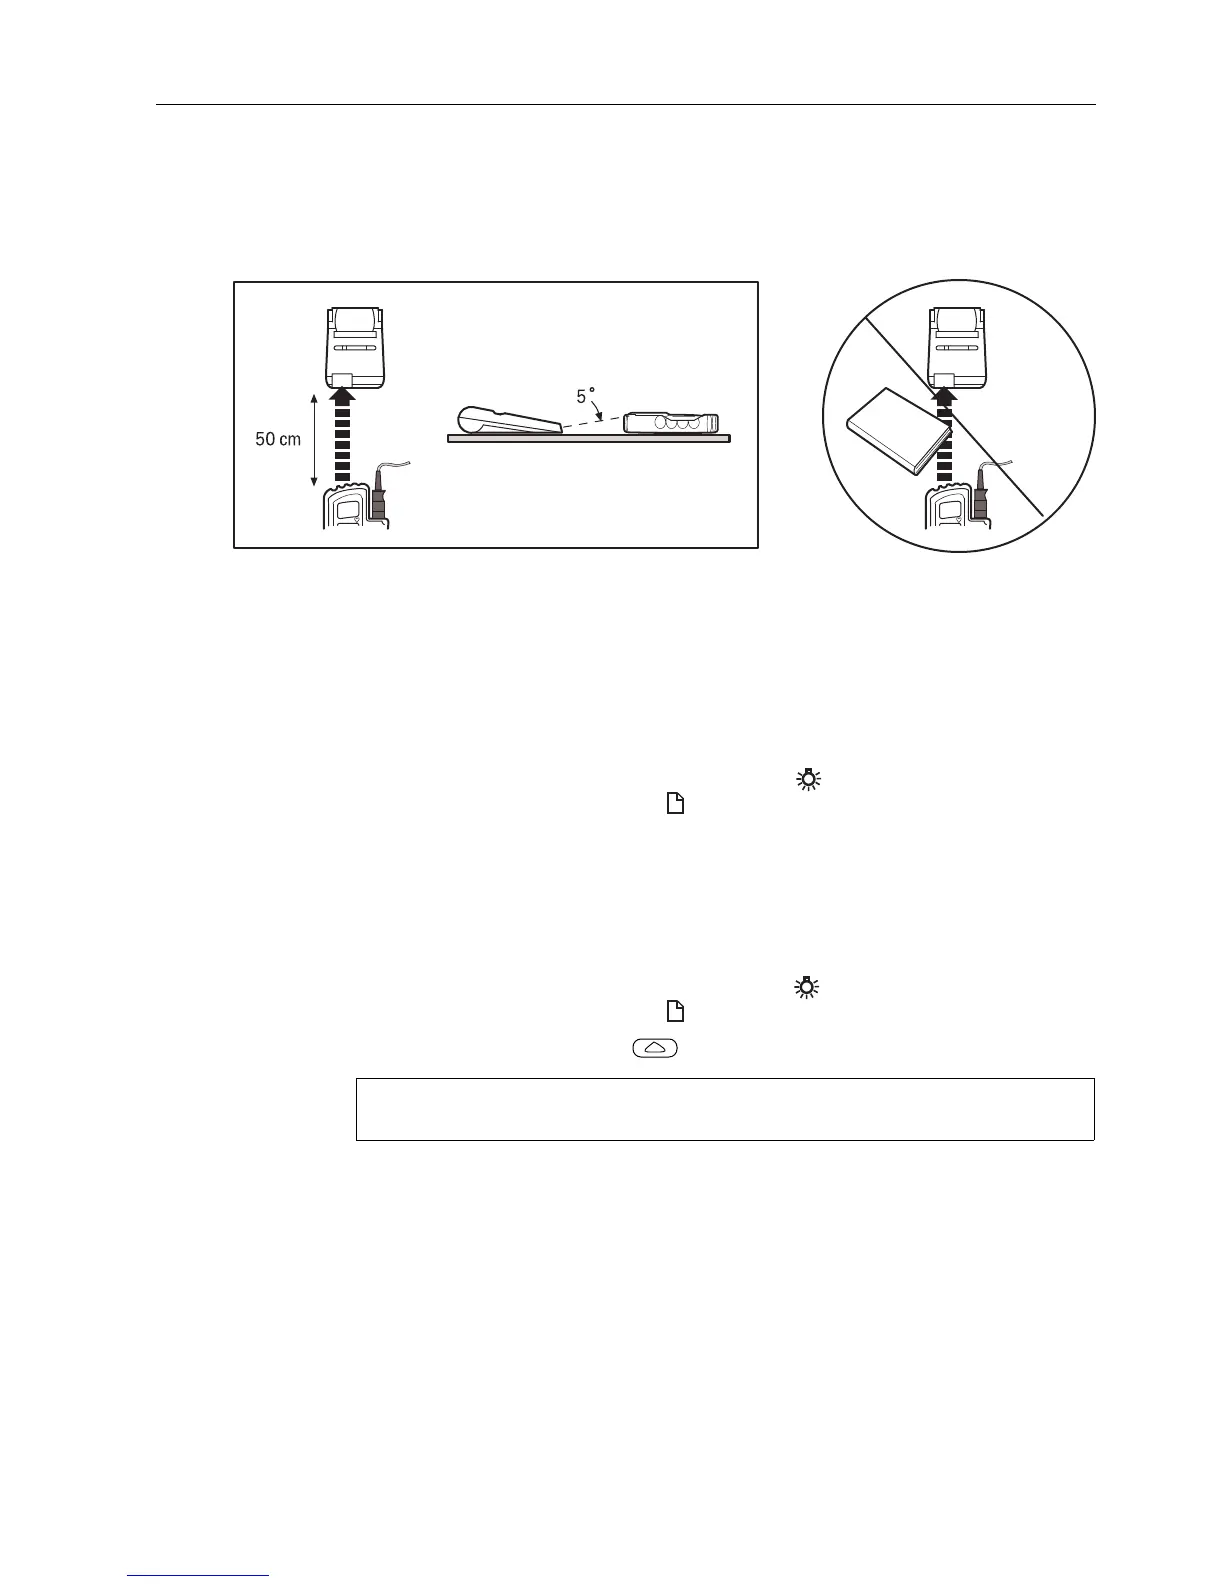
Positioning the oximeter and printer
To prevent data loss or incorrect characters on the printout, position the infrared
transmitter on the oximeter and the infrared receiver on the printer in relation to
each other as shown below.
Transmitting distance and angle Do not block infrared link
For the best result, place the printer and the oximeter on a flat surface.
Printing data
When the printer is on and correctly positioned with the oximeter, you are ready to
print.
1. To start printing, press the PI
r
button and the button simultaneously.
Release both buttons when the (print indicator) is displayed.
• Real-time data print if you are monitoring a patient (a sensor is on the patient
and is connected to the oximeter).
• Stored trend data print if you are not monitoring a patient (a sensor is
connected to the oximeter).
2. Do not move the oximeter or printer until printing stops.
3. To stop printing, press the PI
r
button and the button simultaneously.
Release both buttons when the is no longer displayed.
4. When printing stops, press
to advance the paper.
Important: To avoid a paper jam, tear the paper off after the print head stops
moving and after the paper stops advancing.
 Loading...