– 7 –
Prepare Washer for Installation
1. Remove cardboard inner pack and installa-
tion accessories from under lid. Drain hose is in
washer basket.
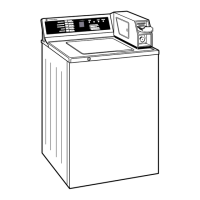
2. Grasp retainer rod
on lower right side
(has a tag on strap),
and pull rod straight
out and discard.
3. Be sure water sup-
ply lines have been
thoroughly flushed.
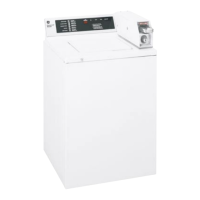
4. Move washer to final
location. DO NOT let fill or drain hoses drag and
get under washer.
5. Adjust front leveling legs as necessary to level
washer. Front leveling legs are adjustable; if
adjustment is
necessary, re-
level. The washer
must rest firmly
on all four legs.
To “set” rear self-
leveling system,
tip washer for-
ward so that rear
base is about 4"
off the floor, then lower.
6. Install drain hose in drain facility and secure with
plastic tie strap provided or tape as illustrated.
Note: Drain hose nozzle may be shortened if original
length prevents full insertion into drain facility.
Move Washer Close
to Final Position
Shipping
Rod
Remove
and Discard
Tag or
Strap
2227B
BOTTOM OF
WA
SHER
LEVELING
LEGS
LEVELING LEGS
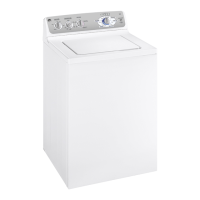
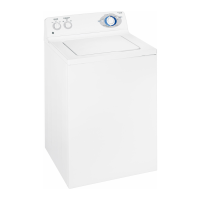
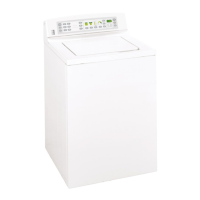
Typical Completed Washer Assembly
2227M
Drain
Hose
Secure to
Drain Hose
Cable Tie
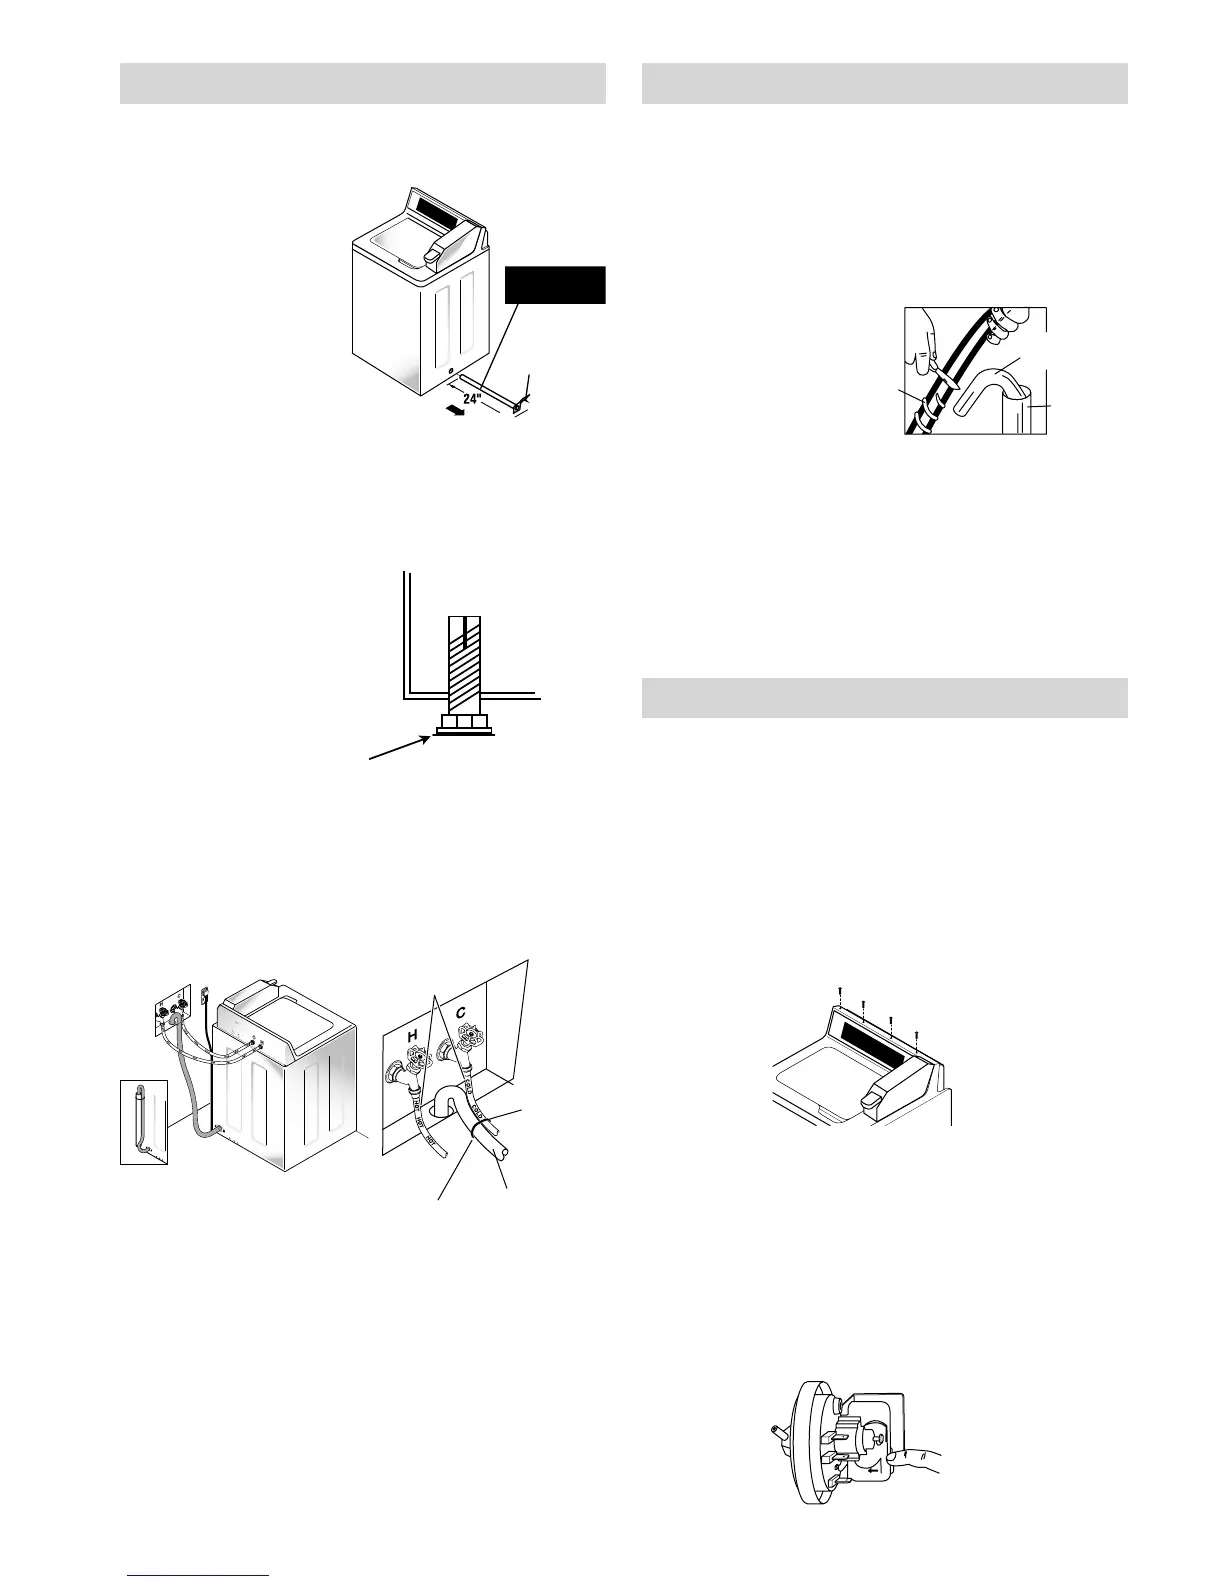
Fill Hoses
2227L
7. Determine which is HOT water line before
attaching fill hoses to faucets. Traditionally, HOT
faucet is on the left. Be sure rubber washers are
in end of both washer fill hoses and connect
hose from right inlet valve on washer (marked
HOT) to HOT faucet and left hose to COLD faucet.
Couplings should be hand-tightened plus 1/2
turn with pliers.
Install Drain Nozzle
1. Insert one end of aluminum drain nozzle into
standpipe.
2. Slip or cut wire wrap back approximately 2" below
top of standpipe.
3. Cut drain hose just below standpipe. Place silver
hose clamp over black drain hose end.
4. Insert drain nozzle
into end of drain
hose, and
position clamp to
secure drain nozzle
to drain hose.
CAUTION: Be sure drain hose is taped or secured to
standpipe or other drain facility.
Note: Water may be drained into a standpipe. The
discharge height must not be less than 30 inches, nor
more than 6 feet above base of washer. Standpipe
must be 1-1/2" minimum inside diameter and must
be open to atmosphere.
Economy Water Usage
The pressure switch is set in the factory for the
medium water level and usage.
To change setting from medium water level to high
or low:
1. Make sure washer is unplugged from electrical
outlet.
2. Remove 4 torx screws from back of control panel
and lay control panel front on cover.
Drain
Nozzle
Standpipe
Wire
Wrap
2227T
CAUTION: Be sure drain hose is firmly secured to
drain facility.
3. Locate pressure switch in backsplash, and per
illustration move white plastic cam on pressure
switch to the clockwise position with your finger,
until it clicks into position, to select the economy
water saver (low water level). To select high
water level, move the white plastic cam counter-
clockwise until it clicks into position. Pressure
switch does not have to be removed to change
the setting.
 Loading...