52
Y Series TechBook
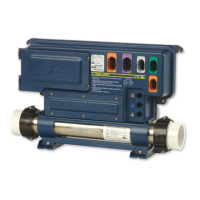
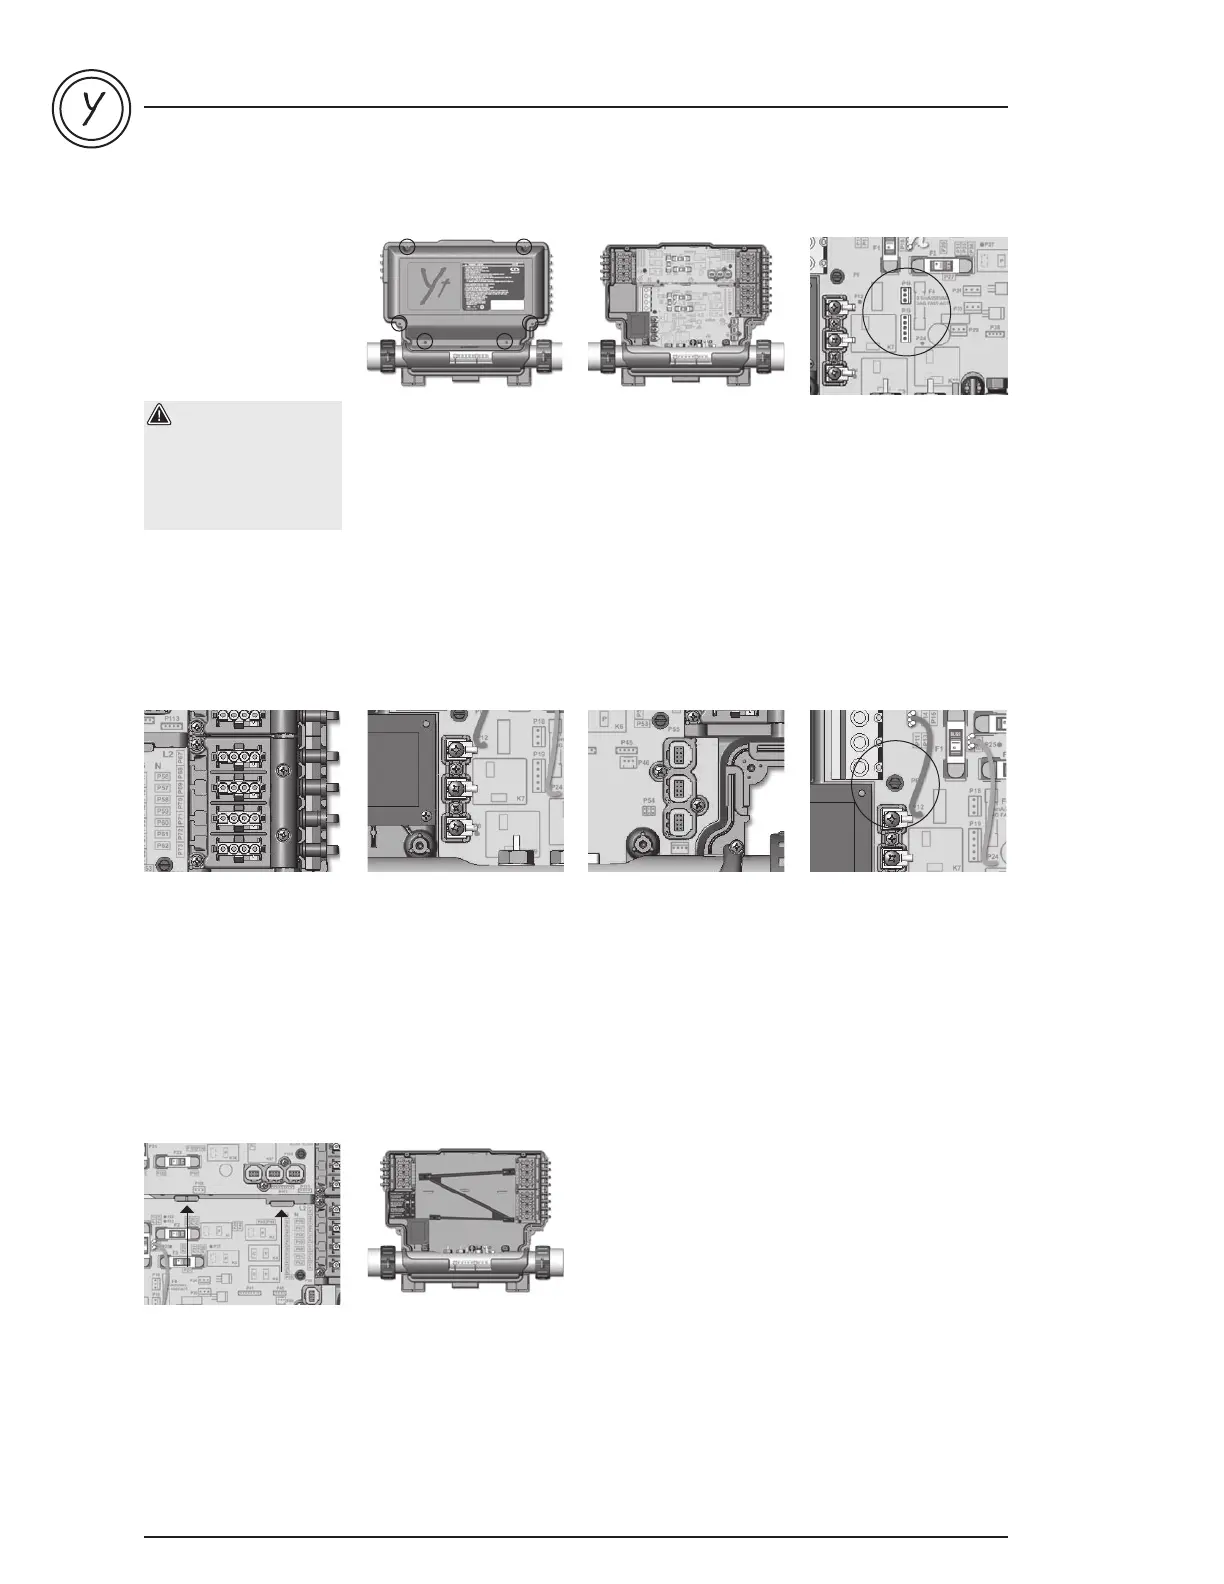
How to replace the main control board on in.yt
Warning!
Before starting removal
procedure be sure to:
• Turn off electric
power to the unit
Loosen the 6 screws that
hold the cover in place
Disconnect incoming
power lines by loosening
the screws on the
terminals of the terminal
block
Use a Phillips screwdriver
to loosen the terminals
and remove all electrical
heater connections:
Return, Live and Ground
Manually remove the HL
probe & Temp probe
connector Manually
remove ino connector
Be careful not to damage
any connector by twisting
or pulling too hard
Manually remove the
transformer connector
Manually remove the
topside cable and
the inlink cables
Use a Phillips screwdriver
to loosen and remove the
cable strain relief cover
Unplug power cord by
squeezing the latches
on the side of each AMP
plug and pulling it from
its socket, one at a time,
identify each output
power cord
Unscrew the 2 green
grounding screws located
on either side of the PCB
Slide the PCB down to
disengage it from the
middle holder Pull it and
slide it upward to remove
the card from the inyt
enclosure
Using the Phillips
screwdriver remove
the strain relief bracket
Remove the 2 screws
from the assembly AMP
bracket Remove the
2 screws of the shroud
around the heater’s
connection post and
remove it
Do the same for the inlink
bracket
Put the new PCB back
in the enclosure Slide
it downward, at an
incline, behind the heater
assembly Then push it
back, just underneath the
middle PCB holder, and
slide it upward Install the
2 green ground screws Be
sure the circuit board is
lying at on the back of the
enclosure Put the inlink
bracket back in place and
secure it with the 2 screws
Be sure the locating pin
is fully in the PCB hole
Install the shroud around
the heater’s connection
posts Reinstall the AMP
assembly bracket Put
the strain relief bracket in
place Plug the topside
and inlink cables back
in Plug the output power
cord in its initial location
Screw the strain relief
cover in place Reinstall
the transformer connector
Plug the ino, the HL
probe and temperature
probe connectors back in
Plug the heater
connections back in:
Return, Live, and Ground
Tighten the screws with
a Phillips screwdriver
Connect the incoming
power lines and tighten
the terminal block screws
rmly Put the cover back
in place and tighten the
6 screws
 Loading...