X
GEM-P3200 Programming Instructions
L
NAPCO Security Systems
WI818D 08/00
!
Page 28
Key Fob Transmitters
(Press the (
A
) button to set cursor.)
Keyfobs can be programmed as “Arm/Disarm” devices. (refer to WI752).
For each Key Fob Transmitter, enter:
!
the Key Fob Transmitter number (01–08).
!
area number to which transmitter is assigned (1 or 2); enter 0 to disable keyfob.
!
the 6-digit RF ID # printed on the transmitter (enter all numbers and/or letters,
including leading “0”s, if any).
!
1-digit checksum number printed on the transmitter (enter all numbers and/or
letters, including leading “0”s, if any).
!
Aux-1 Option (see key fob aux 1 & aux 2 options).
!
Aux-2 Option (see key fob aux 1 & aux 2 options).
Note: If the Key Fob is converted for Two Button
“Emergency Use” (by cutting an internal jumper),
both top or bottom buttons must be depressed to activate an alarm. In this case, the Aux-1
and Aux-2 cannot be programmed. Press
Jto save. Press NEXT (
E
) button to
proceed.
Key Fob Zone Assignment
(refer to display as shown on the previous page: press the
(
F) button to go backwards.)
Each of the 4 key fob buttons can be assigned to a zone. For example, On button = point 1;
Off button = point 2; A1 = point 3; A2 = point 4. Up to 48 key fobs (using 1 button) or 24 key
fobs (using 2 buttons) or 14 key fobs (using all 4 buttons) or any combination up to a
maximum of 48 controlled zones can be assigned, providing multiple wireless panic buttons
on a system, each reporting to the Central Station or a pager and/or annunciating on a
keypad the key fob zone number with description/location. To assign a key fob to a zone:
program the key fob as you would a transmitter, entering the key fob's ID code, check sum
and point number at the appropriate zone. The “Quick Method” is not allowed. The zone
may be hardwired to a sensor as well as assigned to a key fob (either one will activate the
zone alarm output).
NOTE:
If assigning a key fob to a zone, the “ON/OFF” buttons on the
key fob will no longer arm/disarm the system. The key fob is converted to a “panic only”
device.
Dealer Code
Directly enter the Dealer Code, including leading zeros. Use the
1
through 9 buttons. NOTE: Press the 0 button for a zero. Press
J
to save.
Re-enter the Dealer Code to verify the previous code. Press
Jto save.
Press NEXT (
E) button to proceed.
NOTE:
The Dealer Code can be two or more digits (up to 6 digits).
CLEAR PROGRAM:
Should it be necessary to create a new custom default program, (a) from the Dealer Program Mode,
press the
C
button to enter the Address Program Mode; (b) access Location 4091 (Clear Program) or 4093 (Cold
Start); (c) press
J
and then (d) press the C button to exit the Dealer Program Mode. A System Trouble Condition will
occur. Press the
C button to silence the keypad.
NOTE: Key fobs 1-8 report openings and
closings as Users 25-32.
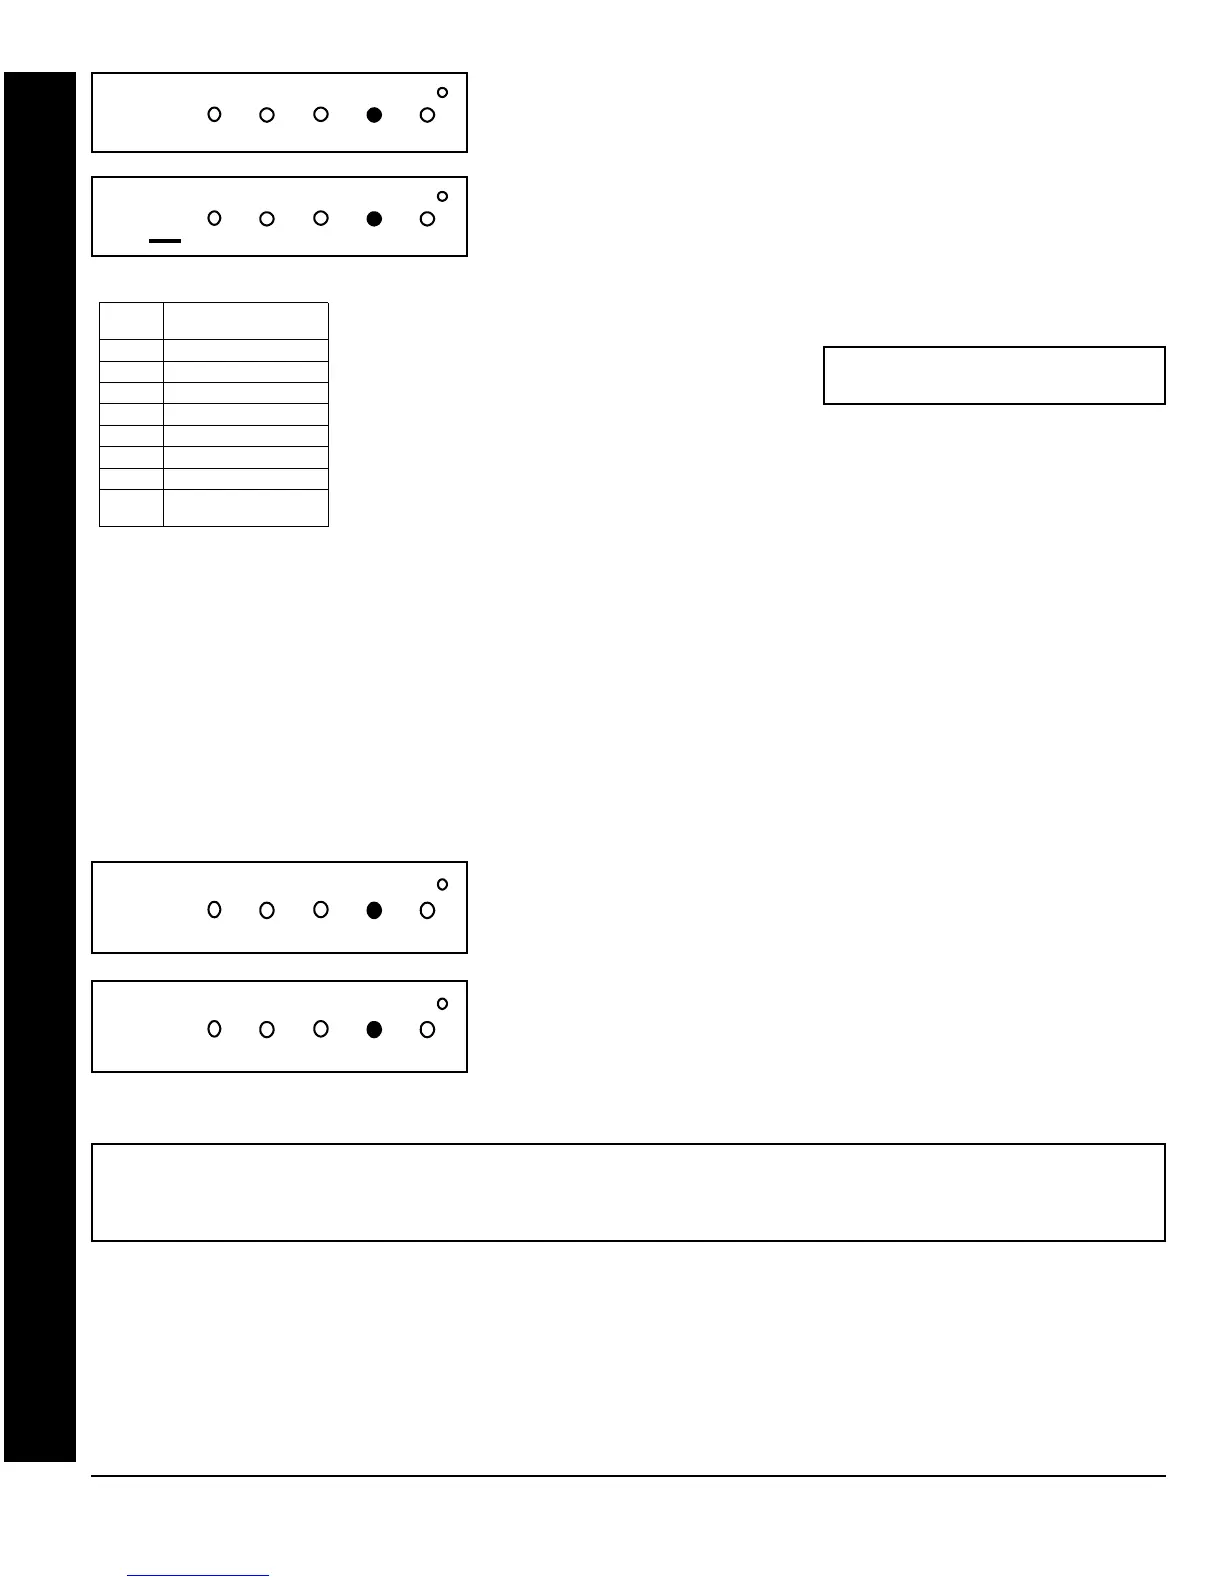
GEM-RP3DGTL Keypad: Keyfob Transmitters & Dealer Code
(Direct Entry)
16
INTERIOR
BYPASS FIRE/TBL SYS TBL CHIME
INTERIOR
BYPASS SYS TBL CHIME
FIRE/TBL
DATA
ENTRY
AUX 1/AUX 2
OPTIONS
0None
1 Relay Group 1 Toggle
2 Relay Group 2 Toggle
9Panic
A Auxiliary
B Instant
C Aux. Output Toggle
D Access on Aux.
Output
(Direct Entry)
17
INTERIOR
BYPASS FIRE/TBL SYS TBL CHIME
rE
INTERIOR
BYPASS SYS TBL CHIME
FIRE/TBL
EXIT DEALER PROGRAM MODE: This completes the custom default program. Press the
C
button to enter the
Direct Address Program Mode for further programming or press the C button once again to end all programming
and resume normal keypad operation.