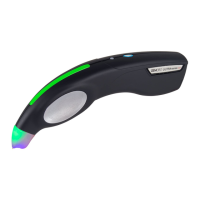
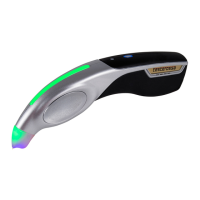
9 AuRACLE Gold Tester
OPERATION:
1. 9V Alkaline Battery Installation: Open the battery
compartment door located on the bottom side
of the AGT1 by pressing the locking mechanism
area of the battery compartment door with your
index finger and pry the door off. With the AGT1
in the OFF power position, insert the (1) supplied
9V alkaline battery into the battery compartment
as indicated with the direction of positive (+) and
negative (-) polarity correctly positioned in the
battery holder. Replace the battery compartment
door. To conserve the battery life, be certain to
turn the power switch to the (OFF) position when
not in use. Please be aware that by incorrectly
inserting the battery by force into the battery
holder the wrong way with the polarity
reversed, while the power switch is in the BATT
position, you will likely damage the AGT1 and
void the warranty.
2. To turn on the AGT1, turn the power switch located
on the right side of the tester to BATT if using
batteries or to EXT/AC if using the optional AC
adaptor. The green LED labeled READY will then
become illuminated when the tester is ready to be
used. For best results, allow a 2-minute warm-up
time before performing the initial calibration and
test.
3. Take the pen probe and plug its male jack into its
corresponding female receptacle located on the
right side of the AGT1. Now remove its cap. With
fresh pen probes, at times they may be slightly
overfilled and excess solution could come out


 To Next Page