5
www.generallters.com
Model 1000 Humidier Installation Manual
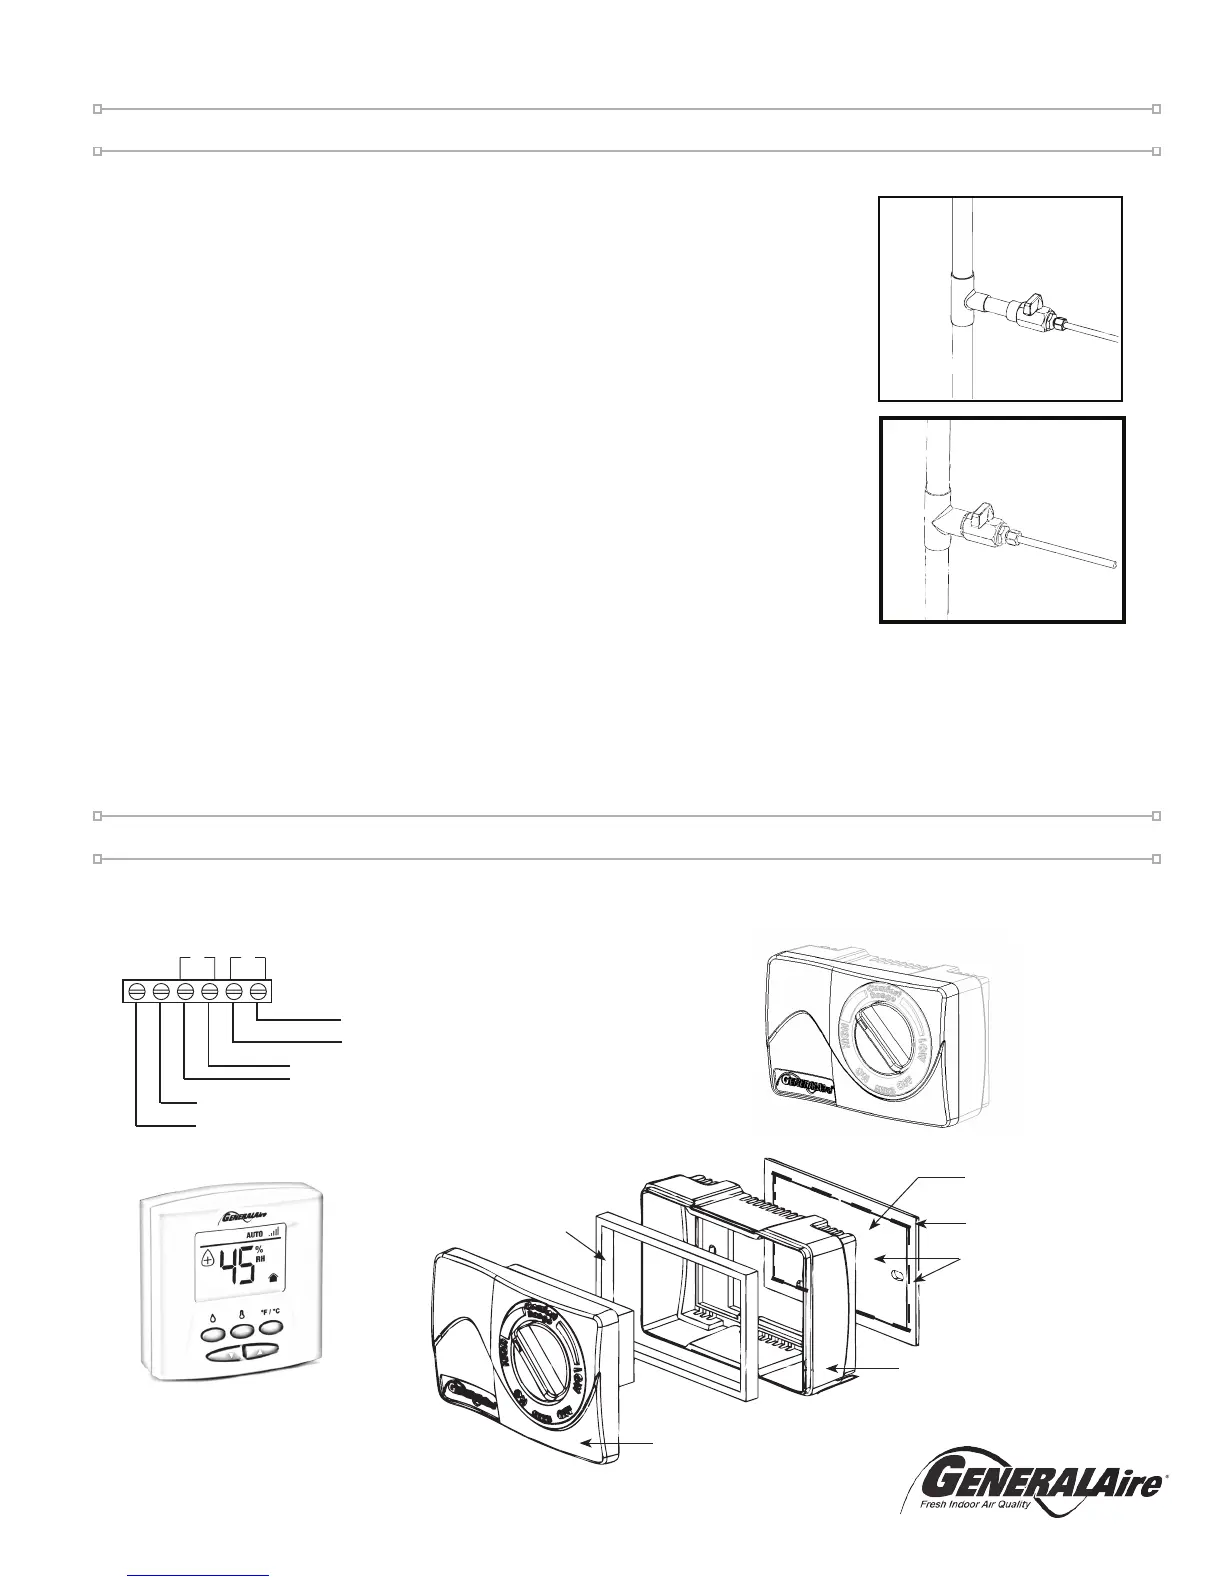
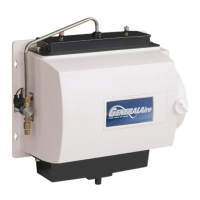
5. GCV3412 Code Valve Installation Instructions*
Copper Pipe:
1. CAUTION: Turn off water supply.
2. Clean pipe, ttings and valve with sandpaper or wire brush.
3. Apply a thin layer of ux to all surfaces to be soldered.
4. Assemble valve to pipe and/or ttings.
5. Cooling the valve by wrapping a wetted rag around the valve is optional.
6. WARNING: For your safety, this should be performed by a
licensed contractor only. Heat the joints with a torch. Apply solder to
each joint. Continue to apply heat sufcient to keep solder liquid.
7. After solder has lled entire joint area, remove heat and allow joint to cool. Do
not move or disturb.
8. Slide compression nut over 1/4” copper tube followed by compression sleeve.
9. Insert tube into valve fully and tighten nut.
10. Turn on water supply and check for leaks.
*Code Valve Is Included With Automatic Models Only
Installation Cont.
!
!
1/2” TEE
3/4” TEE
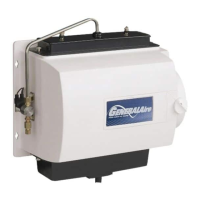
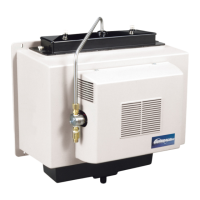
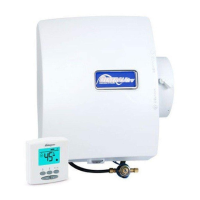
Installing The Control
GFX3 (Automatic Models) MHX3C (Manual Models)
24V OUTPUT FROM HUMIDIFIER (RED WIRES) OR
727-58 24 V. TRANSFORMER WITH CONSTANT POWER
OR 24 VAC POWER SUPPLY WITH CONSTANT POWER
HUMIDIFIER CONTROL LEADS
(YELLOW WIRES)
OUTDOOR TEMP. SENSOR
(NOT USED IN MANUAL MODE)
AC L
AC N
HUM
SNSR
Thin Gasket
Face
FIG. 1
WALL MOUNT: Use
Outer & Inner Portions
DUCT MOUNT: Use
ONLY Outer Portion
Mounting
Base
Thick Gasket
DUCT MOUNT ONLY