C
Christopher LopezAug 2, 2025
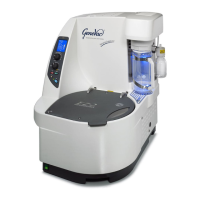
What to do if Genevac Laboratory Equipment defrost heater failure?
- DDebra CostaAug 2, 2025
If the section at the base of the condenser glass jar illuminates red, contact Genevac service for advice, as this indicates a defrost heater failure in your Genevac Laboratory Equipment.