PN# 37026500123 02/26/2010 REV. 1
9
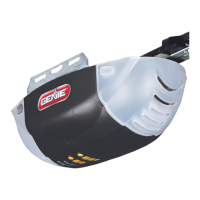
OPENER ASSEMBLY
FOR HELP-1.800.354.3643 OR WWW.GENIECOMPANY.COM
1
NOTE: Three (3) piece rail assemblies are for a 7
foot high sectional door.
Clear a workspace area to unpack and organize box
and contents for assembly.
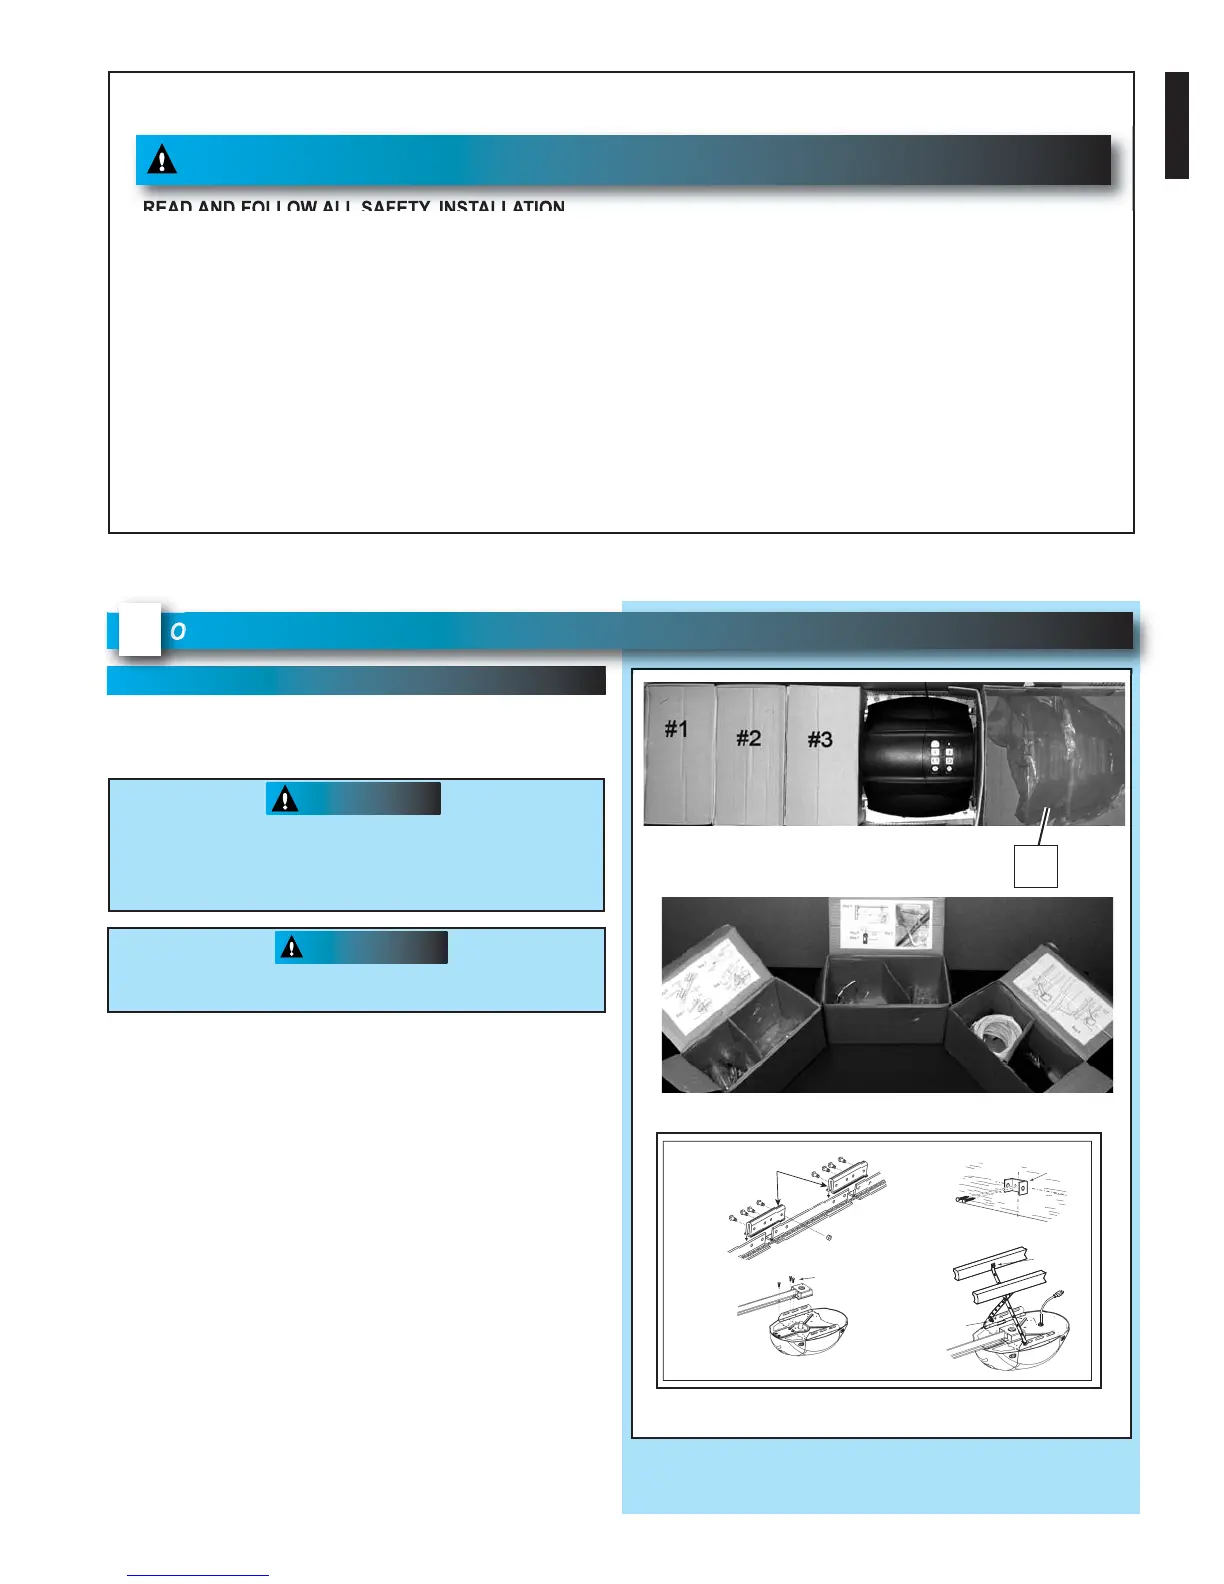
1. There are 4 boxes inside the carton. Each box is
numbered 1 - 4. Note that some openers will
contain the same parts and be packaged with
fewer boxes. Carefully remove the three
internal boxes (Labeled #1, 2, and 3) and place
them on the floor for easy access (Fig. 1-1).
These boxes contain assembly parts and the
contents are organized by assembly tasks. For
quick reference inside the lid of each box there is
a label illustrating the components inside.
2. Remove the motor power head and place it on
the floor for later use. Remove box #4 and
place it on the floor for later use.
Do NOT run until opener is fully assembled and
instructed to do so.
CAUTION
FIG. 1-1 Internal boxes.
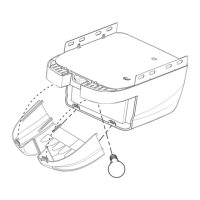
RAIL ASSEMBLY: Use a clean, flat surface.
Box Label Example
#4
1.
READ AND FOLLOW ALL SAFETY, INSTALLATION
AND OPERATION INSTRUCTIONS.
(If you have
questions or do not understand an instruction, call The
Genie Company or an authorized Genie
®
Dealer.)
2. Install only on a properly balanced sectional garage door.
An improperly balanced door could cause severe injury.
Have a trained door system technician make repairs or
adjustments to cables, spring assemblies, and other
hardware before installing the opener.
3. Remove all ropes and remove or make inoperative all
locks connected to the garage door before installing opener.
4. Where possible, install the door opener 7 feet or more
above the floor. For products having an emergency
release, mount the emergency release 6 feet above the floor.
IMPORTANT INSTALLATION INSTRUCTIONS
WARNING:
To reduce the risk of severe injury or death:
5. Do NOT connect the opener to source of power
until instructed to do so.
6. Locate the Wall Control:
• Within sight of door,
• At minimum height of 5 feet so small children are not
able to reach it, and
• Away from all moving parts of the door.
7. Install the Entrapment WARNING Label next to the Wall
Control in a prominent location. Install the Emergency
Release Tag on or next to the emergency release.
8. After installing the opener, the door must reverse within
2 seconds when it contacts a 1-1/2 inch high object (or a
2 x 4 board laid flat) on the floor.
To reduce the risk of injury to persons or
damage to property - Use this opener only
with sectional doors.
WARNING
NOTE: For 1-piece rail—skip to POWER HEAD &
RAIL ASSEMBLY.
NOTE: Please follow ALL instructions in their NUMBERED sequence. Use wall control and safety sensors
provided with this unit. Do NOT substitute wall control or safety sensors.
 Loading...