Do you have a question about the Genius Wireless TwinTouch Optical Office and is the answer not in the manual?
| Brand | Genius |
|---|---|
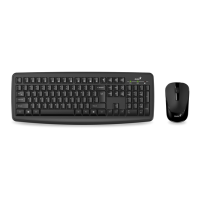
| Model | Wireless TwinTouch Optical Office |
| Category | Computer Accessories |
| Language | English |
Connect receiver, install batteries, and set ID channels for keyboard and mouse.
Information on using the battery charger receiver with PC and precautions.
Important warnings and troubleshooting steps for surface compatibility, BIOS, and device ID.
Guidance on replacing batteries and optimal placement for wireless performance.
Steps to install the necessary software from the setup disk.
Details on default mouse settings and how to assign functions to buttons.
List of functions assigned to keyboard keys and the scroll wheel.
Overview of features like Browsing Speed and Direction for enhanced navigation.
Detailed descriptions of features like Button Find, Loop, Mouse Speed, and Swap Left/Right.
Explanation of Office Mode and Genius Mode for enhanced application support.
Information on EasyJump modes, usage, and assigning functions via Frisbee.
Accessing mouse properties and using the panning function for documents.
Functions to launch Word, Excel, PowerPoint, and perform editing operations.
Functions for launching email clients and internet browsers, plus email management.
Functions to go back, forward, and navigate between web pages.
Controls for playing, pausing, and stopping media players.
Switching between EasyJump modes and selecting functions from options.
Switching between applications and using zoom functions for documents.
Instructions on how to install, uninstall, customize, and close the software.