22
Chapter 2 Getting Started
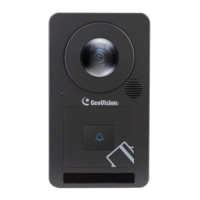
This chapter provides basic information to get GV-CS1320 on the network.
Follow the steps below to get GV-CS1320 working on the network:
1. Use a standard network cable to connect the camera access controller to your network.
2. Connect power using one of the methods:
z Using the power adapter, connect to power. For details, see 1.6.5 Connecting the
Power.
z Use the Power over Ethernet (PoE) function. The power will be provided over the
network cable.
3. You can now access the Web interface of GV-CS1320.
z If GV-CS1320 is installed in a LAN with the DHCP server, use GV-IP Device Utility
to look up its dynamic IP address. See 2.1 Checking the Dynamic IP Address.
z If GV-CS1320 is installed in a LAN without the DHCP server, the default IP address
192.168.0.10 will be applied. You also can assign a different static IP. See 2.2
Assigning an IP Address.
Note: By default, GV-CS1320 has the IP address 192.168.0.10, and ID and password
admin.
Once GV-CS1320 is properly installed, the following important features can be configured
using the browser-based configuration page and are discussed in the following sections in
this manual:
• Date and time adjustment: see 4.5.1 Date and Time Settings.
• Login and privileged passwords: see 4.5.2 User Account.
• Network gateway: see 4.4 Network.
• Camera image adjustment: see 3.2.2 The Control Panel of the Live View Window.
• Video format, resolution and frame rate: see 4.1.1 Video Settings.

 Loading...