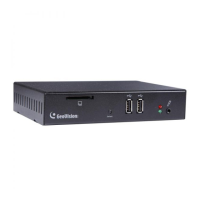
No. Name Function
6
Division Extension Keys
(CH1 ~ CH4)
Extend the selected division (in Quad View mode) to
full-monitor display. Press the same key again to resume.
7 REC Capture a snapshot.
8
Capitalized
alphabetical keys
(A / B / C / D)
Specify a GV-IP Decoder Box / GV-Pad for IR remote control.
9 Loop Start / Stop
z Start or stop the looped view.
z Display and fix at a channel: press the Loop Start / Stop
key to stop the looped view, a numeric key and OK to
display and fix at the selected channel. Press 0 and OK
to return to the last displayed channel.
10 MENU Switch to the setup menu.
11 OK
z Save settings in the Setup Menu.
z Display selected channels.
Switch among 8 resolution options.
1. Press Shift. The Green LED on the front panel flashes.
2. Press No. 0 ~ 7 for the desired resolution within 30
seconds.
0 : VGA_640 x 480
1 : VGA_1024 x 768
2 : VGA_1280 x 768
4 : HDMI_480p
5 : HDMI_720p
6 : HDMI_1080i
7 : HDMI_1080p
12 SHIFT
Note after the resolution is configured, the green LED will
fade and GV-IP Decoder Box / GV-Pad will reboot
automatically.
13 INFO
Shows the camera name and total number of cameras under
display.
14 SEARCH
Scan for available Access Points or wireless stations when
wireless network is selected.
9
 Loading...