22
GB
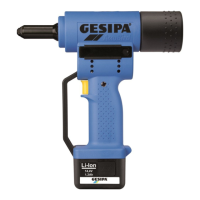
1.7 Start-Up
a. Pressing and holding the switch:
Press and hold the switch to start riveting. The pulling process stops automatically when the
rivet reaches the rear end position. The tool automatically assumes the front starting position
when the switch is released.
b. Tapping the switch:
Riveting is triggered by briey tapping and immediately releasing the switch. As soon as the
mandrel breaks off, the blind riveting tool stops and automatically re-assumes the front start-
ing position.
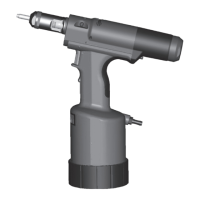
1.8 Maintenance
The maintenance of the riveting tool is limited to the complete jaw assembly:
• Remove the battery from tool housing.
• Unscrew the head (part no. 2) from the tool and clean. Look for deposits in the head.
• Unscrew the jaw housing (part no. 3) from the coupler using an open end wrench SW 17.
• Take out the jaws (part no. 4), clean and lubricate or replace them if worn.
• Re-assemble in reverse order ensuring that all parts are tightened!
Regular maintenance will extend the service life of your high-quality GESIPA
®
tools
which should be serviced at least every 2 years by an authorised workshop or by
GESIPA
®
Service. We recommend servicing tools that are subject to intensive use
ahead of schedule.
2. Quick charger and battery
2.1 Technical data
2.1.1 Quick charger
Type: 12355/12356
Input voltage: 220-240 V~ / 50-60 Hz
Output voltage: 14.4 V
Output current: 1.5 A max.
Weight: 0.6 kg