GEZE Perlan AUT-NT
6
Mounting instructions
Mounting instructions7
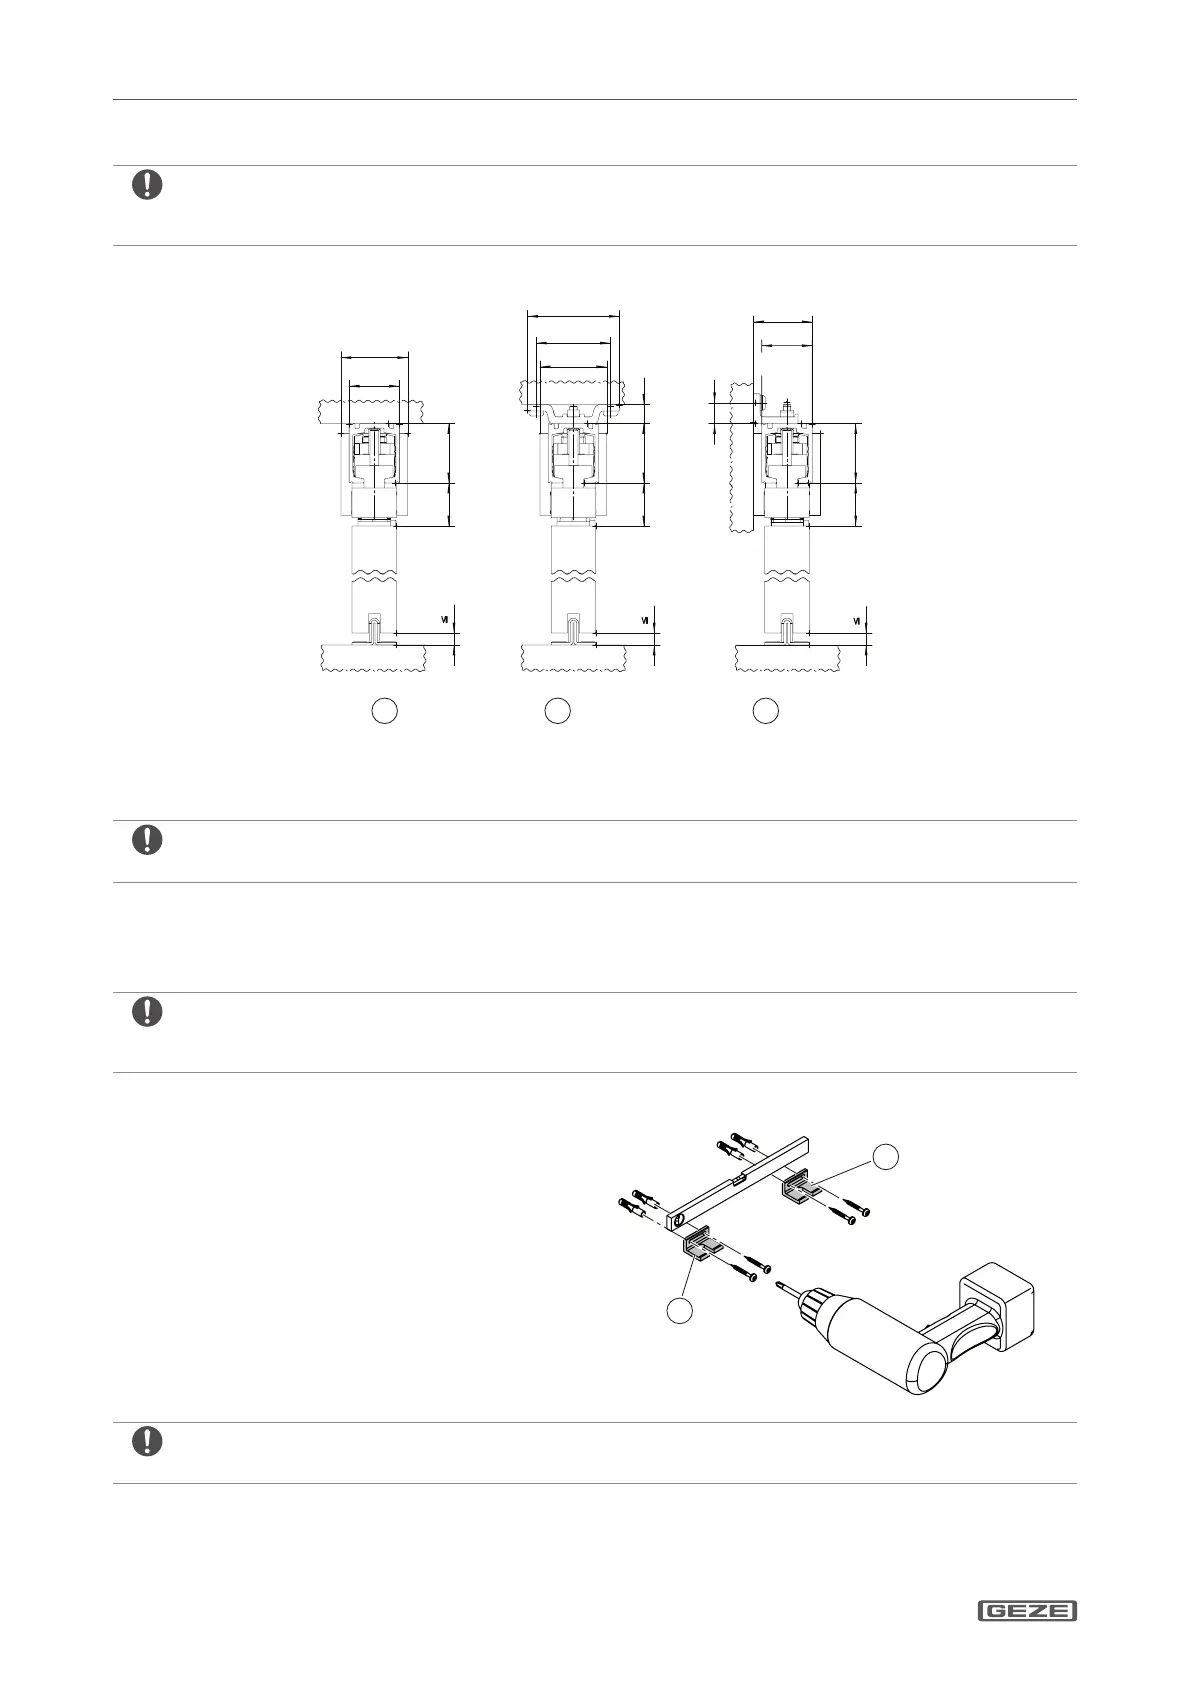
Follow the installation diagrams.
The technical company is responsible for the selection of the suitable mounting technology as well as the suit-
X
able mounting material. The specied representations have to be adapted in accordance with the situation.
The PERLAN AUT-NT roller-guided sliding door system is oered in the following variants:
Direct ceiling mounting1
Ceiling mounting with ceiling bracket2
Wall mounting with wall bracket3
Further variants are shown on the Drawings 10421-EP-53 and 10421-EP-55.
Mounting8
Mounting tracks8.1
Take accessibility into account:
If after mounting there is not enough space on the side to slide in the roller carriage, buer and guide roller
X
(e.g. in case of wall recess mounting), these parts have to be slid in before the track is mounted.
Wall mounting with wall bracket8.1.1
Drill holes for the wall bracket (1) in the wall.
X
Screw the wall bracket (1) onto the wall.
X
Use only countersunk screws to fasten the track to the wall bracket.
X
 Loading...