Select the proper hole for the M.2 SSD to be installed and refasten the screw and nut.
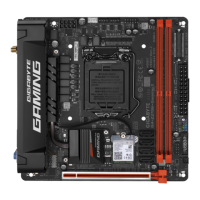
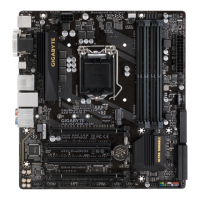
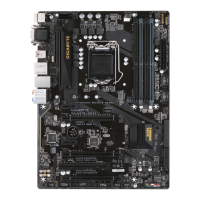
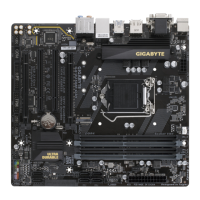
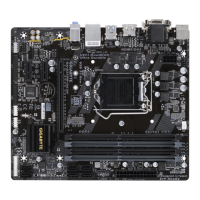
7) M.2 (M.2 Socket 3 Connector)
The M.2 connector (on the back of the motherboard) supports M.2 SATA SSDs and M.2 PCIe SSDs and
®
Chipset. Please note that an M.2 PCIe SSD cannot be
used to create a RAID set either with an M.2 SATA SSD or a SATA hard drive and can only be used to
a RAID array.
Follow the steps below to correctly install an M.2 SSD in the M.2 connector.
Step 1:
Use a screw driver to unfasten the screw and nut from the motherboard. Locate the proper mounting hole
Step 2:
Slide the M.2 SSD into the connector at an angle.
Step 3:
Press the M.2 SSD down and then secure it with the screw.
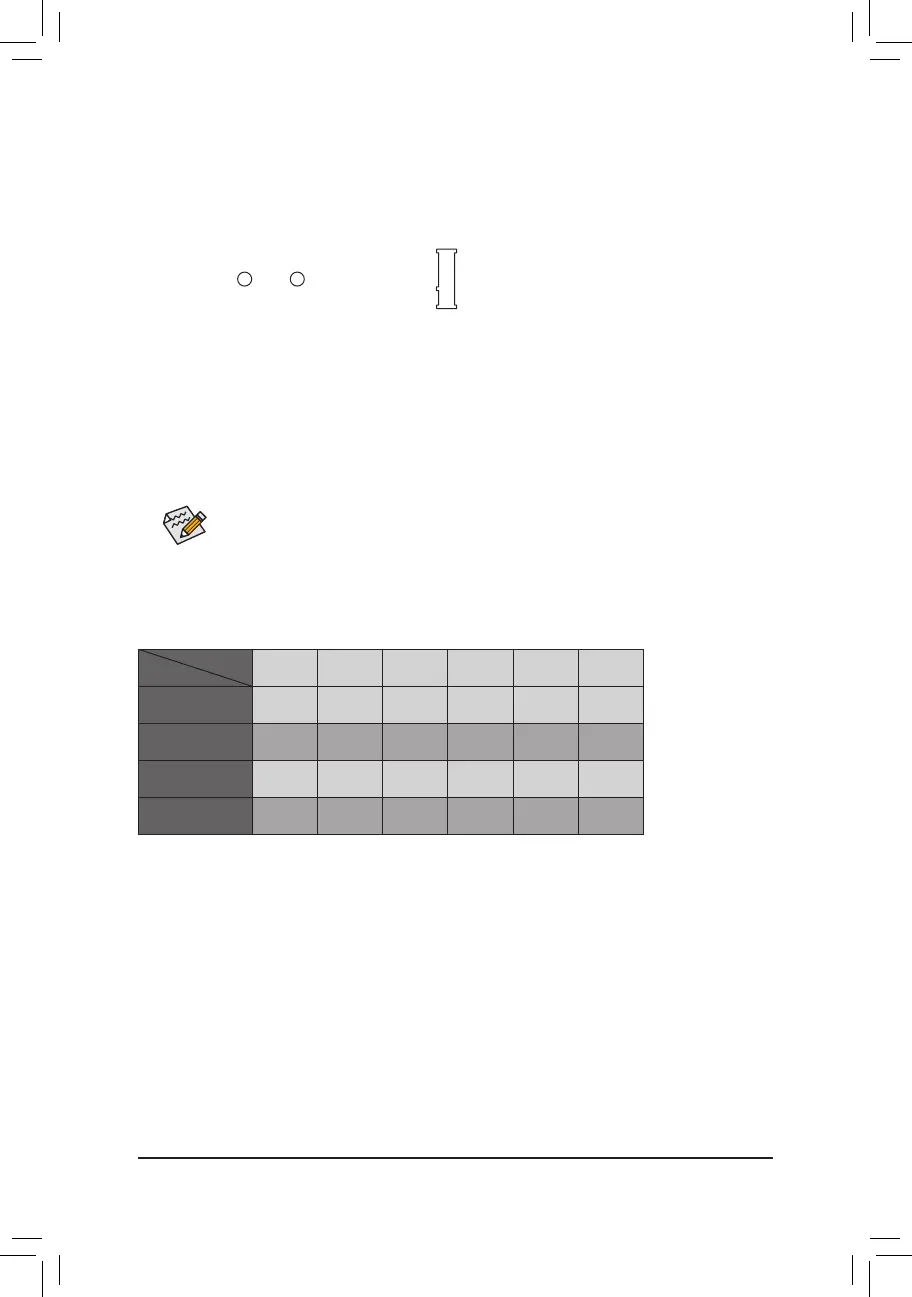
Installation Notices for the M.2 and SATA Connectors:
Due to the limited number of lanes provided by the Chipset, the availability of the SATA connectors may be
affected by the type of device installed in the M.2 connector. The M.2 connector shares bandwidth with the
SATA3 0 connector. Refer to the following table for details:
SATA3 0 SATA3 1 SATA3 2 SATA3 3 SATA3 4 SATA3 5
M.2 SATA SSD
r
a a a a a
M.2 PCIe x4 SSD
a a a a a a
M.2 PCIe x2 SSD
a a a a a a
No M.2 SSD Installed
a a a a a a
a: Available, r: Not available
Connector
Type of
M.2 SSD
- 16 -
 Loading...